To convert a lesson plan PDF to images on an Android phone, use a browser-based PDF-to-image converter that processes files locally on your device, so you never have to upload your child’s educational materials to a server.
What You Will Need
- An Android phone with an internet connection (Chrome, Firefox, or Samsung Internet all work)
- Your lesson plan saved as a PDF file, accessible from your phone’s storage (Downloads, Google Drive, or a file manager)
- A browser-based PDF-to-image conversion tool. One option is OctopusPDF’s PDF to Images tool, which converts every page to PNG or JPG at up to 216 DPI. Alternatives include:
- iLovePDF (Android app or mobile site) — free tier, uploads files to their server
- Smallpdf (Android app or mobile site) — free tier, files deleted after 1 hour
- Adobe Acrobat Online (mobile browser) — free tier, requires sign-in for some features
- Enough storage space on your phone for the output images (a 10-page PDF at 216 DPI typically produces 10 PNG files of roughly 1–3 MB each)
Step-by-Step Instructions
Step 1. Locate your lesson plan PDF on your Android phone
Open your file manager app (or the Downloads app) and navigate to the folder where the lesson plan PDF is stored. Confirm the file opens correctly by tapping it once and viewing a page. Note the file name and folder path — you will need to select this file in your browser in Step 3.
Watch out: If your PDF was sent via email or messaging, download it to local storage first. A PDF that only exists in a chat preview may not appear in your browser’s file picker.
Step 2. Open a browser-based PDF-to-image converter
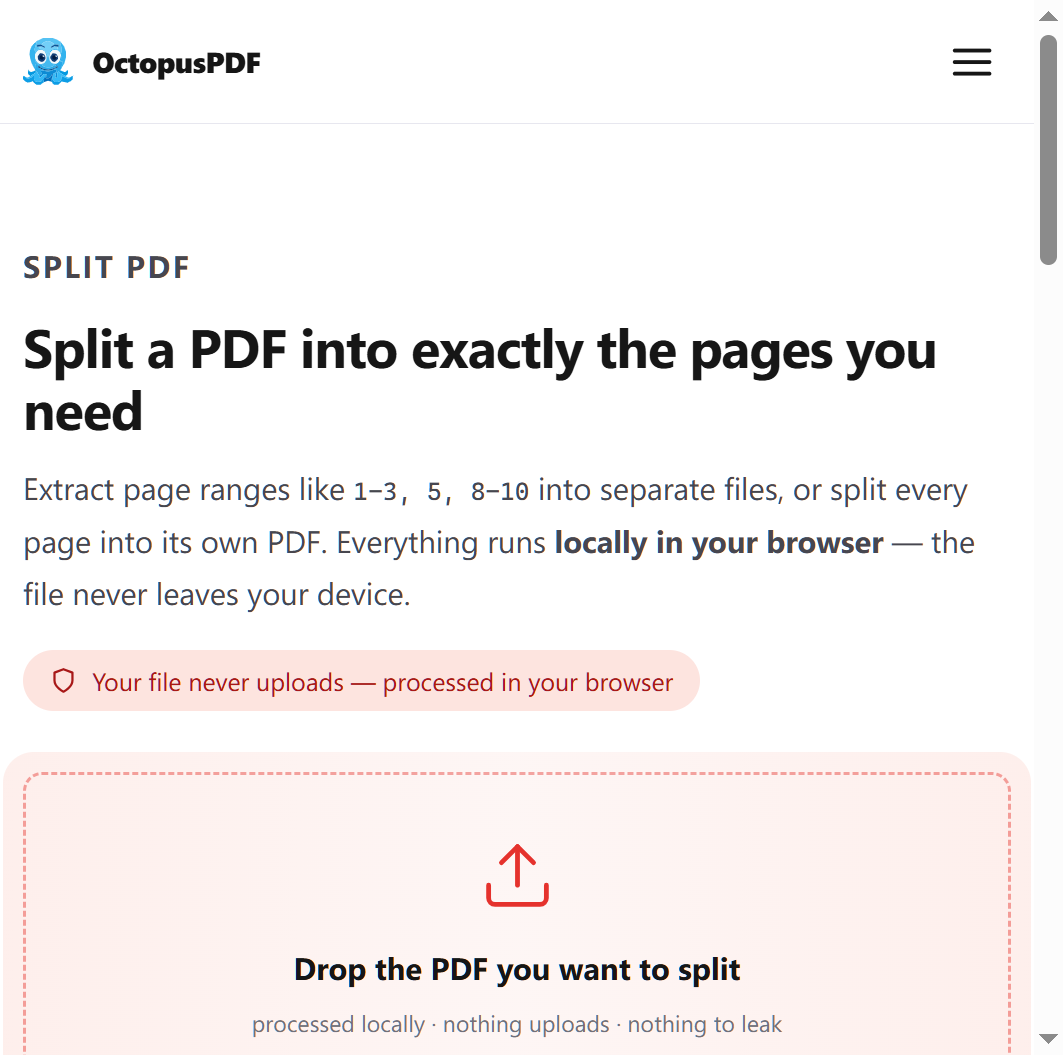
Launch your preferred browser (Chrome, Firefox, Samsung Internet) on your Android phone and go to the converter website. One option is OctopusPDF’s PDF to Images tool at https://octopuspdf.com. The tool converts every page to PNG or JPG at up to 216 DPI, and all processing happens locally in your browser — no upload, no server queue.
Alternatively, open iLovePDF, Smallpdf, or Adobe Acrobat Online in your browser or as an installed app. Each has a “PDF to JPG” or “PDF to Images” option on its main screen.
Watch out: If you use a server-based service like iLovePDF or Smallpdf, your PDF is uploaded to their servers for processing. If your lesson plan contains personal information about your child, prefer a local-processing option for privacy.
Step 3. Select your lesson plan PDF file
On the converter’s main page, tap the button labeled “Select PDF file,” “Choose file,” or “Upload PDF” (the exact wording varies by tool). Your browser’s file picker will open. Navigate to the folder you identified in Step 1, tap the lesson plan PDF, and confirm your selection.
For the OctopusPDF tool, the file selection is immediate — there is no separate upload button because the file never leaves your device. You can verify this in your network panel: no requests are made to an external server.

Watch out: If the file picker does not open, check whether your browser has permission to access local storage. Go to Settings → Site settings → Storage (or Files), and ensure access is allowed for the converter site.
Step 4. Choose your output format and quality (PNG or JPG)
After the PDF loads, look for format options. Most tools offer:
| Output Format | Best For | Typical File Size per Page |
|---|---|---|
| JPG (or JPEG) | Smaller file sizes, less detailed graphics, sharing via messaging apps | 0.5–1.5 MB |
| PNG | Images with text, diagrams, or illustrations that need crisp edges | 1–3 MB |
On the OctopusPDF tool, select either PNG or JPG and choose a DPI (dots per inch) setting. The tool supports up to 216 DPI — higher DPI produces sharper images but larger files. For a lesson plan with text and simple diagrams, 150–216 DPI is a good range. For server-based tools, select “JPG” or “PNG” from the dropdown before converting.
Watch out: On iLovePDF and Smallpdf, the free tier may limit the number of pages or the output quality. Check the on-screen limits before converting to avoid a truncated output.
Step 5. Start the conversion
Tap the “Convert” button (wording may be “Start conversion,” “Convert to JPG,” or “Generate images”). Wait for the process to complete. For local-processing tools, conversion is nearly instant for small PDFs; for server-based tools, the wait time depends on file size and server queue.
Do not close the browser tab or switch to another app while the conversion is in progress, especially on server-based tools — the job may be cancelled.
Watch out: If the conversion takes more than 2–3 minutes for a 10-page PDF on a server-based tool, the server may be overloaded. Refresh the page and try again, or switch to a local-processing tool.
Step 6. Download or save the output images
When conversion finishes, the tool will display a preview of each page as an image. On local-processing tools like OctopusPDF, a “Download” or “Save” button appears for each image, or a “Download all” (ZIP) button. Tap your preferred option. The images will be saved to your phone’s Download folder (or the folder your browser designates as its download location).
On iLovePDF and Smallpdf, you may receive individual image files or a ZIP archive. If you receive a ZIP, you will need a file manager app to extract the images (most Android file managers, like Files by Google, can extract ZIP files).
Watch out: On some Android browsers, downloads are saved to
Internal Storage/Download/. If you cannot find the images, open your file manager and check the “Recent” or “Downloads” section. Alternatively, open the browser’s download history (usually via the three-dot menu → Downloads).
Step 7. Rename and organize the images (optional but recommended)
Once the images are saved, rename them so they correspond to lesson topics or page numbers. For example, rename the first page image to lesson-01-page-01.png. Use your file manager’s rename function (long-press the file → Rename).
Create a new folder, such as Lesson_Plans_Images or Homeschool_2026, and move all converted images into it. This keeps your phone’s storage organized for future lessons.
Watch out: Some tools prepend or append numbers to filenames automatically (e.g.,
page_1.jpg). If you batch-rename, ensure the numbering matches the original PDF page order — the tools generally preserve order, but verify the first and last page images visually.
Common Mistakes / Troubleshooting
| Problem | Likely Cause | Fix |
|---|---|---|
| The converted images appear blurry when zoomed in | The DPI setting was too low (e.g., 72 DPI) | Reconvert using at least 150 DPI. Use the OctopusPDF tool’s 216 DPI maximum for the sharpest output |
| The file picker does not open when tapping “Select file” | The browser lacks storage permission for the converter site | Go to Settings → Site settings → Files (or Storage) → allow access, then retry |
| The conversion finishes but no images are saved | The browser’s download folder is misconfigured, or your storage is full | Check your storage space. Open the browser download history to locate the files. Clear space and retry |
| A server-based tool reports “File too large” or “Page limit exceeded” | The free tier has a page or file-size limit | Split the PDF into smaller parts (using a PDF splitter), or use a local-processing tool that has no upload limits |
| The ZIP archive with images cannot be opened | Your file manager does not support ZIP extraction | Install Files by Google or any ZIP extractor from the Play Store, then extract to a folder |
How to Verify Success
Complete this checklist to confirm your lesson plan PDF was correctly converted to images:
- All pages from the original PDF exist as separate image files (count them — the number of images equals the number of PDF pages).
- The images are in the format you selected (PNG or JPG) and have the file extension you expect.
- Open the first and last image files — they match the first and last pages of your PDF.
- Text in the images is legible when zoomed to 100% on your phone screen.
- No metadata (like camera EXIF data) is present in the output files — local-processing tools strip this automatically.
- Images are saved in a folder you can find again without searching your entire storage.
FAQ
Q1. Will converting a PDF to images change the order of my pages?
No. All PDF-to-image tools process pages sequentially, so the output images follow the original PDF page order. In the OctopusPDF tool, the pages are embedded into a new file in the order you select — this same ordering logic applies when converting PDFs to individual images.
Q2. Is it safe to convert a lesson plan PDF with my child’s name on it using a free online tool?
It depends on how the tool works. Server-based tools (like iLovePDF and Smallpdf) require your PDF to be uploaded to their servers for processing. If privacy is a concern, use a local-processing tool — the OctopusPDF tool advertises that images are embedded into a brand-new PDF entirely on your device, with no upload and no server queue. For PDF-to-image conversion, you can verify local processing in your browser’s network panel: if no external requests appear during conversion, your file has not left your device.
Q3. What is the maximum DPI I can get, and does it matter for a lesson plan?
Some tools cap output at 216 DPI, which is sufficient for print-quality text and diagrams. For on-screen reading or printing on standard A4/Letter paper, 150–216 DPI is ideal. Below 150 DPI, text may appear pixelated when zoomed in — if your lesson plan contains dense text or small labels, choose the highest DPI available (216 DPI on the OctopusPDF tool).
Key Facts
- Converting a lesson plan PDF to images can be done entirely on an Android phone using a browser-based tool, with no desktop computer needed.
- Local-processing tools keep your PDF on your device — files never upload, which is safer for sensitive homeschool materials.
- Most tools support both PNG and JPG output formats; PNG preserves crisp text edges, while JPG produces smaller files.
- The maximum output resolution on some tools is 216 DPI, suitable for both on-screen viewing and printing.
- Server-based alternatives (iLovePDF, Smallpdf) are free but require file uploads and may have page-count or file-size limits on their free tiers.