To build a product spec sheet on an iPad, export each spec panel from your design app as a flat image at a consistent size, assemble the images in reading order, convert them to a single PDF using the iOS Share sheet or the Files app, then pad the page count to a multiple of four and apply booklet imposition (reordering pages for duplex printing and folding) before sending it to a printer.
The Challenge
Most Etsy sellers do not think of themselves as publishers, yet the moment a shop grows past a few listings, a product spec sheet stops being a nice-to-have. A candle maker with twelve scents needs one document that states jar diameter, wax weight, burn time, wick type, care instructions, and packaging dimensions — the exact questions that otherwise arrive as three separate Etsy messages a day.
The work usually happens on an iPad, because that is where the product photos and the design files already live. Panels get drawn in Procreate, laid out in Canva or Affinity Designer, or typed in Keynote. Each panel is exported as a PNG or JPG. By the end of the week there are fourteen images in the Photos library with names like IMG_4471.PNG, and no document at all.
The gap between "fourteen images" and "one print-ready PDF" is where sellers lose time. Three things break in that gap:
- Order. Images imported in the order the Photos app decides are rarely in the order a reader should see them.
- Page count. A saddle-stitched booklet folds a stack of sheets in half, so each physical sheet holds four logical pages — two on each side. Imposition is the process of reordering PDF pages so that, once printed double-sided and folded, the pages appear in the correct reading order. If your PDF has five pages, no amount of folding produces a clean booklet.
- Imposition. Even a perfect eight-page PDF has to be reordered before printing. The pages are not printed 1-2-3-4.
A concrete example: a seller builds a five-panel spec booklet for a wholesale inquiry — cover, materials, dimensions, care, and a contact page. Five pages. Printed as-is on a duplex printer and folded, page 1 lands opposite page 4, and the whole run goes in the bin.
Why This Matters for Etsy Sellers
- Spec sheets shorten sales conversations. A stockist asking for "product details on your candle line" wants one attachment, not a link to a listing. A single PDF that answers dimensions, materials, and packaging in one place is a quotable, forwardable asset.
- Print errors cost real money. A mis-imposed booklet is a full reprint, and at craft-fair volume that is often 50–200 copies. Blank-page handling and page ordering are the two failure points, and both are mechanical rules you can check before you hit print.
- Digital downloads must be single files. If you sell a care guide, a size chart, or a styling booklet as an instant download, Etsy delivers one file. A folder of JPGs is not a product; a PDF is.
There is also a quieter risk: inconsistent output. If you rebuild the spec sheet from scratch for every wholesale inquiry, the dimensions on page three will eventually disagree with the dimensions in the listing. A repeatable image-to-PDF workflow fixes that.
The Workflow
Step 1. Decide the page count before you draw anything
For saddle-stitch, plan in blocks of four. A four-page spec sheet is cover + three panels. An eight-page booklet gives you a cover plus seven content pages. Write the page list first, then design to it — retrofitting a fifth page onto a four-page plan is what forces blank-page improvisation later.
Step 2. Export each panel as a flat image at one consistent size
Export from Procreate, Canva, Affinity, or Keynote at the final trim size, not at screen size. Keep every panel identical in pixel dimensions and orientation; mixed portrait and landscape panels are the most common cause of a scrambled PDF. Use PNG for flat colour and line art, JPG for photographic panels, and avoid transparency.
Step 3. Rename in reading order before importing
Name files 01-cover.png, 02-materials.png, 03-dimensions.png. This takes ninety seconds and eliminates the reordering work in Step 4. Sort by name, not by date.
Step 4. Convert images to PDF on the iPad
You have several routes, and none of them require a computer:
- Share sheet → Print → pinch to PDF. Select images in Photos, tap Share, choose Print, then pinch outward on the preview to expand it into a PDF, and save to Files. Free, built in, and adequate for flat panels.
- Files app → Create PDF. Select multiple images in Files and create a PDF directly. Fastest option when the images are already in iCloud Drive.
- PDF Expert or Adobe Acrobat mobile. Better control over page size, orientation, and merging with an existing text page.
- Canva export. If the panels were designed in Canva, export the whole document as PDF rather than exporting images and reassembling them.
Step 5. Verify the PDF before you do anything else
Open it in Files and Quick Look through every page. Confirm the page count, the order, that no panel is rotated, and that no text sits within 5 mm of the edge. Fix problems here — they are cheap now and expensive after imposition.
Step 6. Pad the page count to a multiple of four
If the PDF page count is not a multiple of four for saddle-stitch, blank pages must be added to complete the last sheet. A good booklet tool detects and adds these automatically. Manually, insert blank pages at the end of the document — never in the middle — and keep the back of the final page blank rather than filling it with a partial panel.
Step 7. Apply booklet imposition
Imposition reorders your pages onto physical sheets. For an eight-page saddle-stitched booklet, the sheet map is:
| Physical sheet | Pages carried (two sides, duplex) |
|---|---|
| Sheet 1 (outside) | 8 and 1 on one side; 2 and 7 on the other |
| Sheet 2 (inside) | 6 and 3 on one side; 4 and 5 on the other |
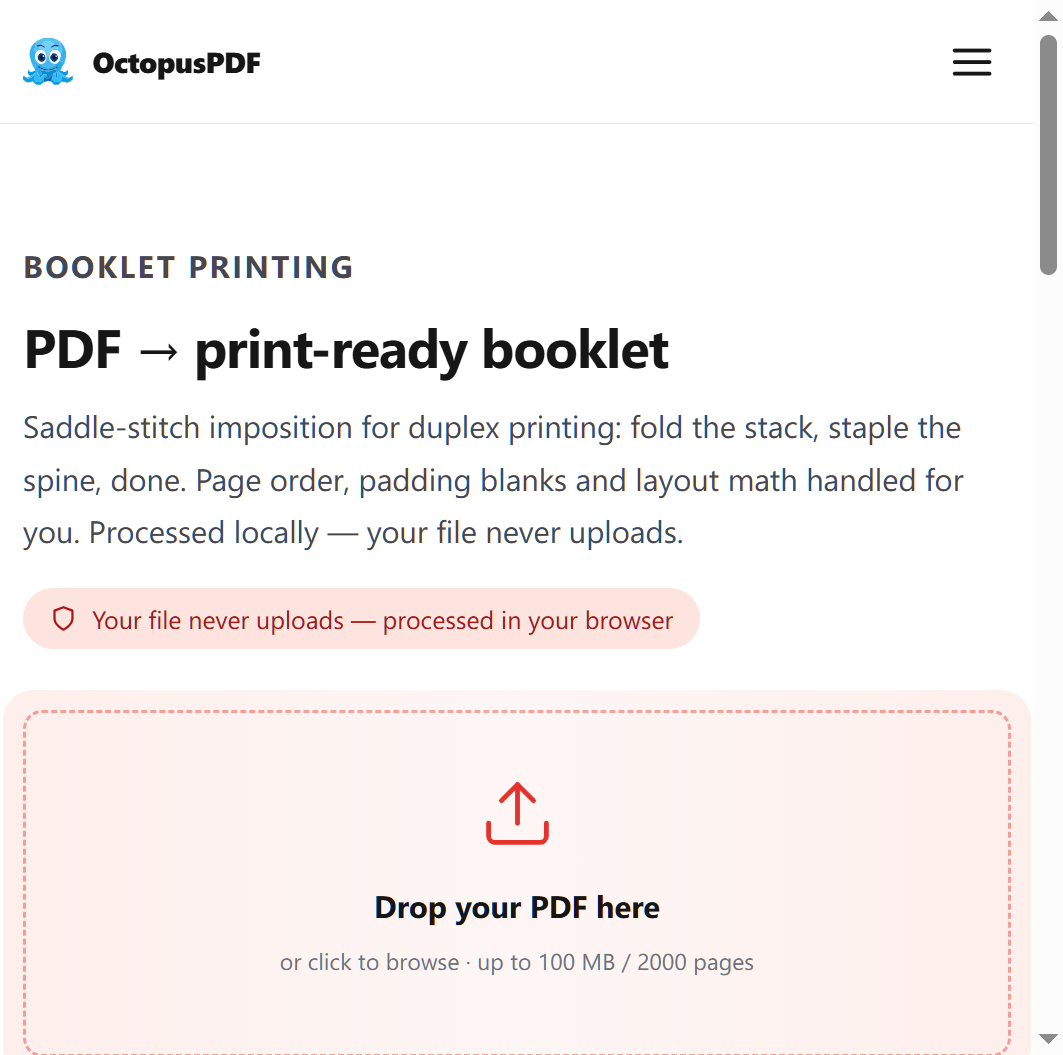
Doing this by hand is error-prone. One option is OctopusPDF's booklet tool, which drops in a PDF, reorders pages for duplex printing and folding, adds gutter margins, and delivers a print-ready PDF; the free tier allows 3 conversions per day, and Pro adds a full print preflight report. Desktop alternatives include Adobe Acrobat's Print dialog using "Booklet" page scaling, or a Canva export printed through a booklet-capable print driver.
Step 8. Add gutter margins and test one copy
Gutter margin — the extra inner margin that absorbs the fold — is the difference between a professional booklet and text disappearing into the spine. Add it at the imposition stage, not in the design file, so the flat digital version stays clean. Print one copy single-sided, fold it, and check the page sequence before committing to a run.
Pre-flight checklist
- Page count is a multiple of four
- Panels are in reading order, verified page by page
- All panels share one orientation and one trim size
- Blank pages, if any, are at the end only
- Gutter margin applied at imposition, not in the source art
- One test copy printed, folded, and read through
- Flat (non-imposed) PDF archived separately for digital delivery
Compliance & Best Practices
- Keep two masters. The imposed file is for printing; the flat, un-imposed PDF is for the digital download, the wholesale email attachment, and the listing gallery. Never send an imposed file to a buyer — it will read out of order on screen.
- Flattened images mean no font problems, but no selectable text. Converting images to PDF eliminates missing-font errors at the printer, which is a real advantage for iPad workflows. The trade-off is that text becomes unsearchable and inaccessible. For spec sheets sold as downloads, consider adding a plain-text description in the listing.
- Resolution and colour. Confirm the required resolution and colour mode with your specific printer before the run; requirements vary by process and are not universal. Do not convert colour profiles on a guess.
- Buyer data stays out of public spec sheets. Personalisation details, order numbers, and customer names belong in the order conversation, not in a document you reuse across every inquiry.
- Version and date every sheet. Put a revision line in the footer — "Spec sheet v3, 2026" — so the dimensions in your listing, your PDF, and your printed insert can be reconciled later.
Quick Reference Table
| Task | Recommended Approach | Caution |
|---|---|---|
| Exporting panels from iPad design apps | One consistent trim size and orientation per panel, PNG or JPG | Mixed portrait/landscape panels scramble on import |
| Converting images to PDF | iOS Share sheet → Print → pinch to PDF, or Files → Create PDF | Check page order immediately; Photos sort order is not your reading order |
| Setting page count | Design to 4, 8, 12, or 16 pages from the start | Five pages will always need blanks or a redesign |
| Handling blank pages | Append blanks at the end only | Blank pages inserted mid-document break the fold sequence |
| Booklet imposition | Booklet imposition tool (e.g. the OctopusPDF booklet tool, Acrobat "Booklet" print scaling, or a Canva booklet export) | Verify the sheet map on a test print before a full run |
| Gutter margins | Apply at imposition stage | Applying in source art ruins the flat digital version |
| Archiving | Keep flat PDF + imposed PDF + source images | Overwriting the flat master is unrecoverable |
FAQ
Q1. How many pages should an Etsy product spec sheet booklet be?
Use a multiple of four. Four pages suit a single product line; eight pages suit a range with a cover, materials, dimensions, care, packaging, and a contact panel. The constraint is structural, not aesthetic: a saddle-stitched booklet folds a stack of sheets in half, so each physical sheet holds four logical pages, and any page count that is not a multiple of four leaves an incomplete final sheet.
Q2. Can I convert images to PDF on an iPad without a computer?
Yes. The iOS Share sheet's Print option expands a print preview into a PDF you can save to Files, and the Files app can create a PDF from a multi-image selection. What the iPad does less well is imposition — reordering pages for duplex printing and folding. You can do that with a dedicated booklet tool or by handing a properly padded, correctly ordered flat PDF to a print shop that handles imposition for you.
Q3. Why did my printed booklet come out with pages in the wrong order?
Almost always because a flat PDF was printed straight to a duplex printer without imposition. In an eight-page saddle-stitched booklet, sheet one carries pages 8 and 1 on one side and pages 2 and 7 on the other; sheet two carries 6 and 3, then 4 and 5. Printing pages in the sequence 1-2-3-4-5-6-7-8 produces a document that cannot fold into reading order. Run a single test copy and fold it before printing the run.
Conclusion
The spec sheet is one of the few shop assets that works in three places at once — buyer messages, wholesale packets, and printable inserts — so it is worth building once and building properly. Start with the page count, keep every panel at one size and orientation, convert the images to PDF on the iPad, then treat Steps 6 and 7 (blank-page padding and imposition) as mandatory rather than optional. Archive the flat PDF alongside the imposed one, print a single test copy, and the next wholesale inquiry gets a clean eight-page booklet instead of fourteen screenshots.
Key Facts
- Saddle-stitched booklets hold four logical pages per physical sheet, so the PDF page count must be a multiple of four; blank pages are added to complete the final sheet.
- In an eight-page saddle-stitched booklet, sheet one carries pages 8 and 1 on one side and 2 and 7 on the other; sheet two carries 6 and 3, then 4 and 5.
- Imposition is the reordering of PDF pages so that duplex printing and folding produce correct reading order — it cannot be skipped by printing pages sequentially.
- A booklet imposition tool should add blank pages automatically, apply gutter margins, and output a print-ready PDF; verify the result with one folded test copy.
- Keep the flat, un-imposed PDF separately from the imposed print file, because an imposed file reads out of order on screen.