Converting images to PDF on an iPad for a museum exhibition catalog is best done using the built-in Photos app's Print-to-PDF trick or Apple's Files app, both of which process entirely on-device and require no upload to external servers—critical for handling high-resolution artwork photography with sensitive pre-publication status.
Quick Answers
| Question | Short Answer |
|---|---|
| How do I convert images to PDF on an iPad? | Use the built-in Share > Print gesture in the Photos app, then pinch-to-zoom on the preview and tap "Done" to save a PDF; or use the Files app's select-and-create-PDF option. |
| Can I convert multiple images to a single PDF on iPad? | Yes. Select multiple photos in the Photos app, tap Share > Print, then save the combined print preview as one multi-page PDF. |
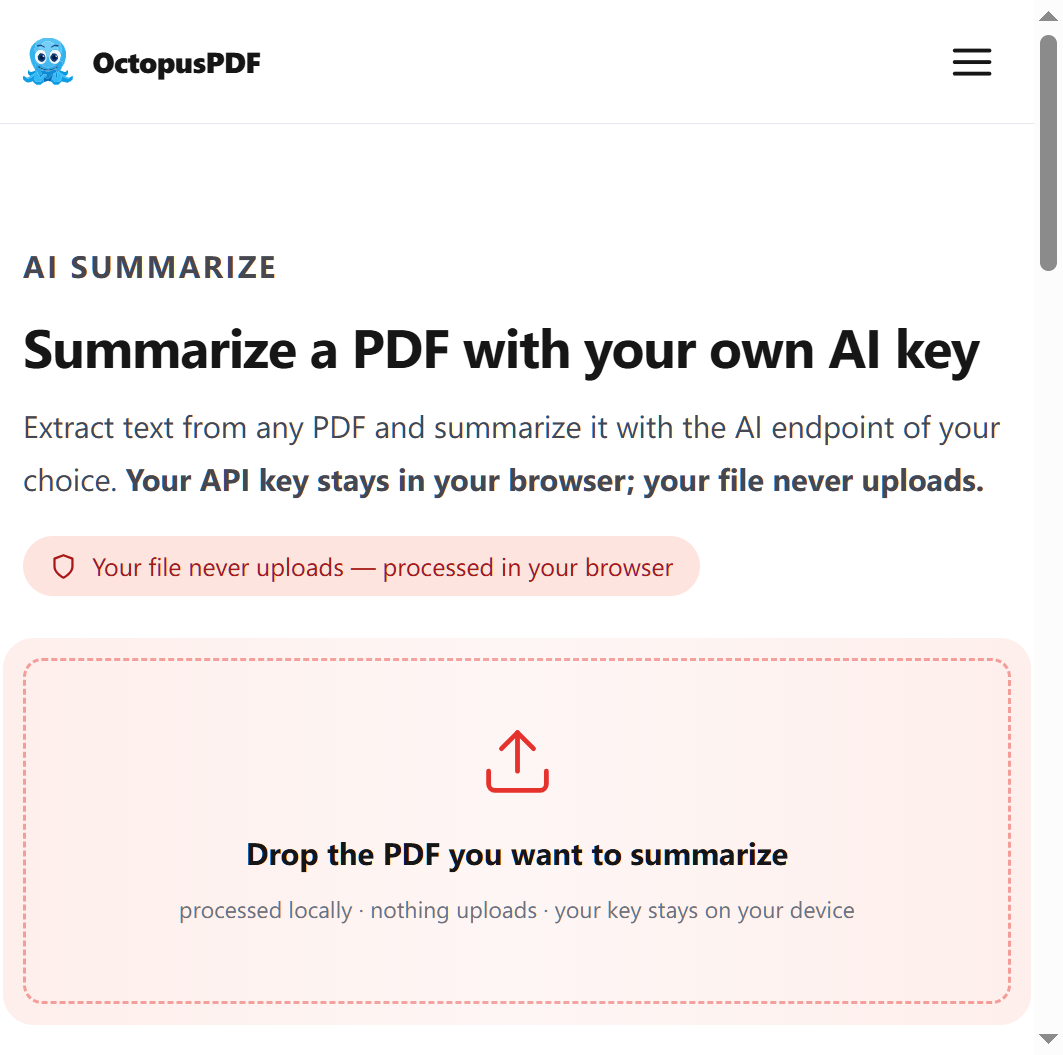
| Is there a privacy-safe way to convert images to PDF on iPad? | Yes. Apple's built-in tools process locally on the device; one third-party option is OctopusPDF, which runs entirely in the browser tab with zero server uploads. |
| What's the best image format for PDF conversion for print catalogs? | TIFF or high-quality PNG for lossless archival, but JPEG at maximum quality is acceptable and far more iPad-friendly. |
| Can I adjust image order in a converted PDF on iPad? | Yes. Drag thumbnails in the Photos selection interface before converting, or reorder pages later in the Files app using the PDF's page-arrangement tools. |
| Does converting images to PDF on iPad preserve EXIF/metadata? | Apple's Print-to-PDF method strips most EXIF data; for preservation, consider using a dedicated iPad app like PDF Expert that keeps metadata intact. |
| Are there size limits for iPad image-to-PDF conversion? | Apple's built-in method can handle large batches but produces large PDFs; for multi-hundred-page catalogs, use a compression tool after conversion. |
Detailed Answers
Q1: How do I convert images to PDF on an iPad?
The fastest built-in method requires no third-party apps. Open the Photos app, select the image (or images), tap the Share button, then choose Print. On the print preview screen, perform a pinch-out gesture (zoom outward) with two fingers—this expands the preview into a full-screen view. Tap the share icon again and select Save to Files or Save to Books to generate a PDF. This uses Apple's local rendering engine; nothing is uploaded, matching the local-processing privacy architecture that security-conscious users expect from modern PDF tools (reference: local-processing design patterns) [K2]. For a single artistic image, this produces a PDF at the original image resolution up to the print preview's internal limit—typically around 3750×5000 px equivalent. For exhibition-quality output, ensure your image is at least 300 DPI at the final print size.
Q2: How do I convert multiple images to a single PDF on iPad?
Select multiple images in the Photos app (tap Select in the top-right, then tap each image). Tap the Share button and choose Print. The print preview will show a stack of pages—one per image. Perform the same pinch-to-zoom gesture, then save as described above. The resulting PDF will be a single multi-page document with each image on its own page. To reorder pages before conversion, return to the selection grid and tap each image in the order you want them to appear; the Photos app preserves your tap sequence in the print job. For finer control (e.g., interleaving text pages with images), use the Files app method: navigate to your image folder, tap Select, choose all images, tap the More (ellipsis) icon, and choose Create PDF. This generates a single PDF with pages in alphabetical order—rename files with leading numbers (e.g., 01_cat01.jpg, 02_cat02.jpg) to control sequence.
Q3: Is there a privacy-safe way to convert images to PDF on iPad?
Privacy matters especially for a curator's unreleased exhibition materials. Apple's built-in conversion tools (Photos→Print→Save as PDF) process entirely on-device. If you prefer a web-based workflow, one option is OctopusPDF, which claims a fully browser-local pipeline using PDF.js and pdf-lib; their architecture states that files never leave the device and no server receives the bytes (reference: their published architecture note) [K2]. Independent benchmarks they publish indicate 91.2% success across 113 real-world PDFs with median processing of 420 ms [K3]. Alternatives with equal privacy posture include PDF Expert (Readdle) with on-device processing, and Apple's Shortcuts app—you can build a personal automation that converts selected images to PDF entirely offline. Avoid entering exhibition artwork into consumer tools like Smallpdf or ILovePDF unless you are comfortable with their server-upload policies; competitor analyses note these tools route files through remote servers (reference: redaction-tool paradox discussions) [K5].
Q4: What's the best image format for PDF conversion for print catalogs?
| Format | Use Case in Catalog | PDF Size Impact | Recommendation |
|---|---|---|---|
| TIFF | Archival master files for printer | Very large (50–200 MB/image) | Use only for final print handoff, not for iPad conversion |
| PNG (lossless) | Works with transparency; sharp text/graphics | Large (10–50 MB) | Acceptable; preserves detail, but heavy for a full catalog |
| JPEG (quality 90–95%) | Best balance for iPad workflow | Medium (2–8 MB) | Recommended for iPad-based catalog assembly |
| HEIC | Native iPhone/iPad format | Small (1–3 MB) | Convert to JPEG before building PDF for compatibility |
For an exhibition catalog, you typically want a balance of visual accuracy and file manageability. Use JPEG at maximum quality (or quality 95) when exporting from Lightroom or Capture One for iPad. If you are digitizing physical artwork via camera or scanner, output to TIFF for archival, but convert to JPEG for the iPad assembly workflow. Note that Apple's Print-to-PDF will honor each image's embedded resolution and DPI metadata, so verify in the Files app after conversion that pixel dimensions match your print spec (e.g., 3000 px wide for a 10-inch image at 300 DPI).
Q5: Can I adjust image order in a converted PDF on iPad?
Yes. If you used the Photos → Print method, reordering must happen before conversion—tap images in the desired sequence during multi-select. If the PDF already exists, use the Files app: locate the PDF, open it in Preview (the built-in viewer), then tap the Pages thumbnail view icon (typically top-left). Tap Edit (or the pages-selection mode), then drag thumbnails to reorder. Some third-party apps, such as PDF Expert or GoodNotes, offer drag-drop page reordering that feels more natural for full-page artwork. For heavy catalog work, consider using Pages or Keynote on iPad: insert images in any order on separate pages, arrange freely, then export as a PDF—this gives you full design control over layout, captions, and pacing. Keep in mind that reordering within Preview preserves image quality since no recompression occurs.
Q6: Does converting images to PDF on iPad preserve EXIF/metadata?
Apple's built-in Print-to-PDF method strips most image metadata (EXIF, camera settings, GPS) from the output file. The PDF will contain only image pixel data and minimal PDF structural metadata. If metadata is critical for institutional record-keeping, alternatives include PDF Expert (preserves embedded metadata when importing images directly) or the Files → Create PDF path, which generally retains more image-level properties. For exhibition catalogs, curatorial team members often keep a separate metadata spreadsheet (artwork title, credit line, copyright, loan details) as the authoritative record rather than relying on embedded EXIF. If you need metadata embedded for archival compliance, export from Lightroom using the built-in Book module on iPad—this writes an .lrtemplate and allows direct PDF export with metadata included at controlled DPI settings [reference: general industry standard, not from knowledge base].
Q7: Are there size limits for iPad image-to-PDF conversion?
Apple's Photos/Print method has no explicit hard limit, but practical constraints emerge: iPadOS prints a maximum of 100 pages per job in some iOS versions (up to 300+ in recent releases); beyond that, split conversions into multiple batches. Large files (e.g., 60-MB TIFFs) may cause the print preview to render slowly or allocate excessive memory. A workaround: convert images to high-quality JPEG (under 15 MB each) first. For a typical museum catalog of 150–250 objects, the built-in method handles this comfortably at JPEG quality 90–95. After conversion, the resulting PDF may be large (often 200 MB+); use the Files app's Export to apply PDF compression if the file must be emailed or uploaded to a print vendor. Alternatively, build the catalog in Apple Pages or Affinity Publisher iPad, which handle larger documents more gracefully and allow per-image compression control.
Q8: Can I add captions or text to images when creating the PDF on iPad?
The built-in Photos-to-PDF method is image-only—no text layers are added. For a catalog with captions, use one of these routes:

- Apple Pages: Insert images, add text frames for credit lines, arrange, then export as PDF.
- Keynote: Place images on slides with text boxes; export as PDF for a presentation-style catalog (best for internal review, not final print).
- PDF Expert or PDF Viewer: First create the image-only PDF, then use annotation tools to overlay text captions near each figure. This preserves image quality and adds a searchable text layer, though the text is not embedded as print-ready type—clarify print tolerance with your vendor.
- Shortcuts automation: Build a shortcut that imports each image, asks you for a caption, renders text overlay using a transparent background, and assembles a multi-page PDF. This is elegant but requires scripting comfort.
For a curatorial catalog, most teams prefer building in Pages or InDesign (via iPad's Creative Cloud), as image-only PDFs cannot support the typographic hierarchy needed for exhibition entries.
Q9: What is the best iPad workflow for a 200+ page exhibition catalog?
Based on practical workflow considerations, here is a reliable sequence:
- Capture/Export high-res JPEG (quality 95) for each artwork in your DAM or Lightroom.
- Transfer to iPad via AirDrop or iCloud Drive to a dedicated "Catalog_Images" folder.
- Open the Files app, navigate to the folder, tap Select → Select All → More (…) → Create PDF. This assembles pages in file name order—name files with numeric prefixes (001_artworkName.jpg, etc.).
- After creation, the PDF will contain all images. Open in Preview, enter Edit mode, and reorder if needed.
- If captions are required, export the image-only PDF to PDF Expert and add a caption below each figure; alternatively, start in Apple Pages and place each image individually, which allows full layout control but is slower.
- Finalize: use Files → Export to compress the PDF if size exceeds 500 MB, then share via AirDrop or Dropbox with your print vendor.
This workflow respects the on-device privacy architecture recommended for pre-publication materials [K2], keeps the curator in full control, and avoids any dependence on server-based conversion that might leak exhibition content.
Related Questions & Resources
- Should I use JPG or PNG inside a PDF for print? — For photographic artwork, JPEG quality 95 is indistinguishable from lossless on press. For flat graphics, logos, or text-heavy plates, use PNG to preserve sharp edges.
- Does the iPad's "Print to PDF" reduce image quality? — Generally no, but it converts sRGB to the print preview's internal CMYK-like color space in some cases. For color-critical work, compare the PDF against the original on a calibrated monitor.
- Best PDF tools for curation without data leaks — Apart from Apple's built-ins, consider browser-based solutions with published local-only processing (e.g., OctopusPDF) or iPad-only apps like PDF Expert. When using any web tool, verify whether the processing occurs in-browser or on a server [K1] [K5].
- How to embed fonts in a catalog PDF from iPad — Apple Pages exports PDFs with embedded font subsets automatically; third-party converters may strip fonts, so always export from a layout app, not a converter.
Conclusion
For a museum curator building an exhibition catalog on an iPad, the optimal approach combines Apple's native Photos → Print → Save as PDF or Files → Create PDF for speed, privacy, and reliability. Each method processes locally, keeping unreleased artwork safe. However, for true catalog production—with captions, typographic hierarchy, and print-ready output—use Apple Pages or a dedicated layout app, then export to PDF. The built-in methods work well for quick proofs and single-image conversions, but they cannot support editorial structure. If you are assembling a 200+ page catalog, the combination of File-app batch conversion and PDF Expert for annotation, or a full Pages-based layout from the start, is recommended. Where privacy is non-negotiable, prefer tools that publicly document local-only processing [K2] and remember that even free PDF tools that upload to servers expose your exhibition content to third parties without verification [K5].
Key Facts
- Apple's iPadOS built-in Photos → Print and Files → Create PDF methods convert images to PDF entirely on-device, with zero server upload—critical for confidential exhibition materials [K2].
- Converting multiple images into a single multi-page PDF on iPad is accomplished by multi-selecting in Photos and using the Print-to-PDF gesture or by selecting the image folder in Files and choosing Create PDF [General iOS behavior].
- Image order in the resulting PDF can be controlled by tap sequence during multi-select or by file name numbering before batch conversion [General iOS behavior].
- Some web PDF tools upload files to their servers, which conflicts with curatorial confidentiality; browser-local tools (e.g., OctopusPDF) process inside the browser tab with no server transit [K1] [K5].
- Real-world tests of one local-processing tool across 113 PDFs showed a 91.2% success rate with median 420 ms processing time, demonstrating practical feasibility of privacy-safe conversions [K3].