To turn a photo release form PDF into PNG or JPG images for a magazine editor on a work PC, convert the PDF with a browser-based tool that processes the file locally on your device (one option is the PDF to Images tool at octopuspdf.com, which outputs every page at up to 216 DPI), or use a desktop program such as Adobe Acrobat Pro or ImageMagick.
Magazine editors often ask for signed release forms as images rather than as a PDF so they can drop the pages directly into a layout, attach them to an email without requiring a PDF viewer, or file them in a rights-management system. Turning a photo release form PDF into images is also a good way to freeze the signed document so nobody accidentally edits the original. This tutorial covers the full workflow on a Windows work PC, from checking the source file to delivering clearly named images.
What You Will Need
- A Windows 10 or Windows 11 work PC (any modern Windows version works)
- A current browser: Microsoft Edge, Google Chrome, or Mozilla Firefox
- The signed photo release form saved as a PDF (for example,
release_2026_smith.pdf) - About 30–60 seconds for the conversion itself; the browser-based method is free to use
- A destination folder for the output images (for example,
C:\Projects\Release-Form-Images) - Optional: Adobe Acrobat Pro (paid subscription) or ImageMagick (free, open source) if you prefer desktop tools
Because a release form contains a person's name, signature, and likeness, choose a method that keeps the file on your device. Server-based converters should be avoided for this document.
Which Conversion Method Should You Use?
| Tool / method | Where it runs | Output format | Notes |
|---|---|---|---|
| Adobe Acrobat Pro (File > Export To > Image > PNG or JPG) | Desktop | PNG, JPG | Reliable, but requires a paid Acrobat license |
ImageMagick (magick -density 216 input.pdf output-%d.png) |
Desktop, command line | PNG, JPG | Free and scriptable; needs Ghostscript installed for PDF input |
| Smallpdf or iLovePDF "PDF to JPG" | Remote server | JPG, PNG (plan-dependent) | Uploads your file to a third-party server; avoid for confidential forms |
| Browser-based tool that runs locally (used in this tutorial) | Browser on your PC | PNG, JPG | Files never leave the device; suited to a shared work PC |
Step-by-Step Instructions
Step 1. Open the PDF and check the page count
- Open the photo release form PDF in your browser or in the built-in Windows PDF viewer (double-click the file).
- Check how many pages it has. Most release forms are one page, but a form with an attachment or a second signature page will be two or more.
- Write down the page count — you will use it in Step 8 to confirm you received one image per page.
Watch out: If the PDF is a scanned paper form, the text will not be selectable. That is normal; the conversion works on the visual page, not the text layer.
[Insert screenshot: A one-page photo release form open in the Windows PDF viewer]
Step 2. Create an output folder
- Create a new folder on your work PC, for example
C:\Projects\Release-Form-Images. - Give it a name that matches how your editor expects delivery, such as
2026-08-15_Smith_Release.

Step 3. Open a local browser-based PDF-to-image converter
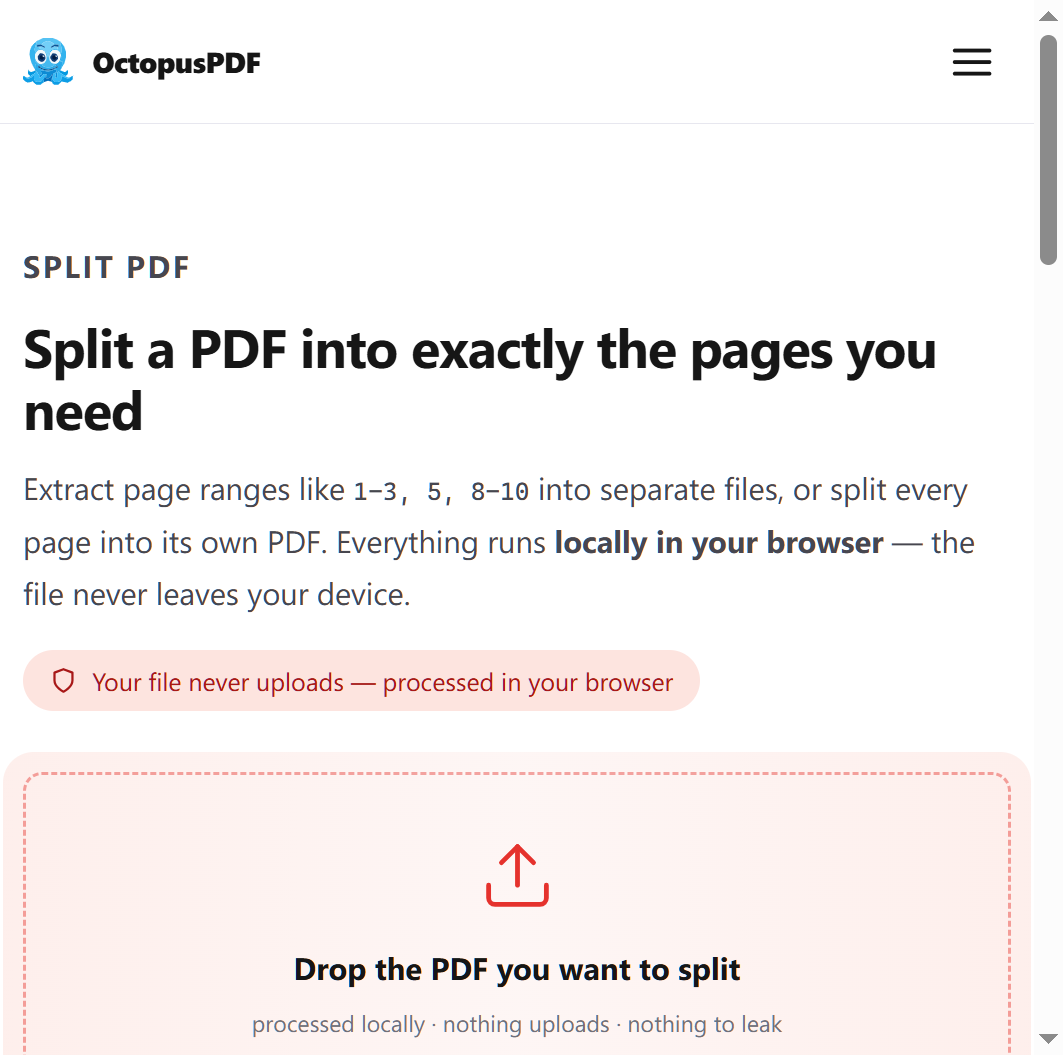
- In Edge, Chrome, or Firefox, go to the PDF tools site you chose and open the PDF to Images tool. One option is the OctopusPDF toolkit at octopuspdf.com, which lists PDF to Images among its browser tools.
- Verify the tool page states that the conversion runs in the browser — that means no upload to a server.
Watch out: If your release form is confidential, avoid free web converters whose terms of service or network activity show files being uploaded and stored. The local browser approach keeps the signed form on your device.
[Insert screenshot: The PDF to Images tool page in a browser]
Step 4. Select the photo release form PDF
- Drag the PDF into the tool's drop area, or click the file-picker button and browse to the PDF.
- Confirm the correct file name appears in the tool, along with a thumbnail or page-count indicator.
Watch out: On a shared work PC, double-check that you selected the current signed release form and not an older draft. The file name is usually displayed after selection.
Step 5. Choose the output image format: PNG or JPG
- Select PNG if the form has fine print or a signature you want to keep sharp and lossless.
- Select JPG if you need a smaller file for email or a quick layout drop-in.
| Format | File size | Best for |
|---|---|---|
| PNG | Larger | Fine print, signatures, lossless quality |
| JPG | Smaller | Email attachments, quick layout insertion |
Step 6. Set the resolution (DPI)
- Set the DPI to at least 150.
- If the tool offers a maximum of 216 DPI, use it so the editor can zoom into the signature without blur.
- Avoid leaving the default at a low preset such as 72 DPI when the form contains small legal text.
Watch out: If the editor places the release form into a print layout, a low-DPI image will look blurry on paper. Choose 216 DPI when in doubt.
Step 7. Run the conversion
- Click the conversion button (labeled Convert, Start, or similar).
- The tool embeds each page of the PDF into a new image entirely on your device. There is no upload queue to wait in, so the conversion finishes in a few seconds.
[Insert screenshot: Conversion progress or "done" state in the tool]
Step 8. Download and extract the images
- Click Download. The tool typically delivers a ZIP archive containing one image per page.
- Open the ZIP and extract the images into the folder you created in Step 2.
- Confirm the number of extracted images matches the page count you noted in Step 1.
Watch out: If the ZIP contains fewer files than expected, check whether the original PDF had blank pages or whether you accidentally selected a page range in the tool. Rerun the conversion with "all pages" selected.
Step 9. Rename the images so the editor can identify them
- Rename each image using a consistent pattern, for example
release_smith_2026-08-15_p1.pngandrelease_smith_2026-08-15_p2.png. - Avoid generic names like
page1.pngorimage(3).png, which get mixed up in an editor's asset folder.
Step 10. Review each image for legibility and orientation
- Open each image in Windows Photos (right-click > Open with > Photos).
- Zoom to 100% and check that the signature, date, and any witness line are readable.
- If a page is rotated (common with scanned forms), rotate it using the rotate button in Windows Photos and save the corrected copy.
Watch out: After rotating and saving in Windows Photos, the file name may change (for example, to a name starting with "rotated_"). Confirm the final name matches the naming pattern from Step 9.
Step 11. Send the images to the magazine editor
- Attach the images to an email, or copy them to the shared drive or project folder the editor uses.
- In your message, list the file names and state how many pages the original PDF had, for example: "Attached: release_smith_2026-08-15_p1.png and _p2.png (2 pages from the original PDF)."
Common Mistakes / Troubleshooting
| Problem | Likely cause | Fix |
|---|---|---|
| The ZIP download won't open | The browser blocked or truncated the download | Check the Downloads folder; run the conversion again and choose "Save link as" if needed |
| Images look blurry | DPI set too low (e.g., 72 DPI) | Reconvert at 150–216 DPI |
| One or more pages are missing | A page range was selected, or the PDF contained blank scanned pages | Rerun the conversion with all pages; inspect the original PDF page count first |
| The tool reports an error opening the PDF | The PDF is corrupted or saved in an unsupported format | Re-save the PDF from the source (e.g., print to PDF again) and retry |
| The editor says the signature is hard to read | JPG compression degraded the fine print | Reconvert as PNG at 216 DPI |
How to Verify Success
- You have one image file for every page of the original PDF
- Each image opens and the signature, date, and subject name are legible at 100% zoom
- File names follow the pattern agreed with the editor
- The combined image file size is small enough for email or the editor's shared drive
- The original PDF is unchanged and still present as a backup
FAQ
Q1. Does converting a PDF to images on a work PC upload the file to a server?
Only if you use a server-based web service. Browser-based converters like the one used in this tutorial embed the pages into new images entirely on your device — no upload, no server queue — which is why they suit confidential documents on shared work PCs. Desktop tools such as Adobe Acrobat Pro and ImageMagick also keep the file on your machine.
Q2. What DPI should I choose for a photo release form?
Use 150 DPI as the minimum for screen review and email. Use 216 DPI if the tool offers it, because the editor may zoom into the signature or place the image into a print layout. A low preset such as 72 DPI is acceptable only for a quick preview that will never be printed.
Q3. Can I convert only one page of a multi-page PDF?
The browser-based approach used in this tutorial converts every page by default. If the editor needs only one page, convert all pages and delete the extras, or split the PDF into single pages first with a PDF splitter tool, then convert the page you need.
Key Facts
- Browser-based PDF-to-image tools can convert every page of a PDF to PNG or JPG at up to 216 DPI.
- Local browser conversion runs entirely on the device: no upload, no server queue, nothing to leak.
- Local-only conversion makes browser tools suitable for confidential documents such as signed release forms on a shared work PC.
- Desktop alternatives — Adobe Acrobat Pro and ImageMagick — keep files local but require a paid license or extra setup, respectively.
- Server-based converters such as Smallpdf and iLovePDF upload the file to a third party, which is a poor choice for a signed form with personal data.