To merge a photo release form PDF for a wedding photographer, upload both the signed release forms and the photo album PDF into a browser-based PDF merger, arrange the release forms either at the front or back of the album, and download the combined file—a process that takes under two minutes and requires no software installation.
What You Will Need
- The photo release form(s) saved as PDF files (if you have photos of signed forms, convert them to PDF first—see Step 2)
- The wedding photo album or gallery as a single PDF file
- A web browser (Chrome, Firefox, Safari, or Edge—any modern version works)
- An internet connection (only for loading the tool; your files do not upload)
- One of these PDF merging tools (choose any; all run in-browser):
- OctopusPDF Merge PDF (free, up to 100 MB on Pro) [K1]
- Smallpdf Merge PDF (free tier with daily limits)
- iLovePDF Merge PDF (free tier with file size limits)
- Adobe Acrobat Online Merge (free with Adobe account)
- Sejda PDF Merge (free, no registration for files under 50 pages)
Privacy note for wedding photographers: If you handle signed releases containing client names, addresses, and signatures, pick a tool that processes files locally in the browser. One option is OctopusPDF, which states that files never leave the browser tab and nothing is uploaded. [K1][K2]
Step-by-Step Instructions
Step 1. Gather and name your source files
- Action: Collect all signed photo release form PDFs and the wedding album PDF into one folder on your computer.
- Explanation: Before merging, confirm that every release is a PDF. If you scanned paper forms, your scanner may have saved them as JPG or PNG images. If so, you need to convert them (see Step 2). Also, decide the final order: most photographers place releases at the end of the album PDF, but some clients prefer them at the beginning. The merge tool lets you choose either way.
- Watch out: If you have multiple release forms (e.g., one per couple or per family), merge all of them together first before combining with the album. Mixing single releases with the album one at a time creates unnecessary extra steps.
Step 2. Convert image-based releases to PDF (only if needed)
- Action: If any release form is a JPG, PNG, or a scanned screenshot, open an Images-to-PDF tool and convert them first.
- Explanation: Most merge tools only accept PDF inputs. An images-to-PDF tool places each image on its own page, in the order you select. One option is OctopusPDF's Images to PDF, which turns JPG/PNG photos, scans, and screenshots into a single PDF with one image per page. [K3]
- Watch out: Check the scan quality before converting. If the release text is blurry or the signature is illegible, re-scan at 300 DPI rather than 150 DPI. A low-quality release form may be legally difficult to enforce.
Step 3. Open your chosen merge tool
- Action: Navigate to the merge tool in your browser. For example, open https://octopuspdf.com and select the "Merge PDF" tool, or open Smallpdf, iLovePDF, Sejda, or Adobe Online Merge directly. [K2]
- Explanation: All of these tools follow the same basic pattern: upload files, arrange order, and merge. The interface differs slightly, but the core steps below apply universally.
- Watch out: Do not close the browser tab while the tool loads. If the page refreshes or crashes, you will need to re-add files.
Step 4. Upload the release form PDF first
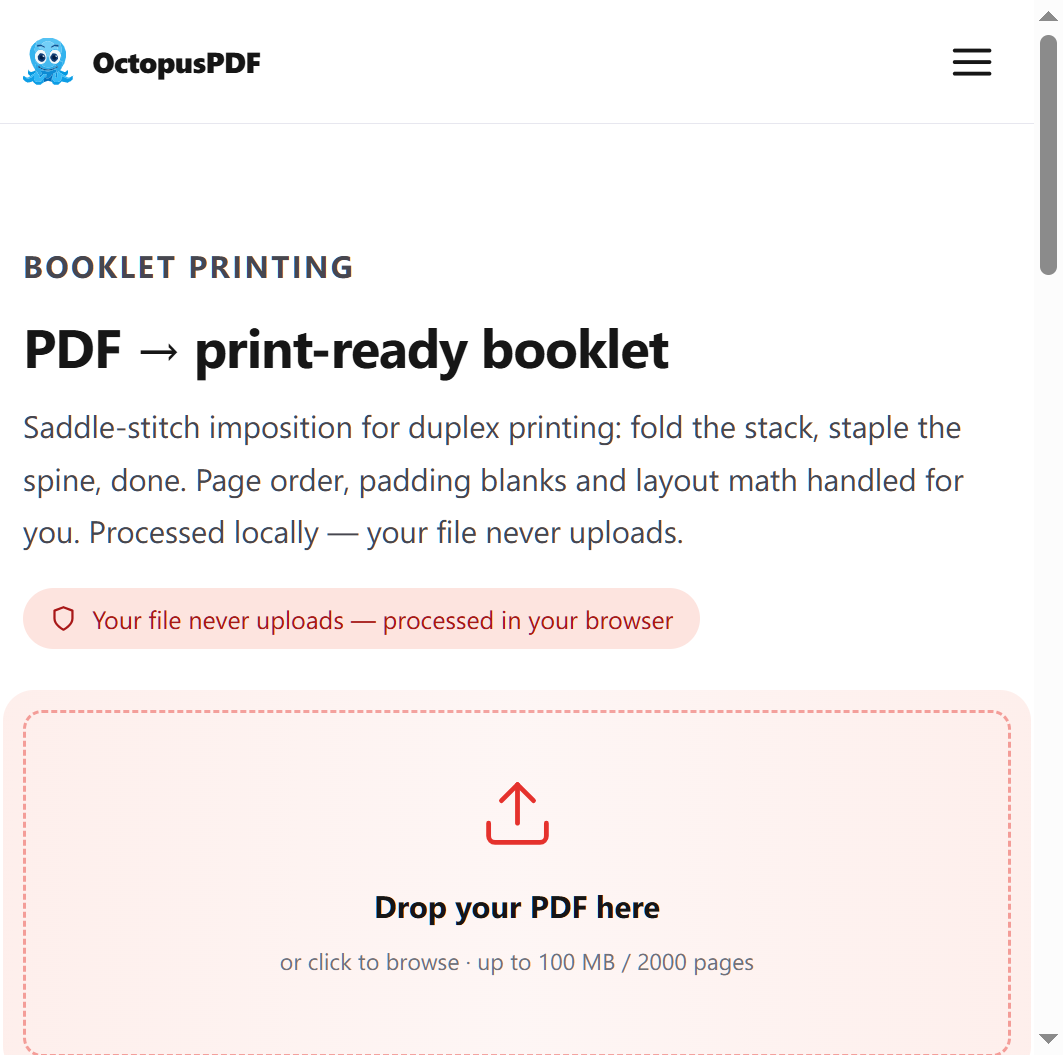
- Action: Drag and drop the release form PDF into the upload area, or click the upload button and select the file.
- Explanation: The first file you upload usually becomes the first file in the merge order. Since you likely want the album pages in their original sequence, decide now whether releases go before or after the album:
- Releases at the end: Upload the album first, then the releases.
- Releases at the front: Upload the releases first, then the album.
- Watch out: If you are merging multiple release forms (e.g., three different signed pages), upload all of them in the correct sequence before adding the album. You cannot easily "insert" a file between already-uploaded files in some tools; you would have to clear and restart.
Step 5. Upload the album PDF
- Action: Drag and drop the wedding album PDF into the tool (or click to browse and select it).
- Explanation: The tool now displays thumbnails of all pages from both files, in the order they will appear in the output. You should see the release form pages followed (or preceded) by the album pages, depending on the upload order from Step 4.
- Watch out: Verify the page count. If the album has 80 pages and the release has 2, the tool should show 82 pages. If the count is wrong, one of the files may have failed to upload completely—remove it and re-upload.
Step 6. Reorder pages if needed
- Action: Drag the page thumbnails into the exact final order you want. Most tools let you select a thumbnail and drag it left or right.
- Explanation: You might want the release form as the very last page after the album's final spread, or you might prefer it as a cover page. Dragging thumbnails gives you precise control. Some tools also have "move to beginning" or "move to end" buttons.
- Watch out: If the tool has a "delete" option, make sure you do not accidentally delete a page while dragging. If you do, most tools have an "Undo" button—use it immediately.
Step 7. Set output options (if available)
- Action: Look for any merge options such as "merge pages into a single file," "keep file size," or "set PDF metadata." Accept defaults unless you have a specific need.
- Explanation: Default settings are usually fine for this task. Some tools offer compression options to reduce the final file size for email delivery. If your album is large (over 20 MB), enabling compression can make the final PDF easier to send to clients.
- Watch out: If a tool offers "merge into one PDF" vs. "merge into multiple PDFs," always choose the single-file option. You want one deliverable, not a zip archive.
Step 8. Click the Merge button and download
- Action: Click the merge/combine button (often labeled "Merge PDF," "Combine," or "Merge"). Wait for processing, then click "Download."
- Explanation: The tool processes the files and generates a single PDF. Depending on the file size and your connection, this may take a few seconds to a minute. After processing, a download link appears.
- Watch out: Save the merged file with a clear, professional name, such as
Smith_Johnson_Wedding_Album_with_Releases.pdf. Do not leave it asmerged.pdfordownload.pdf—you will thank yourself later when sending it to clients or archiving it.
Step 9. Open and spot-check the merged file
- Action: Open the downloaded PDF and scroll through at least the first few pages, the release form pages, and the last page.
- Explanation: Confirm that (a) all album pages are present and in the correct order, and (b) the release form pages are included and legible.
- Watch out: If a release form appears upside down or sideways, fix the rotation in a PDF tool before merging again. Some merge tools have a "rotate" feature; if yours does not, rotate the release PDF before uploading (using any PDF rotate tool), then re-merge.
Common Mistakes / Troubleshooting
| Problem | Likely Cause | Fix |
|---|---|---|
| Merge tool says "file type not supported" | One of the files is a JPG/PNG, not a PDF | Convert images to PDF using an Images-to-PDF tool [K3], then re-upload |
| Pages appear out of order | Upload order was wrong, or drag-and-drop reorder was not applied | Clear all files and re-upload in the correct order (album first or release first, depending on desired layout) |
| Release form looks blurry in the final PDF | Original scan was low resolution (under 200 DPI) | Re-scan the release form at 300 DPI and convert to PDF again |
| File is too large to email (over 25 MB) | Album contains many high-resolution images | Enable compression in the merge tool, or use a dedicated PDF compressor afterward |
| A page is missing after merging | File upload may have failed or the page was accidentally deleted during reorder | Check the page count in the tool before merging; if short, clear and re-upload |
| Tool processes files on a server (privacy concern) | Some online tools upload files to their servers | Use a tool that processes locally in the browser, such as OctopusPDF, which states files never upload [K2] |

How to Verify Success
- The final PDF opens without errors in any PDF reader (Adobe, Preview, or browser viewer)
- The total page count equals the sum of the album pages plus the release form pages
- The release form page(s) are legible—signatures and text are readable at 100% zoom
- The album pages appear in the original chronological order with no missing spreads
- The release form is positioned where you intended (front or back of the album)
- The file is named descriptively (not "merged.pdf")
- The file size is reasonable for your delivery method (under 25 MB for email; larger is fine for direct download links)
FAQ
Q1. Can I merge a photo release form PDF without uploading it to a server?
Yes. Some browser-based tools process PDFs entirely on your device. For example, OctopusPDF states that its tools run in the browser with zero uploads—files never leave the browser tab. [K2] This is useful when handling signed releases with personal information. Other tools may upload files to their servers, so check the privacy policy if confidentiality matters.
Q2. What if the release form is a photo of a signed document, not a PDF?
You must first convert the image to PDF. Use an Images-to-PDF tool—this turns JPG/PNG photos and scans into a single PDF with one image per page. [K3] After conversion, the resulting PDF can be merged with your album file normally.
Q3. Can I merge releases at the front and the album after it, without reordering?
Yes. Simply upload the release PDF first, then upload the album PDF. The merge tool combines files in the order you add them. If you change your mind after uploading, most tools allow you to drag thumbnails to reorder pages before merging. [K2]
Key Facts
- Core process: Merge photo release form PDFs with a wedding album PDF using a browser-based tool; upload order determines page order unless manually reordered.
- File format requirement: Merge tools typically accept only PDFs—JPG/PNG scans must be converted to PDF first via an Images-to-PDF tool. [K3]
- Privacy option: Some tools, such as OctopusPDF, process files entirely in the browser with zero uploads, making them suitable for documents containing client personal information. [K1][K2]
- Verification: After downloading, confirm page count (album + release pages), legibility of the release, and correct page order before sending to clients.
- File size limit: Free tiers often cap file sizes (e.g., OctopusPDF Pro supports up to 100 MB), so large albums may require compression or a paid plan. [K1]