To organize a PDF of scanned student essays into grading order, combine all scans into a single file, rotate any sideways pages, reorder pages with drag-and-drop thumbnails until the sequence matches your class roster, add page numbers for tracking, then export and verify one grade-ready PDF.
What You Will Need
- All student essay scans in one folder, each saved as a PDF or as an image (JPG/PNG) if students submitted photos of handwritten work
- A PDF tool that can merge, rotate, reorder, and add page numbers
- One option is OctopusPDF, a browser-based suite of 14 free PDF tools that runs entirely in the browser with zero uploads (source: OctopusPDF Product Overview)
- Alternatives with equivalent functions: Adobe Acrobat (Combine Files and Organize Pages tools), PDFsam (free desktop merge/split utility), and Preview on macOS (merge and reorder pages from the thumbnail sidebar)
- A class roster or grading list with students in the order you intend to grade (alphabetical, by period, or by submission order)
- A computer with a modern web browser, or enough local storage for a desktop PDF app
Step-by-Step Instructions
Step 1. Decide Your Grading Order Before You Touch the PDF
Write down the exact order in which you want to grade: alphabetical by last name, class period, seating chart, or submission date. This list is your master reference. Every later step should be checked against it.
[Insert screenshot: grading list on paper or in a spreadsheet]
Step 2. Gather and Rename All Scans in One Folder
Move every essay scan into a single folder. Rename files with a numeric prefix so that your file manager sorts them into your chosen grading order (for example, 01_Ali_essay.pdf, 02_Chen_essay.pdf). If a student has a multi-page essay, confirm that all pages of that essay are in one file.
Watch out: If a student submitted multiple photos, keep them together in one subfolder or one combined file before the merge step, or those pages will end up scattered through the master PDF.
Step 3. Convert Image Scans into One PDF per Student (If Needed)
If your scans are JPG/PNG photos or screenshots, use an images-to-PDF converter to combine them first. The tool should place one image per page, in the order you choose, and output a single PDF per student. Common choices include Adobe Acrobat's "Create PDF" function, Preview's export feature on macOS, or any browser-based image-to-PDF converter that preserves your selected order.
[Insert screenshot: selecting image files in the correct order in the converter]
Watch out: Select the images in the order the pages should appear. If the tool shows a preview, check it before converting — fixing an image order after conversion means redoing this step.
Step 4. Merge All Per-Student PDFs into One Master File
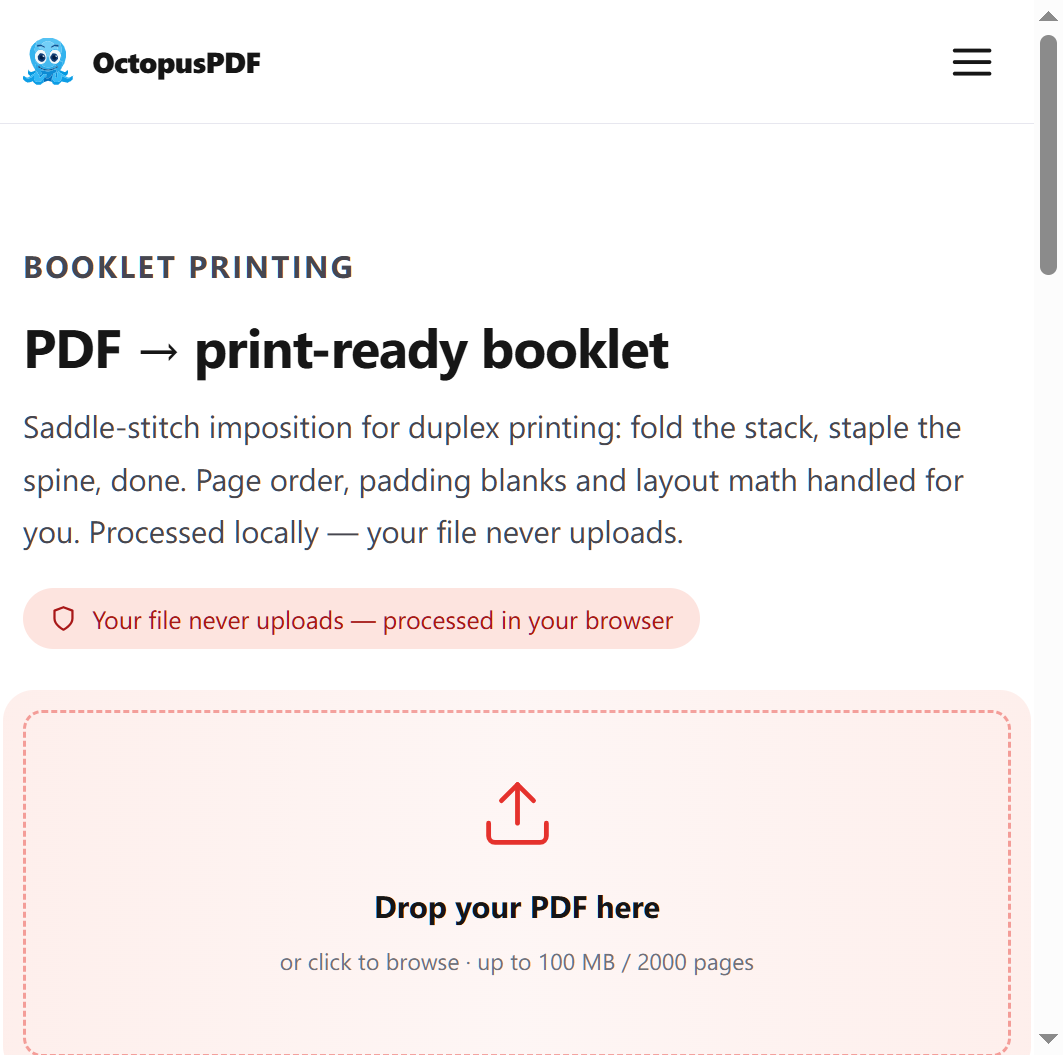
Use a merge tool to combine the per-student PDFs into one file. The tool should let you choose the merge order, so select the files sorted by your numeric prefix and they will land in the right sequence. The result is one master PDF containing all essays.
Watch out: If you merge in the wrong order, do not re-merge immediately. The drag-and-drop reorder step later can fix the sequence faster than rebuilding the file.
Step 5. Rotate Any Sideways Pages
Scanning a stack of paper often produces a few 90- or 180-degree-rotated pages. Open the master PDF in a rotate tool and use a custom page range so you only touch the pages that are sideways:
| Rotation option | Effect | When to use |
|---|---|---|
| 90 degrees | Turns pages a quarter turn | Portrait page scanned as landscape (one direction) |
| 180 degrees | Flips the page upside down | Upside-down page |
| 270 degrees | Turns a quarter turn the opposite way | Portrait page scanned the other direction |
| All pages | Applies rotation to the whole file | Every page is rotated the same way |
| Custom range | Applies rotation only to pages you specify | Only one or two essays are sideways |
[Insert screenshot: rotate tool with custom range options]
Watch out: If your tool only rotates the entire file, rotate the whole file first, then use the organize step to fix other pages — or split the problem pages out, rotate them, and merge them back.
Step 6. Reorder Pages into Your Grading Order
Use an organize-pages tool with drag-and-drop thumbnails. Drag each page thumbnail until the sequence matches your Step 1 grading list exactly. The same thumbnail view lets you delete unwanted pages, such as blank back sides captured by a duplex scanner.
[Insert screenshot: thumbnail view with one page being dragged into a new position]
Watch out: If an essay is two pages, drag the pair together and treat it as one unit. Keep your roster next to the screen while dragging; this prevents a chain of misplaced pages.
Step 7. Add Page Numbers (Optional but Recommended)
Once the page order is correct, add page numbers so you can track essays as you grade. A page-numbers operation can stamp "1 / N" or "Page 1 of N" in any corner and typically offers a cover-skip option if your PDF includes a title or cover page (source: OctopusPDF Product Overview).
Watch out: Choose the cover-skip option if you have a cover page. Otherwise, the cover counts as page 1 and your numbering is off by one for every essay after it.
Step 8. Split Out a Misplaced Section If Needed
If you discover that one student's essay pages are mixed into another essay, use a split-PDF tool to extract the affected page range (for example, pages 8–9) into a separate file, then merge it back into the correct position. Splitting page ranges fixes errors without rebuilding the entire document.

Step 9. Verify the Page Order and Page Count
Compare the thumbnail sequence against your grading list one more time. Confirm the total page count matches your roster, counting multi-page essays correctly. This is the cheapest moment to catch a mistake — before you have started reading essays.
Step 10. Save and Name the Final File
Rename the finished file with a clear convention, such as Period2_Essay_Set_GradingOrder.pdf, and save it in your grading folder. Keep the individual per-student PDFs as backups and treat the master PDF as your working copy.
[Insert screenshot: final file saved in the grading folder]
Common Mistakes / Troubleshooting
| Problem | Likely Cause | Fix |
|---|---|---|
| Pages appear in the wrong order after merging | Files were selected in the wrong sequence | Use the drag-and-drop organize step to reorder, or re-merge after sorting file names |
| Several pages are sideways | The scanner fed pages at different orientations | Use Rotate with a custom range to turn only the affected pages (90, 180, or 270 degrees) |
| Blank pages appear between essays | The scanner captured the blank back side of each sheet | Use the organize view to select and delete blank thumbnails |
| One student's essay is split across the file | Multi-page scans were separated or merged out of order | Use Split to extract the misplaced range, then merge it back in the correct position |
| The PDF is too large to email or upload | High-resolution scans create big files | Rescan at 200–300 DPI, or check your PDF tool's file-size limit (browser-based tools often have a free limit and a larger Pro limit) |
How to Verify Success
- The master PDF contains every student's essay and no essay is missing
- The page count matches your roster (counting multi-page essays correctly)
- Every page is upright — nothing is rotated 90 or 180 degrees
- Page order matches the grading list from Step 1
- No blank pages remain between essays
- If you added page numbers, "1 / N" or "Page 1 of N" appears on every page, and the cover page is skipped if you selected that option
FAQ
Q1. Can I grade directly inside the PDF after organizing it?
Yes. Once the master PDF is in grading order, you can annotate it in any PDF reader with comment tools, such as Adobe Acrobat, Preview, or a dedicated PDF annotator. The organizing workflow above keeps the file clean so any annotation tool will work.
Q2. What if a student submitted a handwritten essay as several separate phone photos?
Combine those photos into one PDF first using an images-to-PDF converter that puts one image per page in the order you select. Then merge that new PDF with the rest of the class set in Step 4.
Q3. Are student scans uploaded to a server when I use an online PDF tool?
That depends on the provider. Some browser-based tools state that they process files entirely on your device with zero uploads, which keeps student data local. For any other tool, read its privacy policy, or use a desktop application such as PDFsam or Adobe Acrobat if your school requires that files never leave your machine.
Key Facts
- The organizing workflow is: combine all scans into one PDF → rotate mis-oriented pages → reorder pages with drag-and-drop → add page numbers → verify page count and order.
- Browser-based PDF suites offer free tools for merge, split, rotate, organize, and page numbers; Adobe Acrobat, PDFsam, and Preview on macOS are common alternatives.
- Rotation tools typically support 90, 180, and 270 degrees and should be applied to a custom page range so only the sideways pages are changed.
- Drag-and-drop page organization handles both reordering pages and deleting blank pages captured by a scanner.
- Page numbering in a "1 / N" or "Page 1 of N" format, with a cover-skip option, keeps essays trackable while you grade.