For legal professionals who need to turn a mountain of PDF exhibits, briefs, or contract attachments into a clean, print-ready booklet, the fastest and most reliable path is to use an automated imposition tool that reorders pages for double-sided printing and adds blank pages automatically. Manual page reordering has only a 60% success rate, and generic office software cannot handle imposition correctly ([K4]). The workflow described here—prepare a single PDF, run it through a booklet-specific tool, and preflight the output—can cut turnaround time from hours to minutes while preserving confidentiality and court-readiness.
The Challenge
You have a hearing tomorrow morning. The judge expects five bound copies of your motion to dismiss, complete with exhibits, table of contents, and supporting declarations. The materials exist as 38 PDF pages, produced by three different collaborators, with one page missing because a paralegal accidentally scanned a blank sheet. You are not a print shop operator, and you do not have $240/year to spend on a full-featured PDF editor that buries booklet printing under five menu layers ([K4]). Word cannot perform imposition at all ([K4]), so exporting to Word is not an option.
This is a daily reality for law clerks, legal assistants, and solo practitioners. The task seems simple: “just make it into a booklet.” But the mechanics of booklet creation—reordering pages so that a folded stack reads left-to-right, adding gutter margins for the fold, and ensuring the page count is a multiple of four—are unfamiliar to most legal professionals. Doing it manually yields a 60% success rate ([K4]), which means nearly half of all attempts produce scrambled page order or sheets that double-side incorrectly. With a deadline in the morning, a failed attempt is a crisis, not an inconvenience.
This guide offers a profession-specific workflow that avoids these pitfalls. It assumes you have, or can quickly get, a PDF that contains all materials in the correct logical order. It then walks you through using a modern booklet tool that automates imposition, blank-page handling, and margin adjustments ([K3][K5]). By the end, you will have a print-ready PDF that can be sent to your in-office printer or a commercial copy shop without last-minute rework.
Why This Matters for Legal Professionals
Legal booklet production is different from marketing collateral or event programs. Three constraints dominate:
- Confidentiality and privilege. Court filings, pre-trial submissions, and mediation packages often contain attorney-client privileged material or protected health information. You need a workflow that does not require uploading sensitive files to a consumer file-printing service with unclear data handling. A dedicated tool that allows direct PDF upload and deletion after processing is preferable to a general-purpose “print to PDF” solution, but you must still verify the vendor’s data policies.
- Deadlines and court rules. Motions, responses, and briefs are governed by strict deadlines and formatting rules. A booklet with pages out of order is not a minor error—it could prejudice your argument or delay the filing. Court clerks are unlikely to accept a stapled packet with missing page numbers. The workflow must produce a document that matches the physical requirements of your local court (margins, binding, text size).
- Efficiency and billable time. Firms bill time in six-minute increments. If a legal assistant spends 30 minutes wrestling with Adobe Acrobat’s hidden booklet menu, that time is not recoverable from a client. Automated imposition tools eliminate trial-and-error, freeing staff to focus on substantive legal work. The cost of a booklet tool—even a paid subscription—is far lower than the cost of wasted time and the risk of a deadline miss. The reference guide notes that desktop imposition software is expensive and aimed at print shops; a browser-based tool with a free tier and a low-cost pro plan is a better fit ([K3][K4]).
The Workflow
This five-step workflow is adapted specifically for legal PDFs. It assumes you have a source PDF containing all exhibits and documents, but it also works when you need to merge multiple PDFs first.
Step 1. Prepare the Source PDF (Merge and Normalize)
Start by creating a single PDF that contains all materials in the order they should appear in the booklet. Use a PDF merger tool (or your existing PDF editor) to combine multiple files. As you merge:
- Verify the page count and the logical order of every page. A client-email attachment might be inserted in the wrong spot; a scanned signature page might be rotated.
- Check for accidental blank pages. A scanner often captures a blank sheet between documents. Remove these before running the layout process.
- If the source PDF has a bookmark outline, keep it—many booklet tools will preserve bookmarks in the output PDF, which helps your in-house reviewers navigate.
Time tip: Budget 2–5 minutes for this step. It is not the same as editing content; it is just mechanical assembly.
Step 2. Evaluate the Page Count (and Plan for Blank Pages)
Booklet imposition for saddle-stitched (staple-through-the-fold) booklets requires the total number of pages to be a multiple of four ([K2]). Each physical sheet holds four logical pages: two on the front, two on the back. If your PDF has 38 pages, the tool must add two blank pages to reach 40. If it has 41, it must add three.
Do not manually add blank pages in advance. Let the booklet tool do it, because it decides where those blanks logically fall. A good booklet tool automatically detects the shortfall and inserts blanks into the final imposed document ([K5]). This ensures that your last sheet has four sides, and the reader sees no gaps in page numbering.
Step 3. Run the Booklet Tool (Imposition, Gutters, and Output)
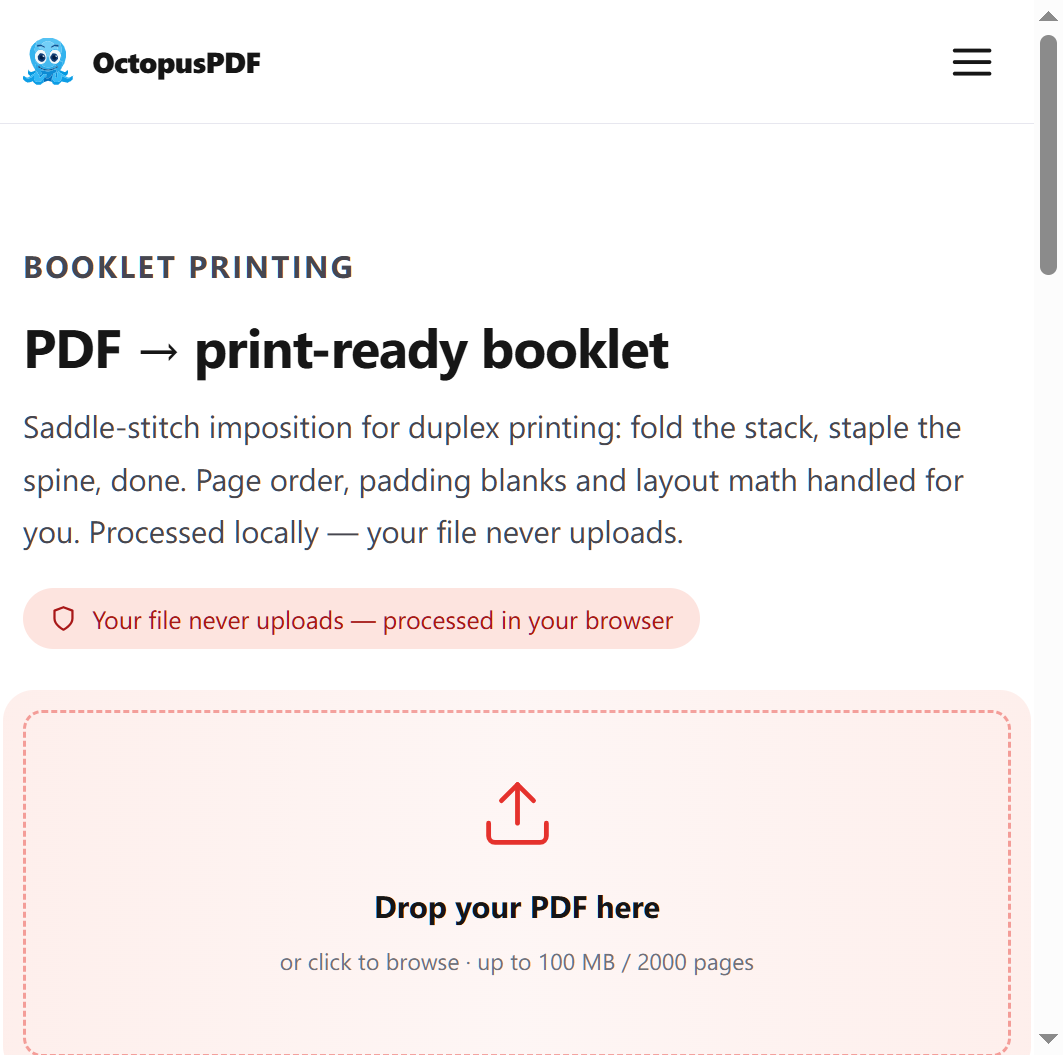
Once you have the source PDF, upload it to a dedicated booklet tool such as the OctopusPDF booklet tool. The tool performs the imposition algorithm automatically ([K3]). Here is what it does, step by step:
- Reads the page count and determines the number of physical sheets needed.
- Reorders the logical pages so that after duplex printing, the folded stack reads in the correct sequence.
- Adds a gutter margin—a small extra space at the fold—so that content near the spine is not swallowed by the binding ([K3]).
- Appends blank pages if needed to complete the last sheet ([K5]).
- Produces a new print-ready PDF that you can download and print.
During this step, choose your output settings carefully:
- Page size: Keep the same page size as your source PDF (e.g., Letter or A4). The tool will preserve that.
- Gutter width: For documents thicker than ~30 pages, a slightly wider gutter is safer. Start with the tool’s default; adjust only if you know your printer’s binding requires more.
- Resolution and color: If the booklet contains legal exhibits in grayscale or color, select the appropriate print quality. A pro-level subscription usually provides a print preflight report that flags low-resolution images or unembedded fonts ([K3]). Use that report to catch issues before printing.
Quality tip: Run a single test conversion with a small, non-confidential PDF to confirm the tool’s output matches your expectations. This is especially important on a new machine or when the tool undergoes an interface update.
Step 4. Verify the Print-Ready PDF (Preflight and Spot-Check)
After downloading the imposed PDF, do not print blindly. Open it in a PDF viewer and inspect it:
- Check that the first page appears on the correct side of the physical sheet. In a saddle-stitch booklet, page 1 usually sits on the front right side, page 2 on the back right side, and so on. Most imposed PDFs show pages in “physical sheet order,” not logical order. If your viewer shows 25, 2, 31, 4… that is correct for a 40-page booklet.
- Look for blank pages inserted by the tool. They should be genuinely blank, with no stray headers or footers.
- Verify that the gutter margins are consistent. If any text is too close to the inner fold, re-run the tool with a wider gutter.
- If you have the pro version with a preflight report, review it for images below 150 DPI, missing fonts, or pages with large areas of color that might cause show-through ([K3]).
Time tip: This verification step takes 2–3 minutes, not 20. You are only spot-checking the imposed output, not re-reading every page.
Step 5. Print and Bind (or Send to a Copy Shop)
Now you can print. If you have an in-office duplex printer:

- Select “Print on both sides of paper” and choose the flip on short edge / duplex flip setting recommended by your printer. A saddle-stitched booklet is flipped on the short edge when the paper is portrait.
- Print the entire imposed PDF. Printing order is already correct; do not change it.
- The printed sheets will be in the correct physical order. Fold the stack in half and staple through the fold (saddle-staple) using a long-arm stapler or a tabletop booklet maker.
If you send the imposed PDF to a commercial copy shop, include a short instruction note: "This is a saddle-stitched booklet PDF. Print duplex, short-edge flip, and saddle-staple." The copy shop will handle the rest.
Compliance & Best Practices
- Check your court’s formatting rules. Most courts specify page size, margins, and line spacing. Verify that the page size in your PDF matches the required size. The booklet tool’s gutter margin is an internal margin for binding, not a substitute for the court’s required side margin. If your court requires a 1-inch left margin, your PDF must already have that margin before imposition.
- Do not rely on Acrobat Pro’s booklet menus. The reference guide notes that Acrobat Pro is expensive and hides booklet printing in five menu layers ([K4]). Even if you have a license, you may still need a separate imposition tool for automatic blank-page insertion.
- Keep the original and the imposed PDF as separate files. Do not overwrite your original PDF with the imposed version. Store both under descriptive file names (e.g.,
Smith_v_Jones_Motion_Exhibits.pdfandSmith_v_Jones_Motion_Exhibits_booklet_print.pdf). This prevents accidental destruction of the source. - Use the print preflight report for privilege checks. When you use a pro-level tool with a preflight report, take a moment to review the report for any embedded author names or hidden metadata from the original PDFs. Some document editors embed comments or tracked changes that can be unintentionally visible in the output. Clean metadata before uploading to the booklet tool.
- Confirm the vendor’s data retention. If you are uploading sensitive legal documents, read the tool’s privacy policy or terms of service. The OctopusPDF booklet tool is a dedicated converter; still, verify that processing history is not stored longer than necessary. When you finish, delete the uploaded file from the cloud service if the interface allows it.
Quick Reference Table
| Task | Recommended Approach | Caution |
|---|---|---|
| Merge PDFs from collaborators | Use a dedicated PDF merger; verify page order | Remove accidental blank pages and rotated scans first |
| Check page count for booklet | Ensure total pages are a multiple of 4 for saddle-stitch ([K2]) | Do not manually add blanks—let the tool insert them ([K5]) |
| Perform imposition and reorder pages | Use an automatic booklet tool like OctopusPDF booklet tool ([K3]) | Do not try to reorder manually—success rate is about 60% ([K4]) |
| Add binding gutter | Let the tool add gutter margin automatically ([K3]) | Adjust only if your printer or court requirements demand more width |
| Verify output | Review imposed PDF; use preflight report in pro version ([K3]) | Missing fonts or low-DPI exhibits may show poorly |
| Print the booklet | Use duplex printing with short-edge flip | Confirm your printer can handle double-sided output before starting |
| Handle confidentiality | Check the tool’s privacy policy and delete uploads after conversion | Do not upload privileged files to a service with unclear retention |
FAQ
Q1. Can I create a booklet directly from Word, Excel, or PowerPoint?
No. Word cannot perform imposition; it organizes pages for normal reading order, not for folded-sheet printing ([K4]). Excel and PowerPoint have similar limitations. The correct approach is to export your document to PDF first, then run the PDF through a booklet tool like OctopusPDF. This preserves your formatting and ensures that fonts, images, and spacing remain stable.
Q2. My PDF has 40 pages but one page is intentionally blank in the middle. Will the tool treat it as a block?
Yes, the tool will treat it as a logical page. If a page in your original PDF is intentionally blank (e.g., a divider behind the last exhibit), it will appear as a blank page in the booklet. That is acceptable. The tool only adds additional blank pages when the total count is not a multiple of four ([K5]). If you have an unintended blank page, remove it in a PDF editor before step 3.
Q3. What if I need a booklet with a different binding method, such as spiral coil or perfect binding?
The saddle-stitch workflow described here is for booklets that fold at the spine and are stapled through the fold. For coil or perfect binding, the imposition logic is different—pages are simply in numerical order across the sheet. You would not use a saddle-stitch tool. Instead, you can use a standard PDF printer with “print booklet” set to “Off,” or ask your copy shop to impose the PDF for spiral binding. The free tier of many booklet tools supports only saddle-stitch because that is the most common walk-up use case ([K3]).
Conclusion
Legal professionals do not need to become print-imposition experts. The efficient workflow is clear: merge your source materials into one PDF, check the page count, run that PDF through an automated booklet tool that handles imposition, gutters, and blank pages, and then verify the preflight output ([K3][K4][K5]). This eliminates the 60% error rate of manual reordering and the confusion of Acrobat Pro’s hidden menu structures ([K4]), giving you a print-ready file in minutes instead of an evening of frustration.
What to do next: If you have not used a booklet tool for legal work, start with the free tier of OctopusPDF booklet tool (3 conversions/day) and run a small, non-confidential PDF through it. Once you see the imposed output, you will understand why manual reordering is now a thing of the past. For repeated use, upgrade to the pro plan to unlock unlimited conversions and the full print preflight report that can catch issues before they reach the courtroom ([K3]). Your next deadline will thank you.