The short answer: To remove metadata from an insurance claim PDF, use a dedicated PDF sanitization tool that physically deletes hidden data—such as author names, document dates, software fingerprints, and embedded file information—before sharing the claim file with third parties. The most reliable method is to run the PDF through a redaction/sanitization feature that strips metadata in one pass, then verify the output by inspecting the file’s properties and document information [K3] [K4].
What You Will Need
Before you start the metadata removal process, gather the following tools and resources:
- The original insurance claim PDF that contains sensitive claimant information. Ensure you have a backup copy stored offline.
- A PDF sanitization or redaction tool. One option is OctopusPDF’s Redact/Sanitize tool, which runs locally and physically deletes metadata [K5]. Other viable alternatives include Adobe Acrobat Pro’s "Sanitize Document" function, Sejda’s PDF cleaner, or open-source tools like ExifTool for power users.
- A PDF viewer/editor (e.g., Adobe Acrobat Reader, Foxit PDF Reader) to inspect document properties before and after sanitization.
- A stable internet connection if you use a browser-based tool. For local processing, ensure your software is installed and up to date.
- Access to the claim file’s source images (if you generated the PDF yourself) to understand what original metadata may have been carried over [K1].
- Approximately 5–10 minutes of uninterrupted work time, depending on file size and processing method.
Note on compliance context: Claims adjusters handle protected health information (PHI), personal identifiable information (PII), and financial data. Failure to remove metadata may constitute a breach of GDPR or similar data protection regulations, especially when files are forwarded to external parties like legal counsel or reinsurers [K4].
Step-by-Step Instructions
The procedure below assumes you are using a sanitization tool that runs locally or in a browser with no cloud storage of your file. The steps are written generically but include specific toggles and button names where they are standard across tools.
Step 1. Create a Backup Copy of the Original Claim PDF
- Action: Copy the original insurance claim PDF to a secure local folder, separate from your working directory.
- Why this matters: Sanitization is a destructive process—it physically removes data. If you make a mistake or need to reference the original content later, you cannot undo the deletion. A backup ensures you retain a recovery point.
- Watch out: Do not store the backup on a shared network drive or cloud service if the claim contains sensitive data. Use a local, encrypted drive.
[Insert screenshot: A file explorer view showing a "backup" folder with a copied PDF file]
Step 2. Choose and Launch Your PDF Sanitization Tool
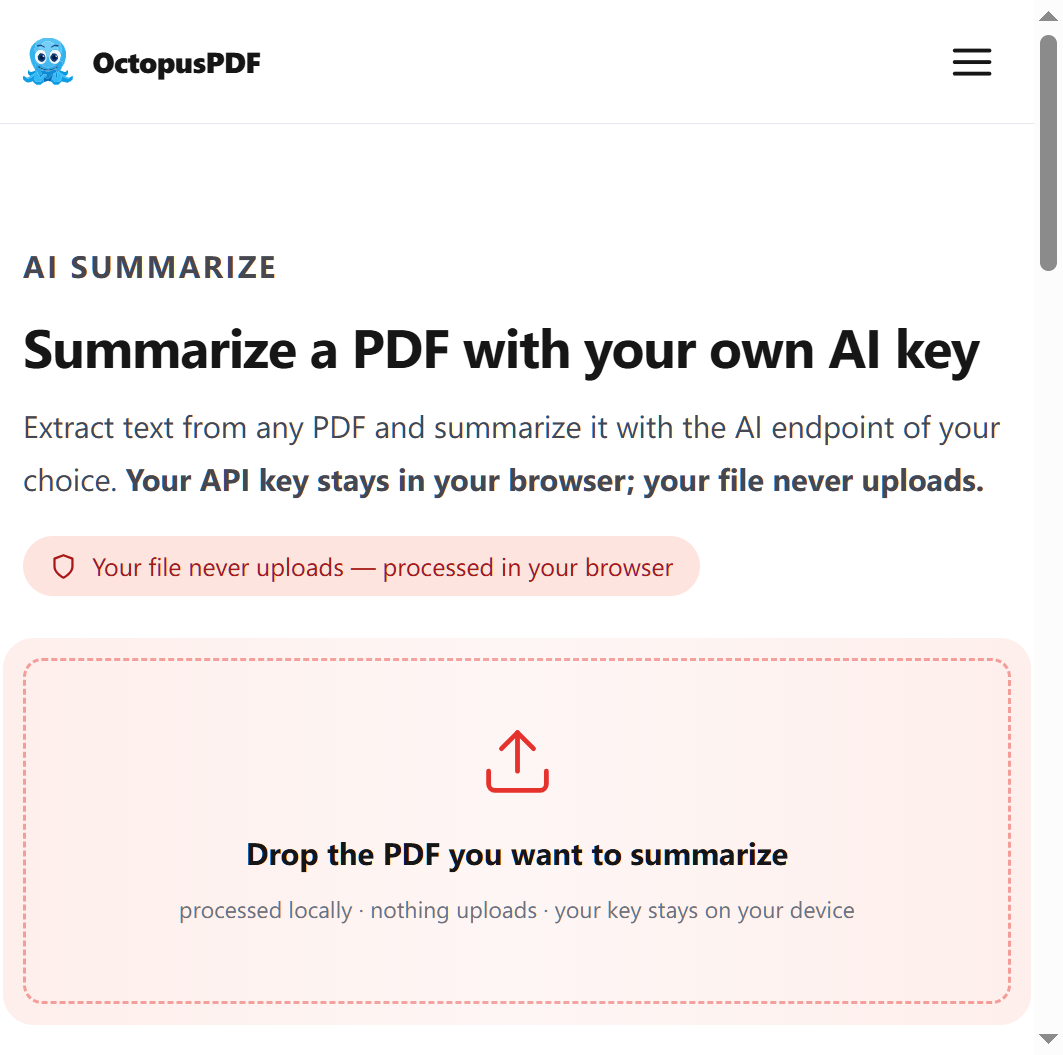
- Action: Open your chosen sanitization tool. For a browser-based option, navigate to the sanitize/redact section of the tool’s website. For desktop software, launch the application.
- Why this matters: The tool must have a specific "sanitize" or "redact" feature—not just a generic PDF editor. Generic editors often only change visible content, leaving hidden metadata intact. A proper sanitization tool targets the full scope of hidden data: metadata, comments, annotations, deleted content remnants, embedded files, hidden layers, and form field values [K3].
- Watch out: Some free online PDF tools upload your file to a server for processing. Claims data is highly confidential. Verify the tool’s privacy policy states that processing occurs locally in your browser. If this is not the case, choose a locally installed alternative.
[Insert screenshot: A browser tab or desktop window showing a sanitization tool’s landing page]
Step 3. Upload the Insurance Claim PDF (If Applicable)

- Action: Drag-and-drop the claim PDF file into the tool’s upload area, or click the "Choose File" or "Select" button to browse for it.
- Why this matters: This step is straightforward but is also a common failure point. The tool will only process files that meet its size and format limitations. For example, a free tool might cap uploads at 20 MB or fewer; Pro or paid versions may accept larger files up to 100 MB [K5].
- Watch out: If the file exceeds the free size limit, you will need to either compress the PDF first or upgrade to a larger allowance. Do not try to bypass the limit by renaming the file extension; this will produce an error.
[Insert screenshot: A file selection dialog or drag-and-drop zone with a PDF file being added]
Step 4. Begin the Sanitization Process
- Action: Locate and click the button labeled "Sanitize," "Redact," or "Clean." In some tools, this is a multi-step process where you first run a "Find and Redact" analysis, then confirm a sanitization pass.
- Why this matters: This is the core action that strips the PDF of metadata and hidden content. Depending on the tool, you may see a summary of what was detected—such as "3 metadata tags found" or "2 embedded files removed." This summary confirms that the tool is working on the actual hidden data, not just the visible text.
- Watch out: Do not cancel the process once it starts, even if it seems to hang. Large claim PDFs with many embedded images can take a minute or more to process. Wait for the completion indicator.
[Insert screenshot: A progress bar or status message indicating sanitization in progress]
Step 5. Download the Sanitized PDF to a New Location
- Action: After the process completes, click "Download" and save the sanitized file to a different filename (e.g.,
claim_2026_final_clean.pdf) and a different folder than the original. - Why this matters: Saving with a new filename prevents you from accidentally mixing up the cleaned and uncleaned versions. It also creates a clear audit trail: you can always identify which file has been processed.
- Watch out: If your tool presents an option to "overwrite original," decline it. Always keep the original backup intact until you have verified the sanitized output.
[Insert screenshot: A download dialog showing a renamed PDF file being saved]
Step 6. Inspect the Output’s Document Properties
- Action: Open the downloaded, sanitized PDF in a standard PDF viewer (e.g., Adobe Acrobat Reader). Navigate to the "File" menu, then select "Properties" or "Document Properties" (keyboard shortcut: Ctrl+D on Windows, Cmd+D on Mac).
- Why this matters: This is the first verification step. The metadata fields—Title, Author, Subject, Keywords, Creation Date, and Modification Date—should be blank or show generic defaults. If any claimant name, adjuster ID, or internal document date still appears here, the sanitization failed [K3].
- Watch out: Some PDF viewers cache the document properties of the original file. If you just downloaded the file, close your viewer entirely and reopen it before checking properties. Otherwise, you may be viewing stale data.
[Insert screenshot: The Document Properties dialog showing empty Author and Title fields]
Step 7. Verify Hidden Content Was Removed (Optional but Recommended)
- Action: If your PDF editor supports it (e.g., Adobe Acrobat Pro), click "View" > "Show/Hide" > "Navigation Panes" > "Content," or look for an "Attachments" icon in the file details. Confirm that no embedded files remain and that no hidden layers exist in the layers panel.
- Why this matters: Metadata is only one category of hidden data. Embedded files (documents attached to the PDF) or hidden layers can carry sensitive information that a metadata viewer won’t reveal. A complete compliance check must include these [K3].
- Watch out: Basic free PDF readers often cannot display this level of detail. If you do not have a professional editor, consider using a dedicated inspection script or tool that parses raw PDF objects, or rely on the sanitization tool’s post-process summary if it lists what was removed.
[Insert screenshot: A PDF editor showing an empty "Attachments" panel]
Step 8. Name and Store the Sanitized File According to Your Compliance Policy
- Action: Rename the file (if not already done) to include a "clean" indicator, and move it to your document management system’s designated sharing or outgoing folder.
- Why this matters: This operational step ensures that the next person to touch the file (e.g., a legal reviewer, a reinsurer, a claimant) receives the sanitized version, not the original. Clear naming conventions prevent accidental release of dirty files.
- Watch out: If your claims management software automatically scans a folder for outgoing emails, ensure the folder syncs the sanitized file only. Set folder permissions to restrict write access to prevent someone from replacing the clean file with the original.
Common Mistakes / Troubleshooting
| Problem | Likely Cause | Fix |
|---|---|---|
| Document Properties still show the claimant’s name and date after processing. | The tool you used only removed visible content or performed a superficial "edit" rather than a physical sanitization. | Re-run the file through a dedicated sanitize function. If your current tool does not have a clear "Sanitize" option, switch to a different tool that explicitly lists "metadata removal" as a core feature. Verify the post-process report. |
| File size did not change at all after sanitization. | The PDF may contain no metadata to begin with (some scans generate minimal metadata), or the tool failed to process the file synchronously. | Confirm the tool actually processed the file—check for a "success" status or a summary. If the tool is quiet, treat the removal as unverified and test with a known-dirty file. |
| The sanitization tool fails to upload files larger than the free limit. | The file exceeds the size cap for the tool’s free tier. | Use the Pro version if available (which typically supports up to 100 MB), or reduce the PDF size first by recompressing images. Alternatively, use a desktop tool with no size limits. |
| A colleague’s viewer still shows the original author when opening the file. | Their viewer may have cached the file, or they are looking at an older version. | Ask them to close and reopen the viewer, or re-download the file from the shared location. Verify the file hash or compare file modification dates excludes the original. |
| Removing metadata also removed annotations that the adjuster wanted to keep. | The sanitization process strips all annotations and comments, per compliance output. This is expected behavior. | If annotations are required for internal review, do that review before sanitization. Once sanitized, the file should be annotation-free for external release [K3]. |
How to Verify Success
Use the following checklist to confirm the insurance claim PDF is compliant for release:
- Document Properties: Open the file in your PDF viewer and check File > Properties. The fields Author, Title, Subject, Keywords, Creation Date, and Modification Date are empty or set to generic defaults.
- Embedded Attachments: Confirm the PDF viewer shows no attachment icons or "Attachments" panel entries.
- Hidden Layers: If available, open the Layers panel and confirm no layers are present.
- File size/name: The filename clearly indicates it is the sanitized version (e.g., includes
_clean), and it is stored in the designated "outgoing" folder. - Source traceability: The original unsanitized file exists only in your encrypted backup folder, not in any shared workspace or email draft.
If any item on this checklist fails, return to Step 4 and re-run the sanitization process with a different tool, or repeat the process and verify the output again.
FAQ
Q1. Will removing metadata change the visible content of the insurance claim PDF?
No. Sanitization removes hidden information (metadata, annotations, hidden layers, embedded files, and form field values) but does not alter how the visible text, images, or page layout display in a normal PDF viewer [K3]. Claims adjusters can safely sanitize claim files without risking the readability of the submitted evidence.
Q2. Can I just use "Save As" in my PDF reader to remove metadata?
No. Using "Save As" in a standard PDF viewer re-writes the file but often preserves the original document metadata (and sometimes even adds new metadata from the viewing application). To physically delete metadata, you must use a tool with a dedicated sanitize or redact function that specifically targets hidden data [K3].
Q3. Is it safe to use online PDF sanitization tools for confidential insurance claims?
Only if the tool explicitly states that processing occurs locally in your browser and that your file is never uploaded to a server. One option is OctopusPDF’s Redact/Sanitize tool, which advertises a 100% local operation [K5]. However, for highly sensitive claims, the safest route is to use a desktop application that functions entirely offline. Always verify the privacy statement of any online tool before uploading claim PDFs containing PHI or PII.
Key Facts
- Sanitization removes more than metadata: It also deletes comments, annotations, hidden layers, embedded files, form field values, and content that was previously "deleted" but still present in the file structure [K3].
- Compliance risk: Failure to sanitize claim PDFs may violate data protection laws such as GDPR, particularly when documents are shared with external parties [K4].
- Local processing is available: Some sanitization tools offer browser-based processing that runs 100% locally, which is safer for confidential claims than cloud-based offerings [K5].
- File size and usage limitations vary: Free tool tiers may cap files at 20 MB and limit you to 3 conversions per day, while premium tiers often support 100 MB files and batch processing [K5].
- Output PDFs can be clean from the start: When generating PDFs directly from images (e.g., scanned claim documents), using a conversion tool that outputs clean PDFs with no EXIF or camera metadata can prevent the issue from arising in the first place [K1].