Saddle Stitch Booklet PDF: Crop Marks and Registration Marks for 2025 Print Runs
Target keywords: saddle stitch booklet PDF, crop marks, registration marks, imposition
TL;DR: Crop marks and registration marks go on the imposed sheet, outside the bleed. Preflight single pages first, resolve the multiple-of-4 rule, impose for saddle stitch, set creep and gutter, flip duplex on the short edge, then add marks. One folded proof catches wrong order, wrong flip, and marks inside the trim.
Key Facts
- Saddle-stitch imposition reorders PDF pages so duplex printing and folding produce the correct reading order. Each physical sheet holds four logical pages, two per side.
- A saddle-stitched booklet requires a page count divisible by 4. Blank pages complete the last sheet; place them at the back unless the client specifies otherwise.
- For an 8-page booklet: Sheet 1 (outside): page 8 | page 1 (back) / page 2 | page 7 (front); Sheet 2 (inside): page 6 | page 3 (back) / page 4 | page 5 (front).
- Crop marks and registration marks belong on the imposed sheet, outside the bleed, so the trimmer removes them. Marks applied to single pages before imposition land inside the live area.
- Set MediaBox to the full sheet size, BleedBox to trim plus bleed, and TrimBox to final trim size. Never let TrimBox include crop marks or registration targets.
The Challenge
A 28-page A4 portrait PDF arrives at 4 p.m. for saddle-stitched programmes. It looks clean on screen, but imposition exposes three faults: crop marks sit in the live area, 28 pages ignore the multiple-of-4 rule, and registration marks were placed page-by-page. All three come from doing marks before imposition; marks go on the imposed sheet, outside the bleed.
Why This Matters for Print Shops
- Reprint risk and paper waste. Marks that fall inside the trim land on the finished page. On a 500-copy run of a 28-page booklet, catching that after binding is a full reprint, not a re-trim. Sheet-level marks placed outside the bleed are removed by the trimmer automatically.
- Press time lost to re-imposition. Every re-imposition consumes a machine slot. A shop that imposes correctly the first time — correct page order, correct duplex flip, correct blank placement — keeps the digital press and the folder running instead of waiting on a corrected file.
- Client confidentiality and file handling. Print shops routinely handle legal, medical, financial, and personnel documents. Uploading a client's booklet PDF to an unknown third-party converter can breach a confidentiality clause. Knowing whether your imposition tool runs locally or in the cloud is a business decision, not a technical detail.
- Creep at the spine. In a saddle-stitched booklet, inner pages push outward at the fold as the sheet count grows. The gutter margin has to absorb that creep, or text drifts into the fold. This is why imposition tools set gutter margins as part of the imposition stage rather than as a post-print fix.
The Workflow
A repeatable sequence for a print shop running saddle-stitched work.
Step 1. Preflight the source PDF before touching layout
Confirm the file is single pages in reading order, not spreads. Check that fonts are embedded, images are at output resolution, and colour is CMYK for offset or CMYK-safe for digital. Fix source problems now. Re-imposing a corrected file is cheap; re-imposing a file that is still wrong is not.
Step 2. Count pages and resolve the multiple-of-4 rule
A saddle-stitched booklet needs a page count divisible by 4. A good booklet tool detects a page count that is not a multiple of 4 and adds blank pages automatically. Decide where the blanks go — usually at the back — before imposing, and confirm the result matches the client's intent.

Step 3. Confirm trim size, bleed, and safety margin
Set three boxes deliberately:
- MediaBox = full imposed sheet size including bleed and marks.
- BleedBox = trim plus bleed.
- TrimBox = final cut size. Never let TrimBox expand to include crop marks.
Typical shop practice is 3 mm (0.125 in) of bleed on all four sides and a safety margin of at least 5 mm inside the trim for text. If the client's art was built without bleed, decide now whether to scale, extend a background colour, or send it back — not after imposition.
Step 4. Impose for saddle stitch
Imposition is the process of reordering PDF pages so that when printed double-sided and folded, the pages appear in the correct reading order. For an 8-page booklet the sheet order is specific and worth memorising:
- Sheet 1 (outside): page 8 | page 1 (back) / page 2 | page 7 (front)
- Sheet 2 (inside): page 6 | page 3 (back) / page 4 | page 5 (front)
A booklet tool handles this reordering automatically for duplex printing and folding, with gutter margins.
Step 5. Add creep compensation and gutter margin
Set the gutter margin to match the paper caliper and the total sheet count. Use these starting allowances for a 32-page booklet, then verify with a folded dummy:
| Paper stock | Starting creep allowance for a 32-page booklet |
|---|---|
| 80 gsm uncoated | 1.0–1.5 mm total at the spine |
| 130 gsm silk | 2.0–2.5 mm |
| 170 gsm uncoated | 3.0–4.0 mm |
The thicker the booklet, the larger the shingling allowance. Set the gutter margin to at least the creep allowance plus the 5 mm safety margin. Print a folded dummy of the thickest signature before committing the run.
Step 6. Set the duplex flip correctly
Portrait booklets normally require duplex flipping on the short edge. A wrong flip produces backs that are upside down relative to the fronts. That mistake is invisible in the PDF preview and obvious only after folding.
Step 7. Place crop marks on the imposed sheet, outside the bleed
Crop marks should indicate the trim corners and sit clear of the bleed. The standard ordering is: artwork → bleed → crop marks → sheet edge. Anything placed inside the bleed will be printed on the finished page.
Step 8. Place registration marks at the sheet edges
Registration targets go on the flat sheet, outside the trim and typically outside the crop marks, so they survive the printing stage and are removed by the trimmer. If your RIP adds registration marks automatically at output, do not add a second set. Duplicated targets confuse the operator. If you must add manual marks, place them in a dedicated slug area outside the RIP mark zone and disable auto marks for that job, or let the RIP own all registration targets.
Step 9. Verify with a folded proof, then deliver
Fold a proof on the actual stock. Check page order. Check that the gutter clears the fold. Check that the marks are outside the trim. Deliver the imposed PDF with the correct TrimBox set, plus a preflight report if your tool produces one.
Compliance & Best Practices
- Keep marks outside the bleed, always. Crop marks and registration marks are press furniture, not artwork.
- Never bake trim marks into the client's single-page art. Strip them in preflight, then let the imposition stage produce sheet-level marks.
- Preserve the client's confidentiality. For legal, medical, HR, or financial documents, prefer a tool that processes the file locally, or a converter with a clear data-handling policy.
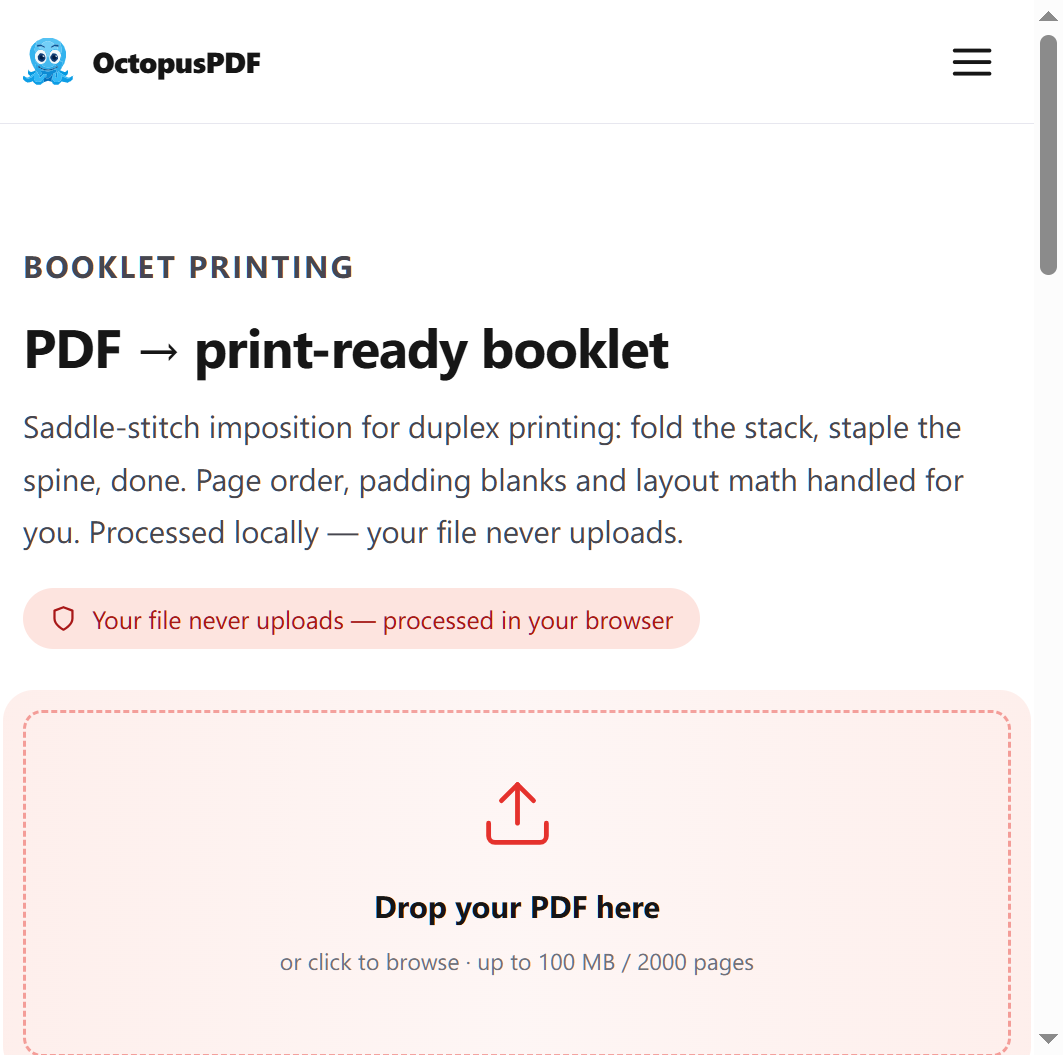
- Know your alternatives. Adobe Acrobat Pro's booklet printing handles simple imposition inside a familiar PDF editor. Quite Imposing Plus adds imposition, marks, and creep control to Acrobat for production workflows. BookletCreator is a low-cost dedicated saddle-stitch imposition utility. Open-source command-line tools such as pdfbook2 and psbook script the same reordering for batch work. OctopusPDF's booklet tool is another option when you want local processing, automatic page reordering, gutter margins, and a print-ready PDF without sending client files to a cloud converter. Choose based on local processing, batch scripting, preflight reporting, and data policy.
- Log the job settings. Trim size, bleed, creep allowance, duplex flip, and page count belong on the job ticket so a reprint three months later matches the original.
- Separate output intent from proofing. Marks that help the press operator should not appear in client-facing PDF proofs.
Quick Reference Table
| Task | Recommended Approach | Caution |
|---|---|---|
| Page count not a multiple of 4 | Let the booklet tool add blank pages automatically | Confirm where blanks land so the back cover stays correct |
| Client-supplied crop marks | Strip them in preflight; reapply at sheet level | Marks inside the bleed will print on the finished page |
| Registration marks | Place on the imposed flat, outside trim, at the sheet edges | Check whether the RIP also adds targets; duplicated sets confuse the operator |
| Page reordering | Use automatic imposition for duplex folding | Manual reordering is where 8-page order errors originate |
| Gutter margin | Set it with creep compensation before output | Too small a gutter pulls text into the fold |
| Duplex output | Flip on the short edge for portrait booklets | Wrong flip produces upside-down backs, visible only after folding |
| Confidential documents | Process locally or use a converter with a stated data policy | Cloud upload can breach a client NDA |
| PDF boxes | MediaBox = sheet; BleedBox = trim + bleed; TrimBox = trim | TrimBox must not include crop or registration marks |
FAQ
Q1. Why do crop marks appear inside the printed pages of my booklet?
They were applied to the single-page source PDF before imposition. Once the file is imposed, four logical pages share one sheet, so page-level marks no longer align with any trim edge. Strip the source marks, impose first, then add crop marks to the imposed sheet outside the bleed.
Q2. Do I need registration marks on a digitally printed booklet?
It depends on the press and the RIP. Registration targets matter most for multi-plate offset work and for checking colour-to-colour fit. On some digital presses the RIP generates its own marks at output, in which case adding a second set is counterproductive. Check your device's output settings before placing marks manually.
Q3. What if the client's PDF has 22 pages?
22 is not a multiple of 4, so two blank pages are needed to complete the final sheet. The safest placement is usually at the very back, keeping the front cover and the first spread intact — but confirm with the client, because some designers deliberately plan a blank inside back cover.
Q4. Can I add crop marks before the blank pages are inserted?
You can, but you should not. Blank-page insertion changes the total sheet count and therefore the number of imposed flats. Do the arithmetic first, impose, and then apply marks so they land on the correct sheets.
Conclusion
The order of operations is the whole lesson: preflight, count pages, resolve the multiple-of-4 rule, impose for saddle stitch, compensate for creep, then place crop marks and registration marks on the imposed flat, outside the bleed. Marks added anywhere earlier in that chain end up somewhere they cannot be trimmed.
Run one live job through this sequence this week — a 16-page or 20-page booklet with a known page count. Fold the proof yourself. Check the trim corners before the run goes to the binder. One accurate folded proof is worth more than any number of on-screen previews.