Convert a Stack of Handwritten Field Notes to a Searchable PDF for a Geologist on a Windows PC
To convert a stack of handwritten field notes into a searchable PDF on a Windows PC, scan or photograph every page as a JPG or PNG at 300 DPI, combine those images into a single PDF with one image per page, and then run OCR to add a searchable text layer over the scans, while remembering that handwriting recognition is less accurate than typed-text OCR.
Field geologists accumulate notebooks of lithology logs, structural measurements, sample IDs, and sketch maps. Those notes are only as useful as your ability to find a specific outcrop or formation name months later. The workflow below turns a paper stack into one searchable PDF using Windows 10/11 tools, with free options at every stage.
The pipeline has three functional parts: digitize (paper to images), assemble (images to one PDF), and apply OCR (text layer over the images). Plan on a few minutes per page for scanning, plus a few minutes for assembly and OCR.
What You Will Need
- A Windows PC running Windows 10 or 11
- A flatbed scanner that can output JPG or PNG (most multi-function printers qualify), or a smartphone with a 12 MP or better camera and a scanning app such as Microsoft Lens
- A USB cable or a cloud folder (OneDrive, Google Drive) to transfer phone photos to the PC
- A web browser — Microsoft Edge or Google Chrome
- An OCR tool — pick one: Adobe Acrobat Pro (Windows), OCRmyPDF (free, command line), or Microsoft OneNote (free, best for handwriting search)
- Optional: a PDF metadata editor so the final file has a proper title and author
Step-by-Step Instructions
Step 1. Sort and number the field notes
- Action: arrange the stack in the exact order the PDF should show it.
Field notebooks have a natural reading order; loose pages and fold-out maps need special handling. If the pages are not already numbered, write a light pencil number in the bottom corner of each page so the order is verifiable after scanning. Keep cover sheets, waterproof field pages, and graph-paper logs in the same sequence you would hand to a colleague.
Watch out: do not skip fold-out maps. Scan each fold-out flat, at full size, on the flatbed even if part of the scanner lid has to stay open. That page gets its own image, so it keeps its place in the sequence.
[Insert screenshot: a numbered stack of field notes in reading order]
Step 2. Scan every page at 300 DPI as JPG or PNG
- Action: use the built-in Windows Scan app to digitize each page.
Open the Windows Scan app from the Start menu (if it is not installed, get it from the Microsoft Store, free). Place one page face-down on the flatbed, select your scanner, set the resolution to 300 DPI, choose JPG or PNG, and save the images into one folder, for example C:\FieldNotes. Save the files in exact page order as 001.jpg, 002.jpg, and so on.
Why 300 DPI: it is the lowest resolution at which OCR reliably reads characters. 150 DPI produces blurry letters, and 600 DPI roughly quadruples the file size without much OCR benefit.
[Insert screenshot: Windows Scan app settings showing 300 DPI and JPG output]
Step 3. If you used a phone, transfer the images to the PC
- Action: move the captured photos into the same folder on the PC.

Connect the phone with a USB cable and copy the images from the DCIM folder, or enable automatic OneDrive camera upload and let them sync. Rename the files to the same zero-padded order (001.jpg, 002.jpg, ...) so the assembly step follows the right sequence.
Watch out: phone photos are typically large (12 MP or more). If your OCR step becomes slow, resize the images to about 2,000 pixels on the longer edge with the Windows Photos app — but do this before assembly, not after, because the PDF pages are built from these images.
[Insert screenshot: File Explorer showing C:\FieldNotes with 001.jpg, 002.jpg, ...]
Step 4. Combine the images into one PDF
- Action: merge all JPG/PNG files into a single PDF, one image per page.
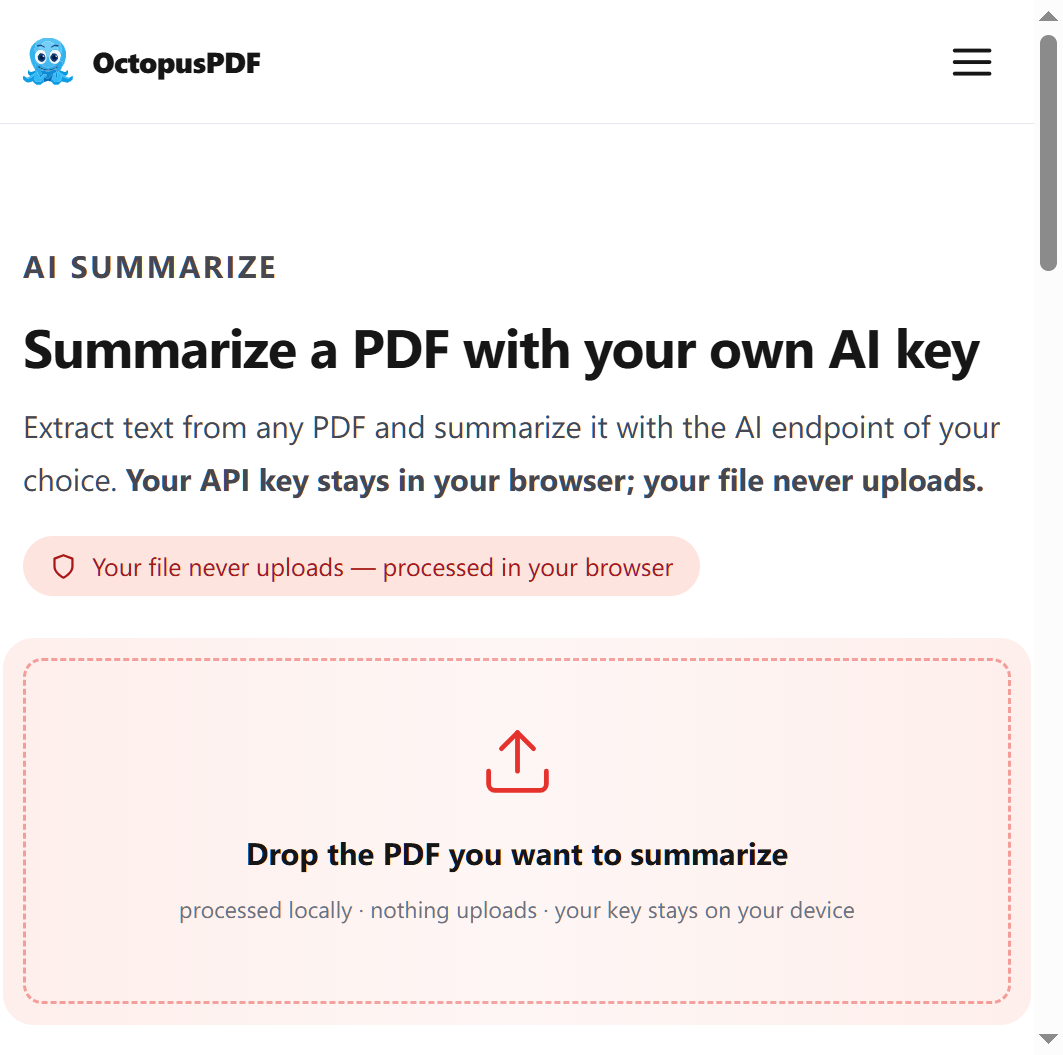
One option is a browser-based tool. OctopusPDF's Images to PDF tool accepts JPG and PNG files and outputs one PDF with each image on its own page, in the order you drop them in. The processing runs entirely in the browser tab using pdf.js and pdf-lib; the flow is: you drop the file, it opens in the browser, it is processed locally on your device, and you download the result. Files are not uploaded to a server.
Alternative (no extra software): select all images in File Explorer, right-click, choose Print, set the printer to Microsoft Print to PDF, choose the Full page photo layout, and click Print. Windows renders the images into a PDF you name and save.
Watch out: the images are placed in alphabetical order by file name. 10.jpg sorts before 2.jpg, so the zero-padded names from Step 2 are what keep the page order correct.
[Insert screenshot: OctopusPDF Images to PDF with JPG files dropped into the browser tab]
Step 5. Run OCR to add a searchable text layer
- Action: open the combined PDF in an OCR tool and generate the invisible text layer.
A PDF made from images is still just a set of pictures. OCR tools read the pixels and place an invisible text layer on top of each page — this layer is what Ctrl+F in a PDF reader actually searches.
- Option A (best for handwriting): Adobe Acrobat Pro. Open the PDF, then go to Scan & OCR → Recognize Text → This file → Start. Acrobat creates a searchable text layer over the scans.
- Option B (free, best for typed or neatly printed notes): install OCRmyPDF, then in PowerShell run:
ocrmypdf --deskew --rotate-pages field-notes.pdf field-notes-searchable.pdf
- Option C (free, handwriting search): Microsoft OneNote. Create a new notebook page, use Insert → File Printout to import the PDF pages, wait for OneNote to index them, then use the search box to find words inside the handwriting.
Watch out: handwriting OCR is never perfect. Pencil smudges, folds, and abbreviations cause wrong matches. Keep the original scans visible underneath the text layer and treat search hits as suggestions, not confirmed text.
[Insert screenshot: Adobe Acrobat Scan & OCR dialog with Recognize Text selected]
Step 6. Verify the text layer with Ctrl+F
- Action: open the final PDF in a PDF reader and search for a distinctive word.
Type a term from the notes that is unlikely to be garbled — a location name, formation name, or sample prefix. Highlighted matches mean the text layer works. In Acrobat you can also confirm by exporting the text: File → Export To → Text.
Watch out: if Ctrl+F returns zero results for a word that is clearly visible on the page, the text layer was not created. Rerun Step 5; do not proceed to archiving.
[Insert screenshot: PDF reader showing a highlighted search term]
Step 7. Add metadata so the file is identifiable (optional)
- Action: set a title, author, and subject inside the PDF properties.
A searchable PDF with no title shows up as a generic file in document managers. In Acrobat this is File → Properties → Description. If you used a browser-based PDF suite in Step 4, one option is OctopusPDF's Metadata tool, which edits the title and author fields in one click. A title such as Bighorn Basin Field Notes – June 2026 makes the file findable later.
Note: the OCR text layer is what makes the content searchable; metadata only helps file organization.
[Insert screenshot: PDF Properties dialog with title and author filled in]
Common Mistakes / Troubleshooting
| Problem | Likely Cause | Fix |
|---|---|---|
| Pages are in the wrong order in the final PDF | 10.jpg sorts before 2.jpg when combining alphabetically |
Rename all files to zero-padded numbers (001, 002, ... 010, 011) before Step 4 |
| OCR produces gibberish on handwritten pages | Photos or scans were taken below 300 DPI, or the page was angled | Rescan on a flatbed at 300 DPI with the page flat and its edges parallel to the scan bed |
| Print-to-PDF assembly crops or adds borders to pages | The Print Pictures layout is set to a bordered layout | In the Print dialog choose Full page photo and uncheck Fit picture to frame |
| Ctrl+F in the PDF reader finds nothing | The PDF is still image-only; OCR never ran | Rerun Scan & OCR in Acrobat, or run OCRmyPDF with the --force-ocr flag |
| The final PDF is too large to share by email | 600 DPI full-color scans | Rescan at 300 DPI in grayscale, or re-save the JPGs at quality level 80 before assembling |
How to Verify Success
- The PDF has exactly as many pages as the number of scanned or photographed pages (check the reader's page counter)
- The page order in the PDF matches the original field-note sequence from Step 1
- Ctrl+F finds at least one word that is visibly printed or written on a page, and highlights it
- The scanned images are still visible underneath the text layer — the PDF is a scan with searchable text, not text replacing the images
- The final file opens and searches correctly in a second PDF reader (for example, Microsoft Edge or Adobe Acrobat Reader)
- The filename and metadata clearly identify the project and date range
FAQ
Q1. Can I use a phone camera instead of a flatbed scanner?
Yes. Microsoft Lens (free) captures each page, crops the edges, and corrects perspective. Hold the camera parallel to the page on a flat surface with even lighting. Expect lower OCR accuracy than a flatbed scan because phone photos include slight perspective distortion, but the results are acceptable for archiving and backup.
Q2. Will OCR read messy handwritten field notes?
Partially. Standard OCR engines such as Tesseract are trained on printed text and will mangle cursive or dense handwriting. Tools with handwriting-aware indexing — Adobe Acrobat's Scan & OCR and Microsoft OneNote's handwriting search — will find many words, but expect errors on pencil smudges, fold lines, and abbreviations. Keep the original scans visible and use search results as pointers to the page, then read the image yourself.
Q3. Do browser-based PDF tools upload my files to a server?
Only if the tool says it does. Tools built on pdf.js and pdf-lib, such as the Images to PDF workflow described in Step 4, process the file inside the browser tab — the drop, process, download cycle stays on your device. Before sending sensitive field data anywhere, check the tool's privacy description and prefer tools that state they do not upload files.
Key Facts
- The complete pipeline — scan at 300 DPI, assemble into one PDF with one image per page, then run OCR — works on Windows 10/11 with free tools at every stage.
- Handwriting OCR accuracy is lower than typed-text OCR; the scanned pages stay visible as the authoritative record, and the text layer is a search aid.
- Browser-based PDF assembly tools built on pdf.js and pdf-lib process files entirely in the browser, with no server upload.
- Image-to-PDF assembly places exactly one scanned page per PDF page, making the page count the fastest verification that nothing was skipped.