To add page numbers to a course syllabus PDF for a new semester, open the PDF in a tool that supports header/footer stamping — such as a browser-based PDF tool, Adobe Acrobat Pro, or LibreOffice Draw — select a format like “Page X of Y,” choose a margin and page range, apply the numbers to all pages, and then verify them in print preview before distributing the file.
What You Will Need
- Your syllabus PDF (final version, ideally before you upload it to the LMS)
- A computer with a browser or a PDF editor. Any one of these will work:
- A browser-based PDF tool that processes files locally in the browser tab (one option is OctopusPDF, where files never leave the browser window)
- Adobe Acrobat Pro (desktop)
- LibreOffice Draw (free, open source)
- Apple Preview (built into macOS; supports basic text overlays)
- Optional: a test copy of the syllabus so you can practice on a duplicate
- Optional: if you plan to print the syllabus as a saddle-stitch booklet, check that the page count is a multiple of 4 before you start
Step-by-Step Instructions
Method 1: Browser-Based Stamping (No Software Installation)
Step 1. Open the Page-Number Stamping Tool in Your Browser
Open your browser and go to the OctopusPDF website, then select the page-number stamping tool. The processing runs locally in the browser window, so your syllabus file never uploads to a server. This matters for syllabi that contain student names, grade weights, or departmental policy text.
[Insert screenshot: browser showing the page-number tool selection]
Step 2. Upload the Syllabus PDF
Drag and drop your syllabus PDF into the upload area, or use the file picker. Wait for the preview to render. Most browser-based tools show a thumbnail or preview of the first page so you can confirm the correct file loaded.
[Insert screenshot: syllabus PDF loaded with page preview]
Step 3. Choose the Number Position and Footer Margin
Select where the page number will appear. Common choices:
| Position | Best for |
|---|---|
| Bottom center | Standard course syllabi |
| Bottom right | Syllabi with a narrow footer |
| Top right | Department templates that expect a header-style number |
Set the footer margin to at least 0.5 inches so the number is never clipped when printed. Watch out: if your syllabus already has a footer with your email or office hours, choose a different corner so the page number and the footer text do not overlap.
[Insert screenshot: position selector showing bottom center option]
Step 4. Choose the Format and the Start Number
Pick a format. “Page X of Y” is the most useful format for a syllabus because it tells students where they are in the document. Set the start number to 1 so the first page displays “Page 1 of N.” Watch out: some tools default to a start value of 0; change it to 1 before applying.

If you want to skip a cover page, use the page-range option (for example, “From 2 to 12”) and set the start number to 1 so the body of the syllabus begins at “Page 1 of 11.”
[Insert screenshot: format dropdown showing Page X of Y]
Step 5. Apply and Download the New PDF
Click the Apply (or Stamp) button, wait for the tool to render the new PDF, then download the result. Because the workflow runs locally in the browser, the output is a new PDF saved to your computer, and the original file is left untouched.
[Insert screenshot: download button highlighted]
Method 2: Adobe Acrobat Pro (Desktop)
Step 1. Open the Syllabus in Acrobat Pro
Launch Adobe Acrobat Pro and open the syllabus PDF.
Step 2. Open the Header & Footer Tool
Go to Tools > Edit PDF > Header & Footer > Add. This opens the “Add Header and Footer” dialog.
Step 3. Set the Page Number Format and Margin
In the dialog, place the cursor in the left, center, or right footer box, click Insert Page Number, and choose the “Page X of Y” style. Set the font size to 10 or 11 points so it matches the syllabus body text, and set the footer margin to at least 0.5 inches.
Step 4. Choose the Page Range
In Page Range Options, set the range to All Pages — or enter “From 2 to N” if you want to skip the cover. Watch out: the numbers in the page-range field refer to the visible page numbers of the document, not the physical file index. Click OK to apply.
Step 5. Save as a New File
Use File > Save As and add _numbered to the filename so you keep the original file intact.
Method 3: LibreOffice Draw (Free, Offline)
Step 1. Open the PDF in LibreOffice Draw
Open LibreOffice Draw, then go to File > Open and select the syllabus PDF. LibreOffice will import the PDF into an editable drawing document.
Step 2. Insert a Footer Text Box
Use Insert > Text Box and draw a small box in the bottom-center area of the first page.
Step 3. Insert the Page Number Field
Click inside the text box, then go to Insert > Field > Page Number. Watch out: in LibreOffice Draw, the page number field is per-page, not automatic across the whole document. You must copy the text box to every page or insert the field on each page individually.
Step 4. Export Back to PDF
Choose File > Export As > Export as PDF, set the compression options to your preference, and click Export.
Common Mistakes / Troubleshooting
| Problem | Likely Cause | Fix |
|---|---|---|
| Page numbers missing on the first page | The tool skipped the cover page, or the range was set to start at 2 | Re-open the header/footer settings and set the range to All Pages, or set the start page to 1 |
| Numbers are cut off at the bottom edge | Footer margin is too small | Increase the margin to at least 0.5 inches before applying the numbers |
| Numbers appear only on part of a merged syllabus | The file is a merged PDF and each section kept its own numbering | Remove existing page numbers first, then apply one uniform “Page X of Y” format |
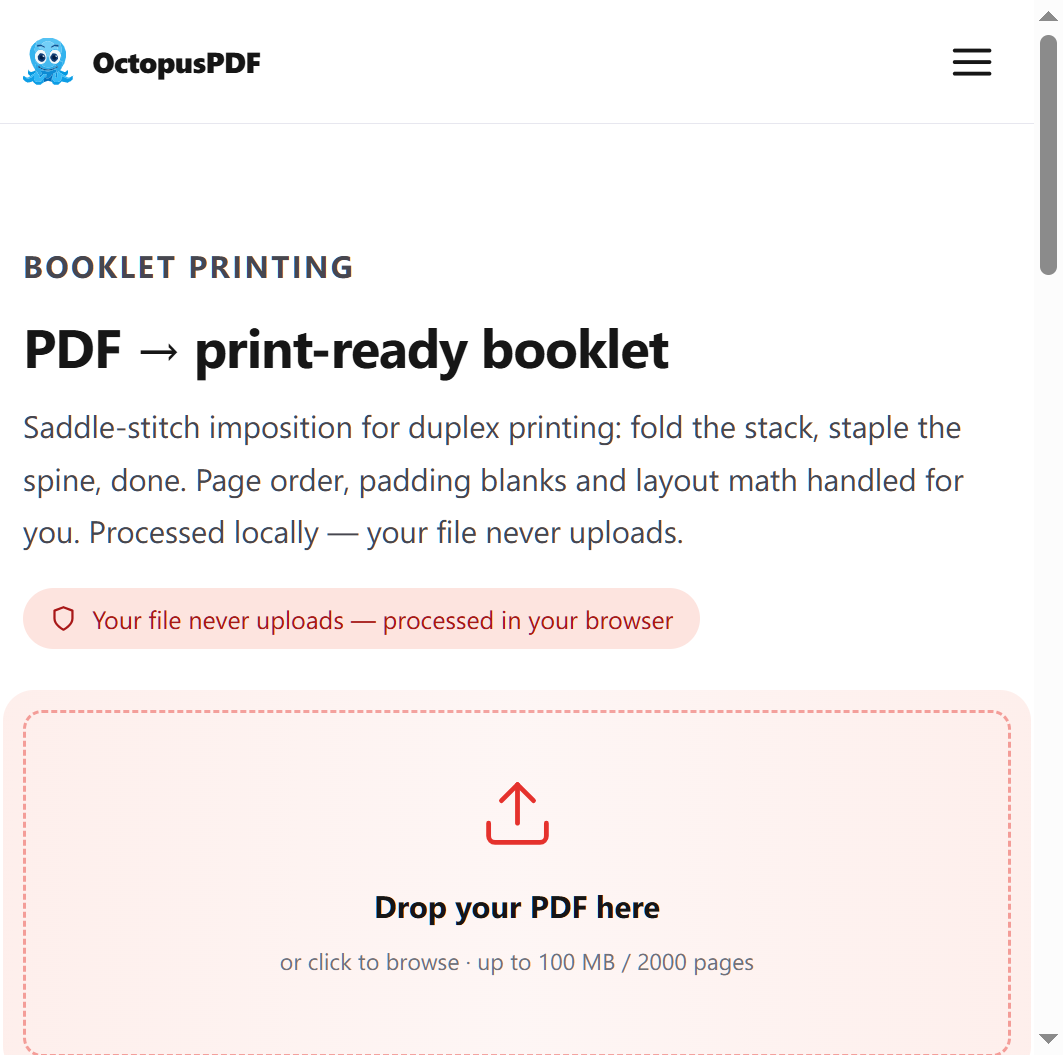
| Booklet prints pages in the wrong order | Page count is not a multiple of 4 for saddle-stitch binding | Add blank pages so the total is a multiple of 4; a booklet tool can detect and add these automatically, and reorder pages for duplex printing and folding |
| Students still see the old file in the LMS | The LMS cached the previous upload | Re-download the numbered PDF, rename it with the semester (for example, Syllabus_Spring2026_numbered.pdf), and upload again |
How to Verify Success
- Open the numbered PDF and scroll through every page.
- Page 1 shows “Page 1 of N” (or the format you selected).
- The numbers increase by 1 on each page, from 1 to the final page.
- No numbers overlap text, graphics, or the footer margin.
- Print preview (Ctrl/Cmd + P > Preview) shows a number on every page.
- If you plan to print a saddle-stitch booklet, the total page count is a multiple of 4.
FAQ
Q1. Do I need to install software to add page numbers to my syllabus PDF?
No. A browser-based PDF tool that processes files locally in the browser tab is one option and requires no installation; your file does not leave your device. Alternatively, you can use a desktop editor such as Adobe Acrobat Pro or the free LibreOffice Draw.
Q2. Can I start page numbering after the cover page?
Yes. Desktop tools and browser-based tools both let you set a page range (for example, “From 2 to 12”) and a start number, so the cover can remain unnumbered while the body of the syllabus starts at “Page 1 of 11.”
Q3. What if my syllabus is too short for booklet printing?
If you plan to print the syllabus as a saddle-stitch booklet, the page count must be a multiple of 4; otherwise blank pages must be added to complete the last sheet. A booklet tool can detect and add those blank pages automatically.
Key Facts
- Adding page numbers to a course syllabus PDF is a header/footer stamping operation: you select a position, a format (“Page X of Y”), and a page range, then export a new PDF.
- Browser-based PDF tools that run the job entirely in the browser window never upload the syllabus to a server, which keeps student-related content local.
- For saddle-stitch booklet printing, the PDF page count must be a multiple of 4; blank pages must be added to complete the last sheet when it is not.
- Booklet tools automatically reorder pages for duplex printing and folding, with gutter margins, so verify page numbers against the final booklet page order before printing.