Add watermarks to a photographer's high-res proof PDFs on an iPad before sending a client gallery link
To add watermarks to a photographer's high-res proof PDFs on an iPad before sending a client gallery link, open the finished proof PDF in a browser-based PDF tool that processes the file locally on the device, apply a text or image watermark with adjustable opacity in a diagonal or tiled layout, save the watermarked copy to the Files app, and then upload it to your client gallery service to generate the shareable link.
This workflow is designed for photographers who want to protect unselected proofs: the client can view, compare, and choose images, but the files carry a visible mark that makes them unusable for printing or unauthorized sharing. Because the whole process happens in a browser tab on the iPad, you do not need a desktop computer.
What You Will Need
- iPad running iPadOS 15 or later with Safari (or any modern browser such as Chrome or Edge).
- The finished high-resolution proof PDF, saved in the Files app (for example, exported from Lightroom, Capture One, or another photo application).
- A watermark asset, which is either:
- a text phrase such as "PROOF – © Your Name – www.yourwebsite.com", or
- a logo file in PNG format with a transparent background.
- A client gallery delivery service such as Pixieset, ShootProof, Pic-Time, or any similar platform that generates a client link.
- An internet connection to load the browser tool. Note: a connection is only needed to load the tool's code — the PDF itself can be processed entirely on the iPad (K5).
Step-by-Step Instructions
Step 1. Confirm the proof PDF is final before watermarking
Open the PDF in the Files app and scroll through every page. Check that the page order is correct, no images are missing, and the file is the high-resolution version you intend to send. Watermarking is the last action before delivery, so make any corrections to the PDF first; re-watermarking a revised file wastes time.
[Insert screenshot: Files app showing the proof PDF open with page thumbnails]
Watch out: If the PDF was exported as a screen-resolution preview, it is not truly "high-res" no matter how it is labeled. Proofs should be exported at a resolution that lets clients inspect detail, but still below your final delivery resolution so the watermarked proofs do not become standalone deliverables.
Step 2. Choose text vs. image watermark
Decide which type of watermark you will apply. Text watermarks are the most common for proofs because they clearly communicate the purpose of the file. Image watermarks (a logo) are better for brand consistency.
| Watermark type | Best used for | Example |
|---|---|---|
| Text | Wedding, portrait, and event proofs where clarity matters | "PROOF – © Jane Doe – janedoe.photo" |
| Image (logo) | Branded galleries and studio identity | Studio logo PNG at 30% opacity |
Step 3. Open a browser-based watermark tool on the iPad
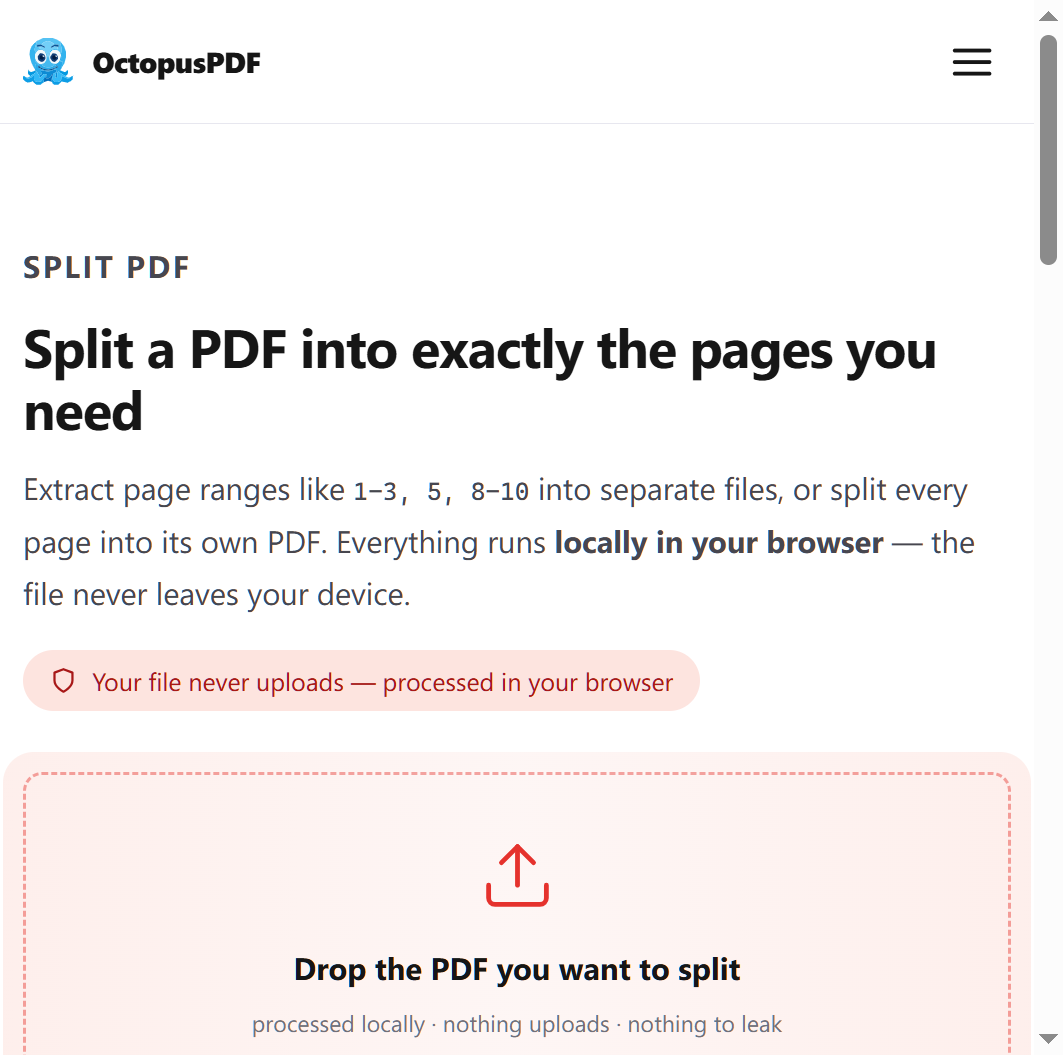
In Safari, navigate to a browser PDF tool that processes files locally. One option is OctopusPDF's Watermark tool, which is described in the product documentation as supporting text or image watermarks, diagonal or tiled layouts, and opacity control (K2). The same documentation states that the entire pipeline runs in the browser tab on the user's device, so the servers cannot receive your files (K5).
Alternatives and general methods:
- Export-time watermarking in Lightroom or Capture One, applied before the PDF is created.
- Desktop PDF editors such as Adobe Acrobat, for photographers who also have a computer.
- Other browser tools like iLovePDF or Smallpdf, which offer watermarking but may upload files to a server; check each tool's privacy policy before using it with client photos.
Watch out: If the tool asks you to upload the file to a server, it is not a local-processing tool. For client proofs — which are confidential material — local processing on the iPad is the safer choice (K3).
Step 4. Select the watermark tool and import the PDF
On the tool's page, tap the Watermark tool to open it. Tap the file selection button and choose the proof PDF from the Files app. On an iPad, this typically opens a file picker where you can browse iCloud Drive, On My iPad, or other locations. Select the PDF and confirm.
[Insert screenshot: The tool's file picker with the proof PDF selected]
Step 5. Enter the watermark text or upload a logo image
If you are using a text watermark, type the full phrase you want to appear on the pages, such as "PROOF – NOT FOR PRINT – © Your Name". Some tools let you adjust the font size and color; choose a size that is clearly readable but does not obscure the subject of the photo. If you are using an image watermark, upload a PNG logo — a transparent background works best because it avoids a white box around the logo.
Step 6. Set the watermark layout and opacity
Configure the placement and visibility. The product documentation for one such tool lists two layout types: diagonal and tiled (K2). For proof PDFs:
| Setting | Recommended value for proofs | Reason |
|---|---|---|
| Layout | Diagonal for a single watermark per page; Tiled for heavy protection | Diagonal is less distracting; tiled makes cropping out the mark difficult |
| Opacity | 30–50% for text; 40–60% for a logo | High enough to deter theft, low enough to keep image details visible |
| Position | Center or repeating pattern | Center cannot be cropped away easily |
Distribute the watermark across all pages, not just the first page; clients can and will screenshot any page in the gallery.
Step 7. Apply the watermark and save the output
Tap the button to generate the watermarked PDF (labeled "Add Watermark" or similar). In a local-processing tool, the output is generated on the iPad and the download begins in the browser. Save the new file to the Files app so the original remains untouched and the watermarked version is easy to find.
Watch out: On iPadOS, Safari downloads are stored in the Downloads folder in the Files app. If you are prompted with "Save to Files", choose a folder you can find later, such as On My iPad > Proofs. Do not overwrite the original PDF — keep the clean master copy for final delivery after the client selects images.

Step 8. Upload the watermarked PDF and send the client gallery link
Open your client gallery service (for example, Pixieset, ShootProof, or Pic-Time), create a new gallery for the client, and upload the watermarked PDF. Most gallery platforms let you generate a shareable link or send an email invitation. Copy the link and send it to the client, with a short note explaining that the PDF is a proof set with watermarks and that final high-resolution images will be delivered without watermarks after selections are made.
Common Mistakes / Troubleshooting
| Problem | Likely Cause | Fix |
|---|---|---|
| Watermark is barely visible on bright images | Opacity is too low | Increase opacity to 40–50%, or switch to a tiled layout so the mark repeats |
| Watermark covers too much of the photo | Opacity too high or tiled layout overkill | Use a diagonal layout at 30% opacity for proof viewing |
| The downloaded file does not appear in Files app | Safari saved it to the Downloads folder | Open Files app > Downloads, then move the file to your proof folder |
| Client screenshots a single page without a watermark | Watermark was applied only to the first page | Re-run the watermark step and check "all pages" before saving |
| The chosen tool asks to upload the PDF | The tool is not a local-processing tool | Abort and switch to a tool that states it processes files in the browser (K5) |
How to Verify Success
Run through this checklist before sending the link:
- The watermarked PDF opens correctly on the iPad.
- Every page shows the watermark, not just the first page.
- The watermark text is legible, correctly spelled, and includes your name or website.
- The original clean PDF is still in the Files app, unchanged.
- The watermarked PDF is a separate file with a clear name, e.g., "ClientName_Proof_WM.pdf".
- The gallery link opens and displays the watermarked pages without lag or error messages.
- The link note tells the client that final files will be delivered without watermarks.
FAQ
Q1. Can I watermark a proof PDF on an iPad without uploading client photos to a server?
Yes. Some browser-based PDF tools process the file entirely on the device: the tool's documentation states that the pipeline runs in the browser tab and the servers physically cannot receive user files (K5). This matters for photographers because client photos are confidential material (K3). Before using any tool, check whether it uploads the file; if it does, it is not a local-processing solution.
Q2. What is the best watermark format for proof PDFs?
For most proof galleries, a text watermark in a diagonal layout at 30–50% opacity is effective: it discourages unauthorized use without hiding the photo. Use "PROOF" plus your name and website, for example "PROOF – © Jane Doe – janedoe.photo". If a client might crop the image, a tiled repeating watermark is harder to remove, but it is also more visually intrusive (K2).
Q3. I have individual JPEG previews instead of a proof PDF. Can I still follow this workflow?
Yes. If you only have individual JPG or PNG preview files, create the PDF first. Some browser tools can combine images into a PDF, placing one image per page and letting you arrange the order before export (K4). Then watermark the resulting PDF by following Steps 3–8 above. You can complete the entire flow on the iPad without transferring files to another device.
Key Facts
- Browser-based PDF tools can run entirely on the iPad: the file is processed in the browser tab and never uploaded to a server (K5).
- A watermark tool can apply text or image watermarks, in diagonal or tiled layouts, with adjustable opacity (K2).
- Local processing protects client confidentiality, which matters for proof PDFs containing client photos (K3).
- Photographers can build a proof PDF from individual JPG/PNG previews first — one image per page — and then apply the watermark in the same browser-based workflow (K4).
- Free browser PDF tools in this category generally require no account, and the tools themselves do not add their own watermark to the output (K5).