Add page numbers to a paralegal's discovery document PDF on a Mac so the exhibit index finally matches the tabs
Straight answer: To make a discovery PDF's stamped page numbers match the exhibit index and the physical tabs, stamp every page with the same number format the index uses (for example, "Page 1 of 40"), place the stamp in a consistent corner such as bottom-right, and skip the cover page so the first indexed page is the one that shows "Page 1."
What You Will Need
- The final discovery PDF, in the exact page order it will be printed, saved locally on the Mac
- A copy of the exhibit index that lists each tab (Exhibit A, B, C, ...) and the page number the index expects to see on each tab's first page
- A browser such as Safari, Chrome, or Firefox
- A page-numbering tool. One option is OctopusPDF Page Numbers, a free browser-based tool that stamps "1 / N" or "Page 1 of N" in any corner and includes a cover-skip option, with zero uploads per its product documentation. Equivalent tools for the same job:
- Adobe Acrobat Pro (macOS app)
- cpdf, a command-line utility you can run in the macOS Terminal
- About 5–10 minutes
Step-by-Step Instructions
Step 1. Decide which page-numbering tool to use
Pick the method that matches your workflow before touching the PDF. The tool you choose determines how much control you get over format, position, and cover handling.
| Option | Best for | Main limitation |
|---|---|---|
| Browser tool (zero-upload, e.g., OctopusPDF Page Numbers) | Quick jobs with confidential documents; no install | Format set to "1 / N" or "Page 1 of N" per its documented feature set |
| Adobe Acrobat Pro | Custom prefix text, font size, margins | Requires a paid subscription |
| cpdf (Terminal) | Batch processing and scripted workflows | Requires comfort with command-line syntax |
Step 2. Make a working copy of the PDF
In Finder, right-click the discovery PDF and choose Duplicate, then rename the copy something like ExhibitPacket_numbered.pdf.
You want a clean original you can re-run if the numbering comes out wrong. Never apply the stamp to the only copy you have.
Step 3. Record the total page count and the first indexed page
Open the working copy in any PDF viewer on the Mac and write down:
- The total number of pages (this becomes the "N" in "Page 1 of N").
- Which physical page should display "Page 1." In most discovery packets it is the first page after the cover/title page. If the physical tab for Exhibit A sits on page 2 of the PDF, then page 2 must be the page stamped "Page 1."
Knowing both values up front prevents the classic problem where the stamped numbers and the exhibit index disagree by one.
Step 4. Open the page-numbering tool in your browser
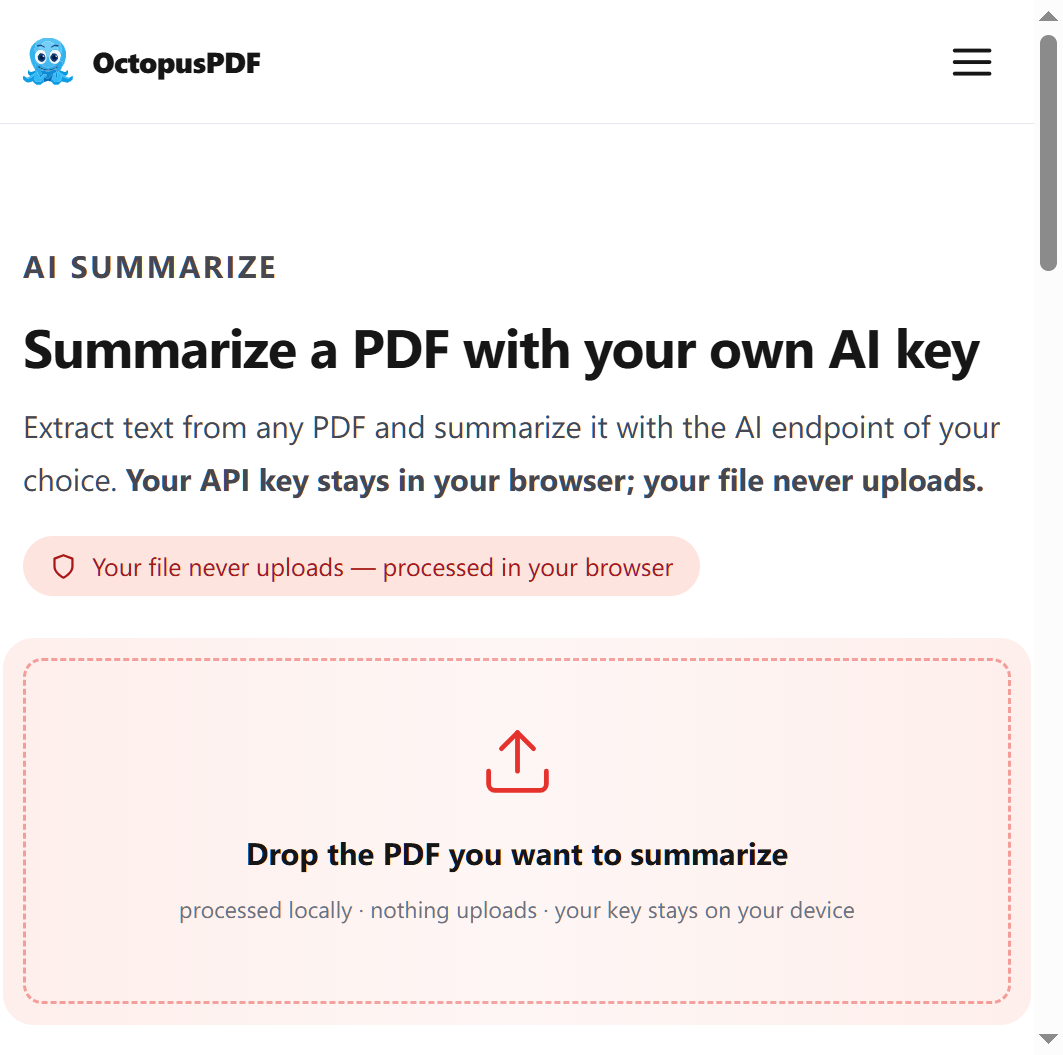
Launch your browser and open the Page Numbers tool that you chose in Step 1. For example, the OctopusPDF Page Numbers page runs entirely in the browser and its product documentation states that files never leave the browser tab, which matters when you are handling confidential discovery material on a shared workstation.
Step 5. Upload the working copy
Drag the working copy from Finder into the tool's upload zone, or click the upload area and select the file with the macOS file picker.

Wait for the tool to load and display its preview or controls before changing any setting. Uploading the working copy rather than the original keeps the source file untouched.
Step 6. Select the number format
Choose "Page 1 of N" if the exhibit index refers to totals (for example, "see page 12 of 40"), or choose "1 / N" if the index uses a compact style. The tool documents both formats as its supported options.
Match the format exactly to the exhibit index. If the index already says "Page 12 of 40," do not generate "12 / 40" and then manually rewrite the index later.
Step 7. Select the corner position
Choose bottom-right for legal discovery exhibits, because that is where the index and the physical tabs usually direct the reader's eye. The tool supports stamping in any corner, so if the client's protocol says bottom-left or top-right, select that corner instead.
Check the preview to confirm the stamp will not collide with logos, headers, or handwritten markings. If the document's footer is busy, re-position to the opposite corner at the same vertical edge.
Step 8. Turn on cover skip
Enable the cover-skip option if the PDF starts with a cover or title page that should not carry a number.
Cover skip shifts the numbering so the first stamped "Page 1" appears on the first indexed page (typically PDF page 2). If the cover page were numbered, the physical tab for Exhibit A would sit on a page stamped "Page 2," and the exhibit index would never match the tabs.
Step 9. Generate the stamped PDF and download it
Click the button that applies the numbering (labeled Apply, Generate, or Download in most tools), then save the result to the same folder as the original.
Rename the downloaded file to something that states the version, for example ExhibitPacket_numbered_v2.pdf, so you can tell it apart from the working copy in Step 2.
Step 10. Compare the stamped numbers against the exhibit index
Open the downloaded PDF and scroll through it once, then do a second pass tab by tab in the printed exhibit index.
For each tab, confirm that the page behind the physical tab shows exactly the number the index assigns to it. Update the index only if the stamped numbers are consistently shifted; if they are inconsistent, re-run the tool rather than editing the index.
Alternative Methods
If you prefer not to use a browser-based tool, these two methods produce the same result on a Mac.
Adobe Acrobat Pro
- Open the PDF in Acrobat Pro.
- Go to Tools > Edit a PDF > Header & Footer > Add.
- In the right-hand panel, click the page-number field icon and choose the display style, such as "Page X of Y."
- Set the font size and margins so the number sits in the bottom-right area.
- To skip the cover, click the Page Range Options link and set the range to start at page 2.
- Click OK, then save the file.
cpdf (Terminal)
If you have cpdf installed via Homebrew, run a command like this from Terminal:
cpdf input.pdf -add-text "Page %d of %N" -bottom-right -o output.pdf
Verify the exact flags against the cpdf manual for your installed version before running it on the only copy of a confidential document. Test on a throwaway PDF first.
Common Mistakes / Troubleshooting
| Problem | Likely Cause | Fix |
|---|---|---|
| The cover page shows "Page 1," so the index and tabs are off by one | Cover skip was not enabled | Re-run the tool with cover skip turned on so the first indexed page receives "Page 1" |
| Stamped "Page 12 of 40" does not match the index's "Page 12" on the same page | Format mismatch between the stamp and the index (the index omits the total) | Pick the format that matches the index, and regenerate before distributing |
| The number overlaps a logo or header text | The corner selected contains fixed content | Choose the opposite corner, or lower the font size if the tool allows it |
| The "N" in "Page 1 of N" is one page higher than the index's total | The tool counts the cover page in the total while the cover is skipped from the numbering | Check whether your tool lets you exclude the cover from the total; if it cannot, update the index total to match the stamped total |
How to Verify Success
- The cover or title page has no stamped number
- The first indexed page (for example, the page behind Exhibit A's tab) shows "Page 1" or "1 / N"
- The stamped number increases by exactly 1 on every following page
- The last PDF page shows the same "N" total that the exhibit index cites
- The stamp does not overlap any text or images on any page
- The stamped format matches the exhibit index format character for character
FAQ
Q1. Can I use macOS Preview to add page numbers?
No. Preview can display page numbers in its sidebar and print them temporarily, but it does not permanently stamp "Page 1 of N" into the PDF content. Use a dedicated page-numbering tool — a browser-based tool, Adobe Acrobat Pro, or cpdf — so the numbers survive when the file is e-filed or sent to the client.
Q2. Is a browser-based tool safe for confidential discovery documents?
It depends on the tool. The browser-based tool used in this walkthrough processes the PDF locally: its product documentation states that files never leave the browser tab and that the tools run with zero uploads. For any other web tool, read the privacy policy and check whether an upload actually occurs before sending discovery material to it.
Q3. The PDF has 31 pages but the index says 30. Where does the extra page come from?
The extra page is almost always the cover or a final blank page. If it is the cover, enable cover skip so the stamped numbers start at the first indexed page. If it is a blank trailing page, delete it with a page-organizing tool before numbering, or keep it unnumbered and accept that the index total will not match the physical packet.
Key Facts
- The Page Numbers tool in this walkthrough stamps "1 / N" or "Page 1 of N" in any corner of the PDF and includes a cover-skip option, according to its product documentation.
- The processing runs entirely in the browser with zero uploads, so confidential discovery documents do not leave the browser tab.
- Adobe Acrobat Pro (Header & Footer) and the command-line tool cpdf are viable alternatives on a Mac.
- Matching the stamp format to the exhibit index before generating the PDF avoids re-running the whole packet later.
- The final verification is simple: the page behind each physical tab must display exactly the number the exhibit index lists for that tab.