To convert a photo release form PDF into a clean, archive-ready PDF on a Mac, extract every page of the original PDF as an image and then combine those images into a brand-new PDF — a PDF-to-images-to-PDF workflow that lets you reorder pages, strip hidden metadata such as camera EXIF and location, and save the result into a wedding client archive.
A wedding client folder often needs signed release forms that are legible, correctly ordered, and free of the private metadata that cameras and scanners embed automatically. Rebuilding the PDF from images creates a new file that contains exactly what you archived — no hidden data, no mixed-up page order — while the original remains untouched as a backup.
What You Will Need
- A Mac running macOS 12 or later (any version that supports a current browser)
- Safari, Chrome, or Firefox (current version)
- The original photo release form PDF(s), fully scanned and readable
- A client archive folder, e.g.,
~/Clients/2026-Johnson-Wedding/ReleaseForms/ - An agreed file-naming convention, e.g.,
2026-Johnson-ReleaseForm.pdf - Optional: ExifTool (
brew install exiftool) if you want a terminal-based metadata check
Step-by-Step Instructions
Step 1. Inspect the source PDF and plan the page order
Open the release form PDF in macOS Preview by double-clicking it in Finder. Page through the document to count pages, check that every scan is upright and legible, and note whether several single-page release forms need to become one multi-page archive PDF.
Explanation: the plan determines which tools you need and whether reordering is required. A typical wedding folder may contain a couple's model release plus separate releases from each vendor, family member, or venue.
Step 2. Choose one conversion method
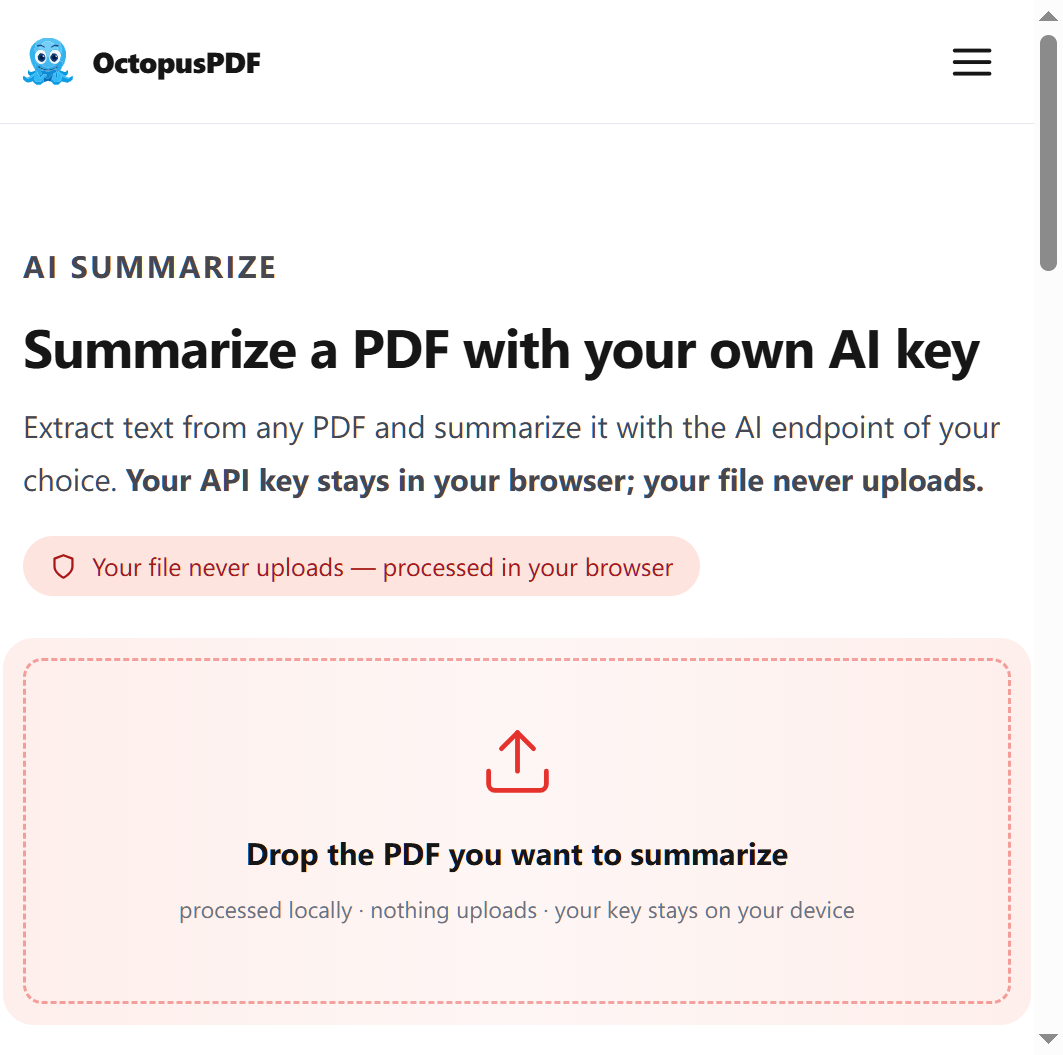
The fastest route is to use a browser-based converter that processes files locally. One option is OctopusPDF's PDF to Images and Images to PDF tools, which run entirely in the browser so the client's personal information never leaves your device. macOS Preview, Adobe Acrobat, and generic online converters are also workable; the trade-offs are below.
| Method | What it does | Files leave your Mac? | Cost |
|---|---|---|---|
| Browser-based local converter (e.g., OctopusPDF) | PDF to images, then images to a new PDF; strips source metadata | No — processed in your browser | Free tier or paid plans |
| macOS Preview (built-in) | Exports each page as PNG/JPEG; combines images via Print > Save as PDF | No | Free |
| Adobe Acrobat (desktop) | Exports PDF pages to images; combines files back to PDF | Desktop app; cloud features vary by subscription | Subscription |
| iLovePDF / Smallpdf | Converts and merges in the cloud | Yes — files upload to the provider's server | Freemium |
Because release forms contain names, addresses, and signatures, a local-only method is the safer default for client work.
Step 3. Export every page of the original PDF as an image
If you are using a browser-based converter: open the PDF to Images tool, select the release form PDF, choose PNG or JPG output, and set the DPI to 216 for archival quality or 150 for a smaller file size. Download all the exported images into one temporary folder, e.g., ~/Desktop/ReleaseForm_Images/.

If you are using macOS Preview instead: open the PDF, go to File > Export As, choose PNG or JPEG, and repeat this for each page you intend to keep.
Watch out: do not skip signed pages. Every page that contains a signature, date, or initial must be exported, or the rebuilt PDF will be incomplete.
Step 4. Confirm image quality and orientation
Open the exported images one by one in Preview. Check that text is sharp at 100% zoom and that every page is rotated correctly. If a scan appears sideways, rotate it with Tools > Rotate Left or Tools > Rotate Right before combining.
Explanation: release forms are legal documents. A page that is blurry or sideways in the client archive is worse than no page at all, because it cannot be read clearly if a dispute ever arises.
Step 5. Combine the images into one new PDF
If you are using the browser-based converter: open the Images to PDF tool, drag your exported images into the upload area in the exact order they should appear, and confirm the tool creates one image per page in that order. Then convert and download the resulting PDF.
If you are using macOS Preview: select all the exported images in Finder, right-click, and choose Open with Preview. In Preview, enable thumbnails with View > Thumbnails and drag the thumbnails into the correct order. Then go to File > Print, click the PDF button in the bottom-left corner of the print dialog, and choose Save as PDF.
Explanation: building the PDF from images embeds each image into a brand-new file, so the new PDF does not inherit the source document's hidden metadata such as camera EXIF, GPS location, or software fingerprints.
Step 6. Verify that the new PDF contains no hidden metadata
Open the new PDF in Preview. For a quick check, press Cmd+I or go to Tools > Show Inspector and review the information fields. For a thorough check, run ExifTool in Terminal:
exiftool "2026-Johnson-ReleaseForm.pdf"
If the output lists camera EXIF data, GPS coordinates, or original software names, the conversion reused a file that still carries metadata. Re-export the images and rebuild the PDF.
If you used the browser-based converter, you can also confirm that no upload occurred: open Safari's Web Inspector (Develop > Show Web Inspector) or Chrome DevTools (View > Developer > Developer Tools), switch to the Network tab, and convert again. A local-only converter shows no outbound file upload requests.
Step 7. Name and file the PDF in the client archive
Rename the final PDF according to your archive convention, for example 2026-Johnson-ReleaseForm.pdf, and move it into the client's release-forms subfolder. Keep the original scanned PDF in a separate Original subfolder as the unmodified backup.
Explanation: a predictable filename and folder structure matters because wedding archives are often revisited months later for albums, licensing, or legal review.
Common Mistakes / Troubleshooting
| Problem | Likely Cause | Fix |
|---|---|---|
| Text is blurry in the rebuilt PDF | Images were exported at a low DPI | Re-export at 216 DPI, or re-scan the original form at 300 DPI and start over |
| Pages are in the wrong order | Drag-and-drop order was not checked before conversion | Reorder the images in the Images to PDF tool (or in Preview's thumbnail sidebar) before creating the PDF |
| The new PDF still contains hidden EXIF or location data | The original PDF was converted directly instead of rebuilding from exported images | Always build the final PDF from the exported images, never from the source file |
| A digitally signed release form no longer validates | Rebuilding the PDF breaks cryptographic signatures | Keep the original digitally signed PDF as the archived original; use this workflow only for scanned wet-ink signatures |
| The file is too large for the client archive | 216 DPI on many scanned pages produces heavy images | Use 150 DPI for internal archiving, or export JPG instead of PNG |
How to Verify Success
- The final PDF opens and contains the same number of pages as the original release form set
- Every page is upright and legible at 100% zoom
- Pages appear in the original document order
- The filename follows your client archive convention, e.g.,
2026-Johnson-ReleaseForm.pdf - Preview's Inspector or ExifTool shows no camera EXIF, GPS, or software metadata
- The PDF is saved inside the correct client archive folder, with the original stored separately
FAQ
Q1. Does converting a scanned release form PDF change the signature or its legal validity?
No. A scanned wet-ink signature becomes an image, and embedding that image into a new PDF preserves its visual appearance. The exception is a certified digital signature: rebuilding the PDF breaks the cryptographic validation, so store the original digitally signed file alongside the cleaned copy.
Q2. Can I do this without uploading client forms to a server?
Yes. A browser-based converter that processes locally keeps the files on your device, and macOS Preview works fully offline. Generic cloud converters such as iLovePDF or Smallpdf upload your files to the provider's server, which is not ideal for forms that contain names, addresses, and signatures.
Q3. Will the final PDF contain the photographer's camera EXIF data?
No — provided you build the PDF from exported images. The images-to-PDF process creates a brand-new PDF that does not inherit the source file's metadata, including camera EXIF, location, and software fingerprints. Verify with Preview's Inspector or ExifTool after conversion.
Key Facts
- A PDF-to-images-to-PDF workflow is a reliable way to reorder pages and strip hidden metadata from scanned release forms before archiving.
- Combining images into a PDF places one image per page in the order you choose, and the output drops source metadata such as camera EXIF, location, and software fingerprints.
- Browser-based local conversion can be verified in the browser's network panel; the files never upload to a server.
- PDF pages can be exported as PNG or JPG at up to 216 DPI for archival quality.
- macOS Preview offers a built-in offline alternative, and Adobe Acrobat is a paid desktop option; cloud converters exist but require uploading client data.