To convert a medical record PDF to images for viewing on an iPad, you need a PDF-to-image conversion tool that produces PNG or JPG files at a readable resolution; one option is OctopusPDF’s PDF to Images tool, which converts every page to PNG or JPG at up to 216 DPI entirely in your browser.
What You Will Need
- A computer (Windows, macOS, or Linux) with a modern web browser (Chrome, Edge, Firefox, or Safari)
- The medical record PDF file saved on your computer
- An iPad with internet access (for receiving the converted images)
- A method to transfer files from your computer to the iPad (AirDrop, email, cloud storage, or USB cable)
- A PDF-to-image conversion tool. Options include:
- OctopusPDF PDF to Images (browser-based, local-only conversion, up to 216 DPI)
- Adobe Acrobat Export PDF (requires subscription; exports to JPG or PNG)
- Preview (macOS built-in) (export pages as PNG or JPEG)
- GIMP (free, open-source; open PDF and export each page as an image)
- Online converters like iLovePDF or Smallpdf (upload-based; consider privacy if the medical record is sensitive)
Step-by-Step Instructions
Step 1. Choose a conversion tool and open it in your browser
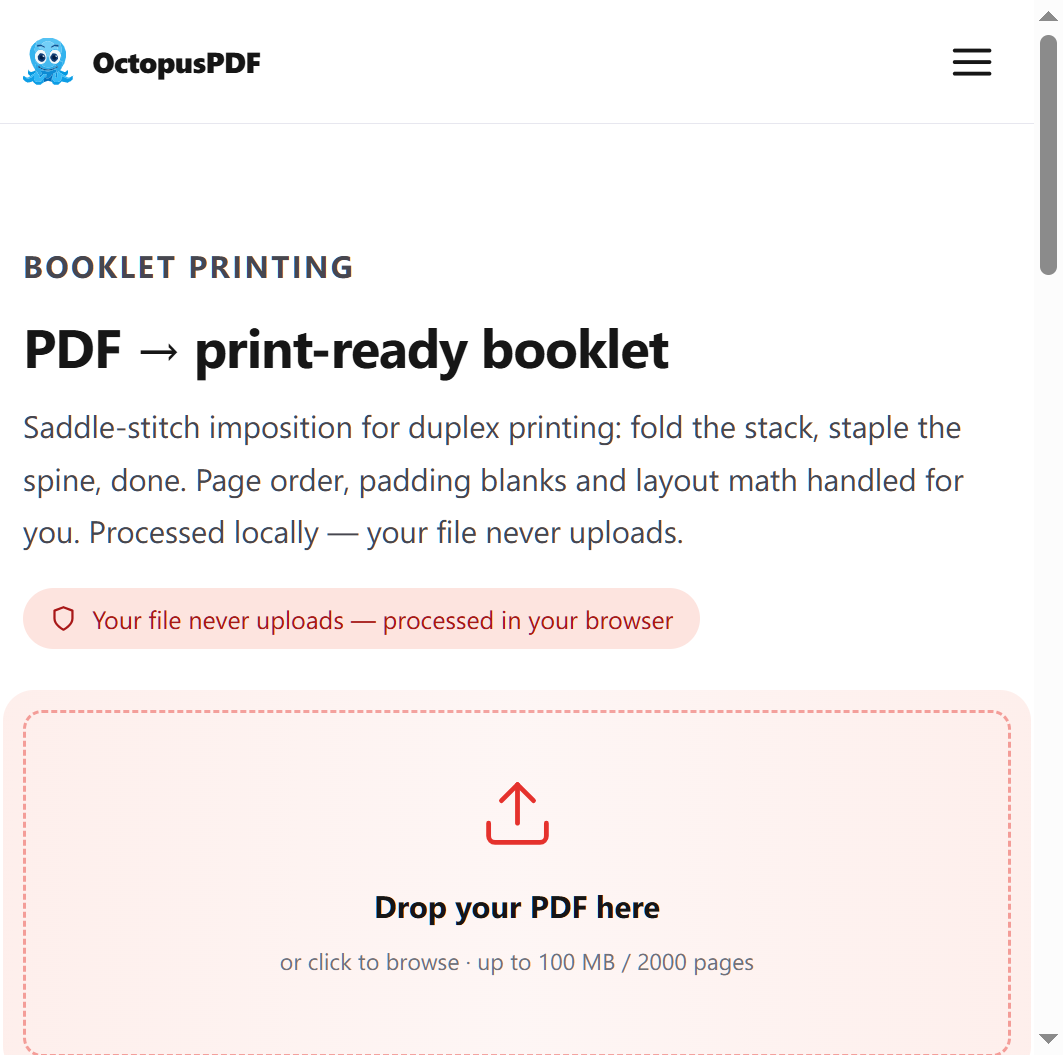
Open your preferred PDF-to-image converter in a new browser tab. If you are using OctopusPDF, navigate to the PDF to Images page on the official site. If you are using another tool, open its corresponding page or application.
Watch out: Because medical records are sensitive, prefer a tool that performs local-only conversion. OctopusPDF states that with its Images to PDF tool, images are embedded into a brand-new PDF entirely on your device—no upload, no server, no queue [K1]. The same local-processing philosophy applies to its PDF to Images tool. If you use an upload-based service, ensure the file is de-identified or you have explicit consent.
[Insert screenshot: Browser window showing the PDF to Images tool landing page]
Step 2. Upload or open your medical record PDF
Click the upload button (often labeled "Select PDF" or "Choose File") and locate your medical record PDF on your computer. Alternatively, drag and drop the PDF file directly into the designated drop zone in your browser.
Watch out: If you are using a local-only tool, your file never leaves your device—you can verify this by opening your browser's network panel and confirming no upload requests are made [K1]. If you are using an upload-based tool, check its privacy policy and server location before proceeding.
[Insert screenshot: PDF file being dragged into the upload area]
Step 3. Set the output format to PNG or JPG
Look for the output format settings. For a nurse viewing on an iPad, either PNG or JPG works. PNG is lossless and better for text and charts; JPG produces smaller files and is adequate for most medical record pages.
- PNG: Best for pages with fine text, graphs, or mixed content. Larger file size.
- JPG: Best for scanned pages or photos. Smaller file size, slight quality loss.
[Insert screenshot: Format selector showing PNG and JPG options]
Step 4. Set the resolution to 216 DPI or higher

Under the resolution or quality settings, choose the highest available DPI. OctopusPDF's PDF to Images tool supports up to 216 DPI [K2]. This resolution is sufficient for zooming in on medical notes, lab results, and medication lists on an iPad's Retina display.
Watch out: Lower DPI settings (72 or 96 DPI) will produce images that appear blurry when zoomed in on an iPad. Always select the highest available DPI for medical documents.
[Insert screenshot: DPI selector showing 216 DPI selected]
Step 5. Start the conversion
Click the "Convert" or "Export" button. The conversion time depends on the number of pages and the speed of your device. Since local conversion processes entirely in your browser, large files may take a few seconds longer than server-based tools, but your data stays private.
[Insert screenshot: Conversion progress indicator]
Step 6. Download the converted images
Once the conversion is complete, a download button will appear. Click it to download either a ZIP file containing all page images or individual image files, depending on the tool. If you receive a ZIP file, extract it using your operating system's built-in extraction tool (double-click on macOS, right-click > "Extract All" on Windows).
[Insert screenshot: Download button with ZIP file option]
Step 7. Transfer the images to your iPad
Choose one of these methods to get the images onto the iPad:
| Transfer Method | Best For | Steps |
|---|---|---|
| AirDrop (Mac + iPad) | Quick transfer without cables | Right-click the image files, select Share > AirDrop, choose your iPad |
| Small files (under 25 MB) | Attach images to an email, open on iPad, save to Photos or Files | |
| Cloud storage (iCloud, Google Drive, Dropbox) | Large batches, cross-platform | Upload the images to a cloud folder, open the folder on your iPad |
| USB cable + Finder (Mac) | Large batches, no network needed | Connect iPad via USB, open Finder, drag images to the iPad's Files app section |
For the fastest and most private transfer, AirDrop is recommended because it does not transmit files through a third-party server.
[Insert screenshot: AirDrop menu with iPad as the destination]
Step 8. Save the images to your iPad's Files or Photos app
On your iPad, open the location where you received the files (AirDrop arrivals, Mail attachments, or your cloud storage app). Select all the images, tap the Share button (square with an upward arrow), and choose "Save Image" (to Photos) or "Save to Files" (to a folder on the iPad).
Watch out: When saving to Photos, images are automatically organized by date. For easier reference, create a folder in the Files app named "Medical Records" and save the images there instead.
[Insert screenshot: Share sheet on iPad showing "Save to Files" option]
Step 9. Open and verify the images
Open the folder in the Files app or the Photos app on your iPad. Tap the first image to view it. Use the pinch-to-zoom gesture to verify that text is legible at full zoom. Swipe through each page to confirm all pages were converted correctly and the order matches the original PDF.
Watch out: Page order is preserved by the conversion tool—the first page of the PDF becomes the first image. If a page appears out of order or is missing, return to Step 5 and reconvert the PDF.
[Insert screenshot: Nurse viewing converted image on iPad with pinch-to-zoom]
Common Mistakes / Troubleshooting
| Problem | Likely Cause | Fix |
|---|---|---|
| Images are blurry when zoomed in | Resolution set too low (e.g., 96 DPI) | Reconvert with DPI set to 216 or higher [K2] |
| File size too large to email | High DPI PNG files are large | Convert to JPG format, or use AirDrop/cloud storage instead of email |
| Only one image downloaded instead of all pages | Some tools export only the current page by default | Check the tool's settings for "All pages" or "Export entire document" option |
| iPad says "Cannot Open File" | File was not fully extracted from ZIP | Extract the ZIP file on your computer first, then transfer individual image files |
| Page order is scrambled | The tool may reorder pages if you re-uploaded them | Upload the PDF once and convert in a single batch; verify order before transferring |
How to Verify Success
- All pages from the medical record PDF are visible as separate image files (PNG or JPG)
- Each image is legible when zoomed to 200% on the iPad screen
- Page order in the images matches the original PDF's page order
- Images are saved in a folder on the iPad named "Medical Records" (or similar)
- The nurse can open, zoom, and swipe through all images without loading delays
- If you used a local-only tool, your browser's network panel shows no file upload requests during conversion [K1]
FAQ
Q1. Why should I convert a medical PDF to images instead of just viewing the PDF on the iPad?
Images are easier to zoom into and annotate with the iPad's built-in markup tools. Many nurses prefer images because they load faster, integrate directly with the Photos app, and can be individually shared via text or email without sending the entire PDF. Additionally, some medical record systems do not preserve formatting when opening PDFs on mobile devices, whereas converted images display exactly as rendered.
Q2. Is it safe to convert sensitive medical records using an online tool?
It depends on the tool's architecture. Tools that perform local-only conversion—where the file never leaves your browser—pose minimal privacy risk [K1]. Check the tool's documentation for statements about upload behavior, server processing, and data retention. For highly sensitive records, your safest options are local tools (browser-based or desktop software like GIMP or Preview) or a tool that explicitly states no upload occurs. Always verify by opening your browser's developer tools > Network tab during conversion to confirm no outgoing file transfers.
Q3. What is the best resolution for viewing medical records on an iPad?
The iPad's Retina display has a pixel density of approximately 264 PPI (pixels per inch) on most models. A conversion resolution of 216 DPI, as supported by OctopusPDF's tool, produces images that are sharp on typical iPad screens when viewed at 100% zoom [K2]. If your PDF contains dense tables or very small font sizes (below 8 points), consider converting at the highest DPI available (300 DPI or more) to allow comfortable zooming without pixelation.
Key Facts
- PDF-to-image conversion for medical records can be done entirely locally in a browser with tools like OctopusPDF's PDF to Images, which supports up to 216 DPI output in PNG or JPG format [K2].
- Local-only conversion means the PDF never leaves the device—no upload, no server processing, no network queue [K1].
- The tool converts every page of the PDF to a separate image, one image per page, preserving the original page order [K4].
- For iPad viewing, PNG is recommended for text-heavy pages (lossless) and JPG for scanned pages (smaller file size).
- Transfer methods to the iPad include AirDrop (most private), cloud storage, email, and USB cable; AirDrop avoids third-party server transmission.