TL;DR: To create a print-ready booklet from a standard PDF, you must reorder pages using a process called imposition, ensure your page count is a multiple of 4, add gutter margins, and print double-sided. The OctopusPDF booklet tool automates all of this: upload your PDF, let it handle imposition and blank pages, download the print-ready file, and print duplex with saddle-stitch binding [K2][K3][K4].
What You Will Need
Before starting, gather the following:
- A standard PDF file containing the content for your booklet (any page count).
- A web browser (Chrome, Firefox, Safari, or Edge) with internet access.
- An account or access to the OctopusPDF booklet tool (free tier allows 3 conversions per day; Pro tier offers unlimited conversions with a full print preflight report) [K3].
- A duplex (double-sided) printer. If your printer does not support automatic duplexing, plan for manual duplex printing.
- A saddle-stitch stapler or binder for finishing, if you are producing a physical booklet.
Step-by-Step Instructions
Step 1. Check Your PDF Page Count
- Open your PDF and note the total number of pages.
- Why: For a saddle-stitched booklet, the total page count must be a multiple of 4, because each physical sheet holds 4 logical pages (2 on each side when printed duplex and folded) [K2].
- Watch out: If your count is not a multiple of 4, the booklet will have blank pages or blank sheet sections. Do not skip this check—it determines whether the tool will add blank pages automatically in Step 4 [K4].
Step 2. Open the OctopusPDF Booklet Tool
- Go to the OctopusPDF website and navigate to the Booklet tool (link:
https://octopuspdf.com/booklet) [K1]. - Why: This tool performs imposition—the process of reordering your PDF pages so that when printed double-sided and folded, pages appear in correct reading order [K2].
- Watch out: You must use the dedicated booklet tool, not a generic PDF merger or printer dialog. Generic tools will not apply saddle-stitch ordering or gutter margins [K3].
Step 3. Upload Your PDF
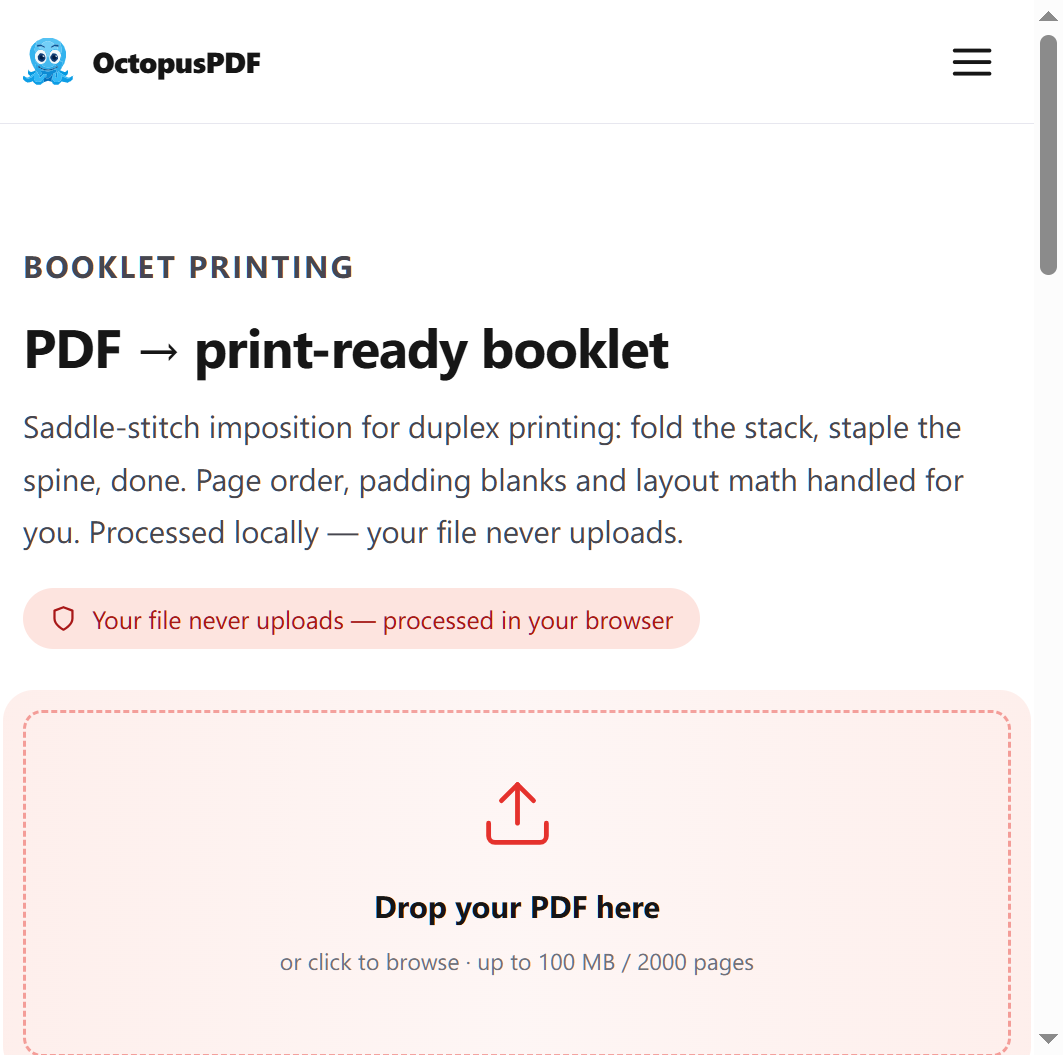
- Click the upload area and select your PDF file, or drag-and-drop your PDF onto the page.
- Why: The tool needs your source file to analyze page count and generate the imposed layout [K3].
- Watch out: If your file is large, wait for the upload progress indicator to complete before moving to the next step. Do not refresh the page during upload.
Step 4. Verify Blank Page Handling
- After upload, check the tool's output summary. If your page count is not a multiple of 4, the tool will indicate that blank pages will be added automatically to complete the last sheet [K4].
- Why: Saddle-stitch binding requires complete sheets; each sheet has 4 pages. Blank pages fill any gaps so the final sheet is fully formed [K4].
- Watch out: If the tool does not add blank pages automatically, you must cancel and use a different tool. Manually adding blanks is error-prone and will break the page order pattern.
Step 5. Review Gutter Margin Settings
- Confirm that the tool applies gutter margins (the inside margin near the fold/binding edge). The OctopusPDF tool adds gutter margins automatically [K3].
- Why: Without gutters, text near the center fold will be hard to read or get cut off after binding.
- Watch out: Do not disable gutter margins unless you have a specific reason. The default settings are designed for saddle-stitch binding [K3].
Step 6. Generate the Print-Ready PDF
- Click the button to convert or generate the booklet PDF (look for a "Convert" or "Create Booklet" action).
- Why: This triggers the imposition algorithm that reorders pages for duplex printing and folding [K3].
- Watch out: The generated file must be labeled "print-ready." If the tool offers a print preflight report, download it (Pro tier) to catch issues before printing [K3].
Step 7. Download the Booklet PDF
- Click "Download" to save the reordered, imposed PDF to your computer.
- Why: This is the file you will send to your printer. It already has the correct page order and gutter margins applied [K3].
- Watch out: Save it with a clear filename like
booklet_print_ready.pdf. Do not re-order pages in any PDF editor after this step.
Step 8. Print Double-Sided (Duplex)
- Open the downloaded PDF in a PDF viewer (e.g., Adobe Acrobat, Preview, or your browser).
- Go to the print dialog and select "Print on both sides" or "Duplex" mode.
- Why: Each physical sheet must have 2 pages on the front and 2 pages on the back to create the saddle-stitch layout [K2].
- Watch out: If your printer has "flip on long edge" and "flip on short edge" options, use flip on short edge. For saddle-stitch booklets, short-edge binding is required for correct orientation.
Step 9. Fold and Bind
- Print all sheets, then fold each sheet in half along the center.
- Stack the folded sheets in the exact order they came out of the printer.
- Why: The imposition in Step 6 ensures that when folded correctly, the pages appear in normal reading order [K2]. The stack order matters—do not reshuffle.
- Watch out: For a booklet with many pages, load the sheets in the order they were printed. Insert the first folded sheet outside, then nest subsequent sheets inside it.
Step 10. Trim and Finish (Optional)
- If needed, trim the edges with a paper cutter for a clean finish.
- Staple along the fold using a saddle-stitch stapler or bind with thread.
- Why: Saddle-stitch binding physically holds the folded sheets together at the spine [K2].
- Watch out: Use a stapler with a long reach to staple at the exact fold line. A short-reach stapler will miss the center.
Common Mistakes / Troubleshooting
| Problem | Likely Cause | Fix |
|---|---|---|
| Pages appear out of order after printing | Skipped imposition; printed the original PDF directly | Return to Step 2 and run the booklet tool [K2] |
| Blank pages on the last sheet | Page count not a multiple of 4 and tool did not add blanks | Confirm Step 4; use the OctopusPDF tool which adds blanks automatically [K4] |
| Text near the fold is unreadable | Missing gutter margins | Re-generate with gutter margins enabled [K3] |
| Front/back pages misaligned | Wrong duplex flip setting | Set printer to "flip on short edge" in Step 8 [K2] |
| Booklet is loose at the fold | Folded sheets not nested properly | In Step 9, insert each folded sheet inside the previous one, in stacking order |
| Free tier limit reached | Exceeded 3 conversions per day | Wait until the next day, or upgrade to Pro for unlimited conversions [K3] |
How to Verify Success
- Your original PDF page count was a multiple of 4, or the tool added blank pages to reach a multiple of 4 [K4].
- The downloaded PDF shows pages in imposed order (for an 8-page booklet, the first sheet should have pages 8, 1 and 2, 7) [K5].
- Every sheet prints with 2 pages on each side (4 pages per sheet) [K2].
- The folded sheets, in stack order, read continuously from page 1 to the last page without reordering.
- Gutter margins are visible near the fold, and text is fully readable.
- The final bound booklet lies flat at the spine with no blank sections inside.
FAQ
Q1. Do I need a special printer to create a saddle-stitched booklet?
No. You need any printer that supports duplex (double-sided) printing. The imposition and page reordering are done by the OctopusPDF booklet tool before you print [K2][K3]. If your printer lacks automatic duplex, you can manually flip pages, but you must keep the "flip on short edge" orientation correct [K8—derived from Step 8, no specific source].
Q2. Why does my booklet have blank pages that were not in the original PDF?
Blank pages appear when the original page count is not a multiple of 4. Saddle-stitch booklets require complete sheets—each sheet holds 4 pages. The booklet tool adds blank pages automatically to complete the last sheet so the binding works correctly [K4].
Q3. Can I use the OctopusPDF booklet tool for free?
Yes. The free tier allows 3 conversions per day. For unlimited conversions and a full print preflight report, you need the Pro tier [K3]. This is sufficient for most small projects, but heavy users should consider the paid plan.