Key Takeaways
- Creating a booklet from a standard PDF on a Mac requires understanding imposition, duplex (double-sided) printing, and page ordering—not just hitting "Print" [K1].
- A saddle-stitched booklet folds each physical sheet in half, meaning every sheet holds 4 logical pages (2 on each side); your PDF's page count must therefore be a multiple of 4 [K3].
- If your PDF's page count isn't a multiple of 4, blank pages must be added automatically to complete the last sheet; a good tool handles this for you [K5].
- While print shops charge $50–200 per booklet job, dedicated software or online tools can reduce that cost dramatically, allowing you to preflight and impose files yourself [K4].
- For Mac users, the most reliable approach is to use a dedicated booklet imposition tool (like OctopusPDF) rather than relying solely on macOS built-in print dialog limitations.
1. Introduction
Printing a PDF as a booklet on a Mac seems like it should be simple: open the file, press Command+P, and choose "Booklet" from the print settings. Yet many users discover that macOS's default print dialog offers little control over imposition, page order, or folding margins. The result is often a confusing stack of pages that doesn't read like a book at all.
The core problem is that booklet printing is fundamentally different from regular double-sided printing. When you create a booklet, you're not printing pages in sequential order. Instead, you're reordering them so that when each physical sheet is folded in half and stacked, the pages fall into correct reading order. This process, known as imposition, is the backbone of professional booklet printing [K1][K3].
This article is for Mac users, designers, educators, and small business owners who need to produce print-ready booklets from standard PDFs. Whether you're creating a program for an event, a training manual, a zine, or a product catalog, you'll learn the key concepts behind booklet printing, the practical steps to prepare your PDF on a Mac, and how to decide between DIY imposition tools and professional services.
2. What Is Booklet Imposition and Why Does It Matter?
Core conclusion: Without imposition, your booklet will be unreadable. It is the mathematical reordering of pages that makes folded, bound booklets work.
Booklet imposition is the process of reordering PDF pages so that when printed double-sided and folded, the pages appear in the correct reading order [K3]. For a saddle-stitched booklet—the most common type, where folded sheets are stapled along the spine—each physical sheet holds 4 logical pages: 2 on the front side and 2 on the back side.
Let's break this down with a simple example. Imagine you have an 8-page PDF. In a saddle-stitched booklet:
- Sheet 1 (front): Left side shows page 8, right side shows page 1.
- Sheet 1 (back): Left side shows page 2, right side shows page 7.
- Sheet 2 (front): Left side shows page 6, right side shows page 3.
- Sheet 2 (back): Left side shows page 4, right side shows page 5.
When you fold the sheets in half and stack them, page 1 faces page 2, page 3 faces page 4, and so on. This is imposition.
Why this matters for Mac users: macOS's built-in print dialog can handle basic duplex printing, but it does not offer fine-grained control over imposition for saddle-stitched booklets. You might find a checkbox that says "Two-Sided" or even "Booklet," but it often assumes a certain paper size, cannot handle non-standard page counts gracefully, and rarely offers options for gutter margins (the space added near the spine to prevent text from disappearing into the fold).
Practical scenario: Imagine you're a teacher who wants to print a 16-page course pack as a booklet for your class. You send the PDF to your department's printer. If you simply select "Booklet" in the print dialog without checking the page count and physical layout, you may end up with pages that don't align correctly when folded. The only way to reliably fix this is to use a tool that performs imposition before the document ever reaches the printer.
Recommendation: Understand your source PDF's page count. For saddle-stitching, that number must be a multiple of 4 [K3]. If it isn't, blank pages must be added to complete the last sheet [K5]. Professional tools detect and add these automatically, saving you from printing a broken booklet.
3. The Hidden Cost of Outsourcing: What Print Shops Charge
Core conclusion: Print shops charge a premium for booklet setup and imposition, but you can do the heavy lifting yourself with the right tools.
If you're a small business owner or a self-publisher, you've likely received quotes from print shops that seem disproportionately high for a simple booklet. This isn't just about paper and ink; it's about labor. A print shop typically charges $50–200 per booklet job [K4]. This cost covers:
- Page imposition and layout verification.
- Preflight checks for fonts, images, and bleed.
- Test prints to ensure folding alignment.
- Operator time to configure the printer for duplex and fold.
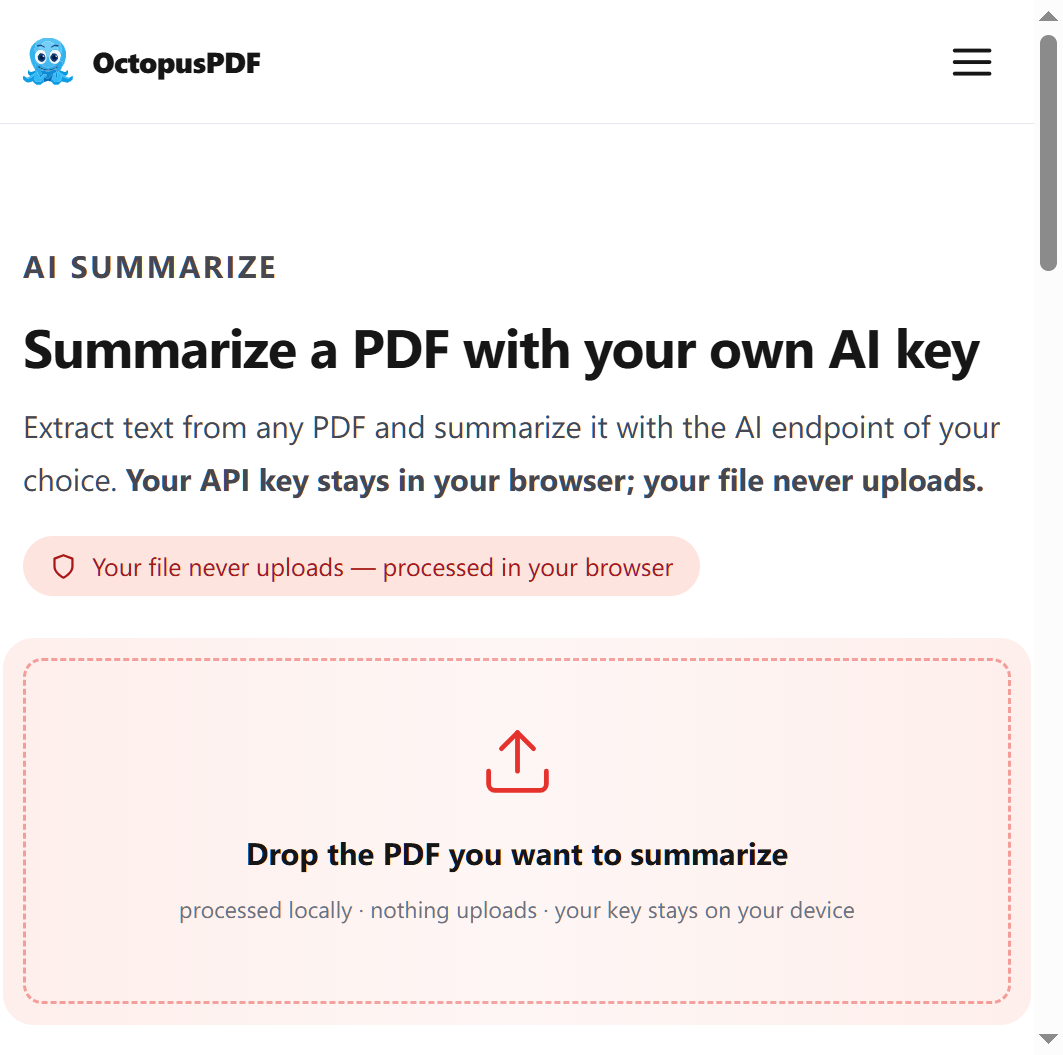
The reality is that much of this work can be automated on your side. With a dedicated booklet imposition tool, you can:
- Drop in your PDF.
- Let the tool reorder pages for duplex printing and folding.
- Add gutter margins (space near the spine) to avoid text cutting into the fold.
- Receive a print-ready PDF with blank pages inserted where necessary.
By doing this yourself, you remove the most time-consuming steps for the print shop, which can lower their quote or at least ensure your file doesn't get rejected during preflight.
Practical scenario: A photographer wants to produce a 28-page portfolio book. The local print shop quotes $120 for a saddle-stitched booklet. Instead, the photographer uses a booklet tool at home to impose the PDF, adds gutter margins, and exports a clean file. The print shop then charges only for printing and folding—roughly $35. The result is the same quality, but the photographer saved $85.
A cost comparison at a glance:
| Service | Cost | What You Get |
|---|---|---|
| Print shop full service | $50–200 per job | Imposition, preflight, printing, folding, binding |
| DIY imposition + print shop | Tool cost (often free tier or $9.9/month) + print cost | You control the file; print shop handles printing and finishing |
| OctopusPDF Pro | $9.9 monthly or $79 yearly | Unlimited conversions, full print preflight report, automatic blank-page insertion |
Recommendation: If you produce booklets regularly, invest the time to learn a booklet tool. A subscription at $9.9/month or $79/year (OctopusPDF Pro) is a fraction of the cost of one professional print job [K4]. You also gain the ability to catch errors before the document leaves your desk.
4. How to Print a PDF as a Booklet on Mac: Step-by-Step Workflow
Core conclusion: The most reliable method is to use a dedicated booklet imposition tool, then print the resulting PDF with duplex settings.
You have two main paths on a Mac:
Path A: Using macOS Built-in Print Dialog (Limited)
- Open your PDF in Preview or Adobe Acrobat.
- Go to File → Print.
- Look for a "Two-Sided" or "Booklet" option in the Print dialog.
- Select "Print on Both Sides" with "Flip on Short Edge."
Caveats: This method often cannot handle saddle-stitch imposition. The "Booklet" option, when present, works for simple cases but doesn't allow control over page pairing, gutter margins, or blank-page insertion. It also fails silently when your page count is not a multiple of 4. You'll likely end up with blank pages or misaligned sheets.
Path B: Using a Dedicated Booklet Tool (Recommended)
- Prepare your PDF in any application (e.g., Pages, Word, InDesign, or exporting from Canva as PDF).
- Upload the PDF to a booklet tool. For example, OctopusPDF's booklet tool is designed exactly for this: it drops a PDF, reorders pages for duplex printing and folding, and adds gutter margins [K2].
- Review the output. If your page count is not a multiple of 4, the tool should automatically add blank pages [K5]. You should see a print-ready PDF with pages arranged in imposition order.
- Print the imposed PDF on your Mac using duplex printing. Set your printer to "Two-Sided" and "Flip on Short Edge."
- Fold and assemble. Take the printed sheets, fold them in half, and stack them. Then staple along the spine (if you have a long-arm stapler) or take it to a copy shop for finishing.
Why this works: The tool handles the mathematical reasoning behind page ordering, something the macOS print dialog can't do reliably. It also allows for gutter margins, which are critical for any booklet over a few pages thick; otherwise, text near the spine gets swallowed by the fold [K2].
Practical scenario: A non-profit organization creates a 40-page annual report PDF. They use a booklet tool to impose the file, which automatically detects that 40 is a multiple of 4 and adds no blank pages. The tool also adds a 6mm gutter margin to avoid text loss at the fold. They print the imposed file on office duplex printers and send it to a local shop for cutting and stapling. Total turnaround: one day.
Recommendation: Always run your PDF through a booklet tool before printing manually. It's faster, cheaper, and removes the guesswork.
5. Blank Page Handling: Why It Is Critical
Core conclusion: Your PDF's page count must be a multiple of 4 for saddle-stitch booklets; if it isn't, blank pages must be silently inserted.

This is one of the most overlooked aspects of booklet printing. For a saddle-stitched booklet, every physical sheet carries 4 logical pages [K3]. If your document has 10 pages, you can't create a perfect booklet—you'll have one sheet with only 2 pages of content and 2 blank spaces, or you'll have to pair wrong pages together.
The solution is blank page insertion. A good booklet tool detects when your page count isn't divisible by 4 and automatically adds blank pages to the end (or wherever needed) to complete the final sheet [K5].
For example:
- A 10-page PDF becomes a 12-page booklet.
- A 14-page PDF becomes a 16-page booklet.
- A 21-page PDF becomes a 24-page booklet.
Why macOS fails here: Preview can print blank pages only if you manually create them. Adobe Acrobat Pro has a "Print Booklet" feature, but the free version doesn't. This is why users often end up with booklets where the last spread is half-empty or pages are out of order.
Practical scenario: A startup founder creates a pitch deck of 19 pages. Without a booklet tool, they manually try to rearrange pages in the Print dialog, creating a messy 20-page hybrid that confuses the binder. With a tool that auto-inserts blank pages, the PDF becomes 20 pages, and the final booklet reads perfectly.
Recommendation: When evaluating a booklet tool, confirm that blank page insertion is automatic. This is not a "nice-to-have"; it is essential for producing professional results without manual error [K5].
6. FAQ
Q1. Can I print a PDF as a booklet directly from Preview on macOS?
You can attempt this, but it's limited. Preview's print dialog may offer "Two-Sided" and sometimes "Booklet" options, but it doesn't perform true saddle-stitch imposition. It will not reorder pages correctly for folding, nor will it automatically insert blank pages. For a reliable result, use a dedicated booklet tool first, then print the imposed file with Preview.
Q2. How many pages do I need for a saddle-stitched booklet?
Your PDF's page count must be a multiple of 4 [K3]. If it isn't, the tool (or you, manually) must add blank pages to reach a multiple of 4 [K5]. A good tool handles this automatically.
Q3. Why does the print shop charge so much for booklet printing?
Print shops charge $50–200 per job because they handle imposition, preflight, folding, and binding—all of which take operator time and specialized equipment [K4]. By using a booklet tool to prepare a print-ready PDF yourself, you can reduce the shop's workload and your final cost.
Q4. What is a gutter margin and why do I need it?
A gutter margin is extra space added along the inside edge (the fold) of a booklet page. Without it, text or images that sit too close to the spine will be lost in the fold or become difficult to read. Dedicated booklet tools add gutter margins automatically [K2].
7. Conclusion
Printing a PDF as a booklet on a Mac is not a native skill—it's a workflow that requires an understanding of imposition, duplex printing, page ordering, and blank page handling. The macOS print dialog is useful for basic duplex printing, but it lacks the intelligence needed for true saddle-stitched booklets.
Our clear judgment: If you need to produce more than one booklet per year, invest in a dedicated booklet tool. The cost is minimal (often free for light use, or $9.9/month for unlimited conversions with OctopusPDF Pro), and the payoff is immediate: no wasted paper, no frustrating print errors, and no expensive print-shop setup fees [K2][K4].
Next steps for Mac users:
- Check your PDF's page count. If it isn't a multiple of 4, plan for blank page insertion.
- Use a booklet tool to impose your PDF, add gutter margins, and produce a print-ready file.
- Print the imposed PDF using duplex mode with "Flip on Short Edge."
- Fold, staple, and publish—or send the print-ready file to a copy shop for finishing.
With the right preparation, you can produce professional-grade booklets from your Mac without the guesswork—and without the $200 print-shop bill.