To remove hidden metadata from an audit report PDF before e-filing, you must run a sanitization process that physically deletes the file’s metadata, comments, annotations, hidden layers, embedded files, and any deleted content still present in the file — a browser-based tool that processes the file locally is one reliable way to do this without uploading client data.
What You Will Need
- The audit report PDF file (any size up to the tool’s limit; free tiers typically cap at 20 MB per file, Pro allows up to 100 MB)
- A modern web browser (Chrome, Firefox, Edge, or Safari — the process runs entirely in the browser tab)
- An internet connection only for loading the web tool itself; the file never needs to be uploaded to a server
- A PDF sanitization tool. Options include:
- OctopusPDF Redact / Sanitize Tool — free for 3 conversions per day (20 MB files); Pro unlocks unlimited conversions, 100 MB files, and batch mode [K4]
- Adobe Acrobat Pro — use the “Sanitize Document” feature under Tools > Protect
- PDF Cleaner (open-source) — a command-line or local GUI tool for batch metadata stripping
- ExifTool — a free, scriptable command-line utility that can remove metadata from PDFs and many other file formats
- The final recipient’s e-filing requirements (to confirm which metadata fields must be absent; typically Title, Author, Creator, and Dates must be cleared)
Step-by-Step Instructions
Step 1. Verify the current metadata in your PDF
Before cleaning, confirm what hidden data actually exists. Open the PDF in any reader and check the document properties:
- In Adobe Acrobat: File > Properties (or Ctrl+D / Cmd+D)
- In a browser PDF viewer: look for the document properties icon or menu
Write down the fields you see — especially Title, Author, Subject, Keywords, Creator, and Producer. These are the fields that sanitization must remove. This step gives you a baseline so you can confirm success later.
Watch out: Some accounting firms use PDF tools that automatically stamp the preparer’s name or firm software version into the metadata. If you see a “Creator” or “Producer” field you do not recognize, that is expected — sanitization will handle it.
Step 2. Choose your sanitization method
You have two general routes:
| Method | Tool Example | Effort | Best For |
|---|---|---|---|
| Browser-based (file stays local) | OctopusPDF Redact / Sanitize Tool | Low — drag and drop, click one button | Accountants handling confidential client files on shared or personal devices [K4] |
| Desktop application | Adobe Acrobat Pro (Sanitize Document) | Low — built into a familiar tool | Firms already licensed for Acrobat |
| Command line | ExifTool | Medium — requires terminal familiarity | Batch processing many files at once |
| Convert-from-images method | OctopusPDF Images to PDF | Low, but only works if your report is image-based | Scanned audit workpapers converted to a clean PDF |
Note: If your audit report was originally scanned pages, one option is to convert the images to a new PDF using a tool like OctopusPDF’s Images to PDF, which strips source metadata such as camera EXIF, location, and software fingerprints during conversion [K2][K3]. However, for a normal native PDF (created by Excel or Word), use a sanitization tool instead.

Step 3. Open the sanitization tool and load your PDF
Navigate to the sanitization tool of your choice. For the browser-based option:
- Go to the tool’s web page.
- Click the upload area or drag-and-drop the audit report PDF into the browser window.
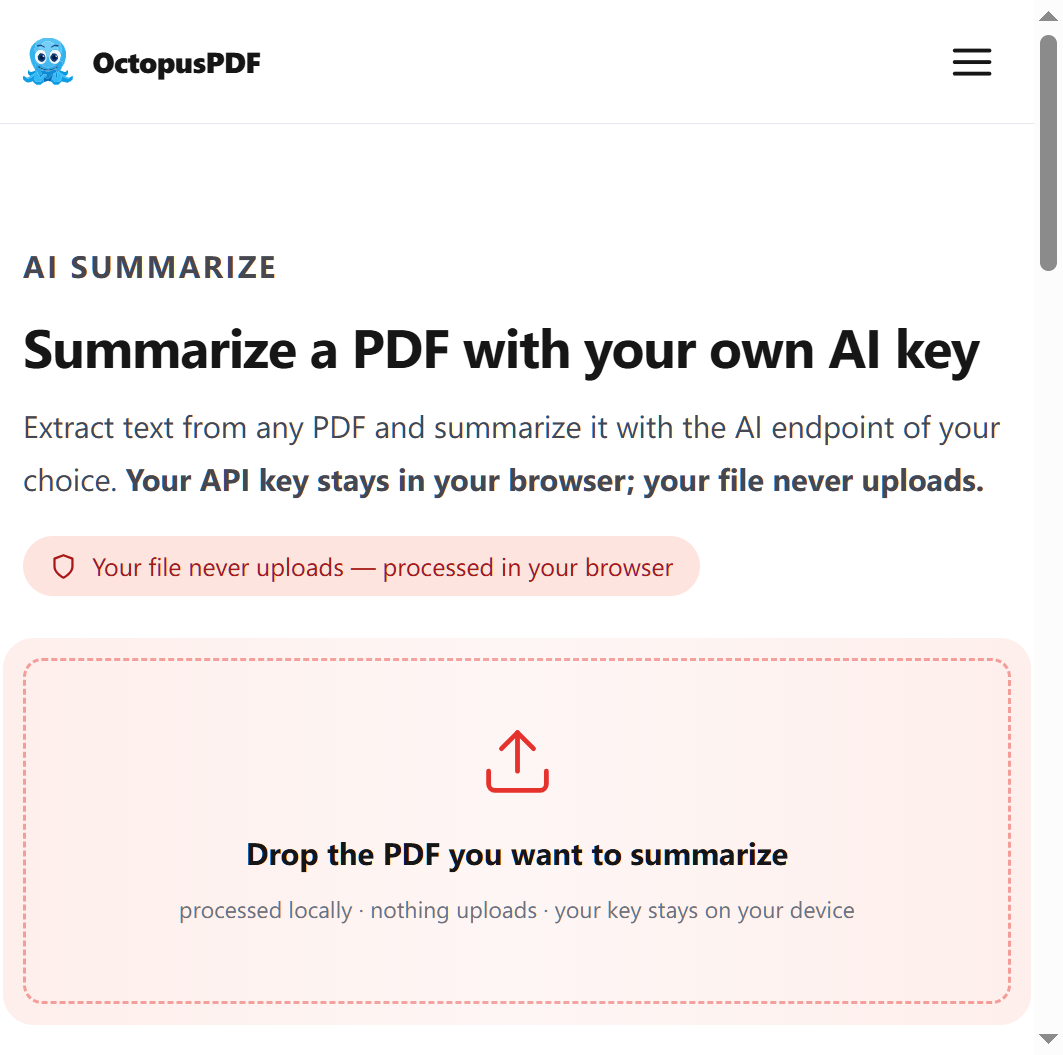
- Wait for the tool to confirm the file is loaded — since the process runs 100% locally, the file is not transmitted to any server [K4].
Watch out: Free tiers typically limit you to 20 MB files and 3 conversions per day [K4]. If your audit report exceeds this, either compress the PDF first or use a desktop tool such as Adobe Acrobat Pro.
Step 4. Run the sanitization / redaction process
Click the button labeled Sanitize, Redact, or Clean. The tool will physically delete:
- Metadata (title, author, creator, dates) [K5]
- Comments and annotations [K5]
- Deleted content still present in the file (e.g., text you thought you removed but was only hidden) [K5]
- Embedded files [K5]
- Hidden layers [K5]
- Form field values [K5]
Do not interrupt the process. It typically takes a few seconds for a standard audit report.
Watch out: Standard “Save As” or “Print to PDF” does not remove metadata — it often preserves it. Only a dedicated sanitization step physically deletes these elements. Do not skip this step.
Step 5. Download and save the sanitized PDF
After the process completes, the tool will generate a cleaned output file. Download it and save it with a name that indicates it is the final version (e.g., audit-report-2025-FINAL-clean.pdf).
Watch out: Verify the download is a new file, not the original. If you saved over the original, you have not gained anything — keep the original stored securely and use the sanitized copy for e-filing.
Step 6. Re-check the metadata to confirm removal
Open the sanitized PDF and repeat Step 1. The Title, Author, Creator, Producer, Subject, and Keywords fields should now be empty or show a generic value. Also verify that comments, annotations, and form fields are gone (in Acrobat, check Comments panel — it should list zero items).
Step 7. E-file the sanitized report
Upload the sanitized file to the e-filing system. Do a final visual check of the first and last pages to ensure content is intact and no redaction artifacts appeared.
Common Mistakes / Troubleshooting
| Problem | Likely Cause | Fix |
|---|---|---|
| Metadata still shows after cleaning | You used “Save As” or “Print to PDF” instead of a sanitization tool | Re-run the process using a dedicated sanitization tool (e.g., OctopusPDF Redact/Sanitize or Acrobat’s Sanitize Document) [K4] |
| File too large for the free tool (over 20 MB) | Exceeded the free tier limit | Upgrade to Pro (100 MB limit) or use a desktop tool like Acrobat Pro [K4] |
| Hidden content like comments remain | You only redacted visible text, not the full file | Use the sanitize function, which removes comments, annotations, and deleted content still present in the file [K5] |
| The audit trail shows a revision history | Revisions were stored in the PDF | Sanitization removes hidden layers and deleted content — re-check after running the tool to ensure no revision layer remains [K5] |
| Browser tool appears to upload the file | Misunderstanding of the local processing model | Confirm the tool states “100% local” processing; files never leave the browser tab [K4] |
How to Verify Success
- Open the sanitized PDF and check File > Properties: Title, Author, Subject, Keywords, Creator, and Producer fields are empty or generic.
- Open the Comments panel: zero annotations or comments are listed.
- Search the document for any obvious hidden text (use Ctrl+F to search for terms you had deleted — nothing should appear).
- Check Attachments (in Acrobat: View > Show/Hide > Navigation Panes > Attachments): no embedded files are present.
- Confirm the file size and page count are unchanged (sanitization should not alter visible content).
- Open the file in a second PDF reader to confirm it is not corrupted.
- E-file the sanitized copy and confirm receipt in the filing system.
FAQ
Q1. Does “Print to PDF” remove metadata?
No. Printing to PDF often preserves or even copies the original metadata, and it may add new metadata from the print driver. It is not a sanitization method. You must use a tool that explicitly removes metadata, such as a dedicated sanitize/redact function [K5].
Q2. Can I sanitize a scanned audit report the same way?
If your audit report is a scanned set of images, you have a separate option: convert the images to a new PDF using a conversion tool that strips source metadata (camera EXIF, location, software fingerprints) during output [K2][K3]. If the scanned pages are already inside a native PDF with metadata, run the sanitization tool as described above.
Q3. Is it safe to use a browser-based sanitization tool with confidential client data?
Yes, if the tool processes the file 100% locally. In that case, the file never uploads — it is processed in your browser tab, which is suitable for confidential PDFs on a shared device [K1][K4]. Always confirm the tool states it processes files locally before use.
Key Facts
- Sanitization physically deletes metadata (title, author, creator, dates), comments, annotations, embedded files, hidden layers, form field values, and deleted content still present in the file [K5].
- Browser-based sanitization tools that run 100% locally never upload client files, making them appropriate for confidential audit data [K1][K4].
- Free sanitization tiers typically allow 3 conversions per day with a 20 MB file limit; Pro tiers remove these limits and add batch mode [K4].
- Image-to-PDF conversion strips source metadata (camera EXIF, location, software fingerprints) as part of its clean output — a useful alternative for scanned audit pages [K2][K3].
- Standard “Save As” or “Print to PDF” does not remove metadata; only a dedicated sanitization process is sufficient for pre-e-filing clean-up.