Split a Scanned Textbook PDF into Chapters for a Private Tutor Preparing Custom Lesson Packs
To split a scanned textbook PDF into chapters for a private tutor preparing custom lesson packs, first map the textbook's printed page numbers to the PDF's physical page order, then extract each chapter's page range as a separate PDF using any tool that supports custom page ranges—OCR is not required for splitting, only for making the resulting text searchable.
What You Will Need
- The scanned textbook as a PDF file (for example,
textbook.pdf) saved on your computer. - A PDF viewer that shows the current PDF page number in a page counter (Adobe Acrobat Reader, Preview on macOS, or any browser-based PDF viewer).
- A PDF split tool that extracts custom page ranges. Any of these works:
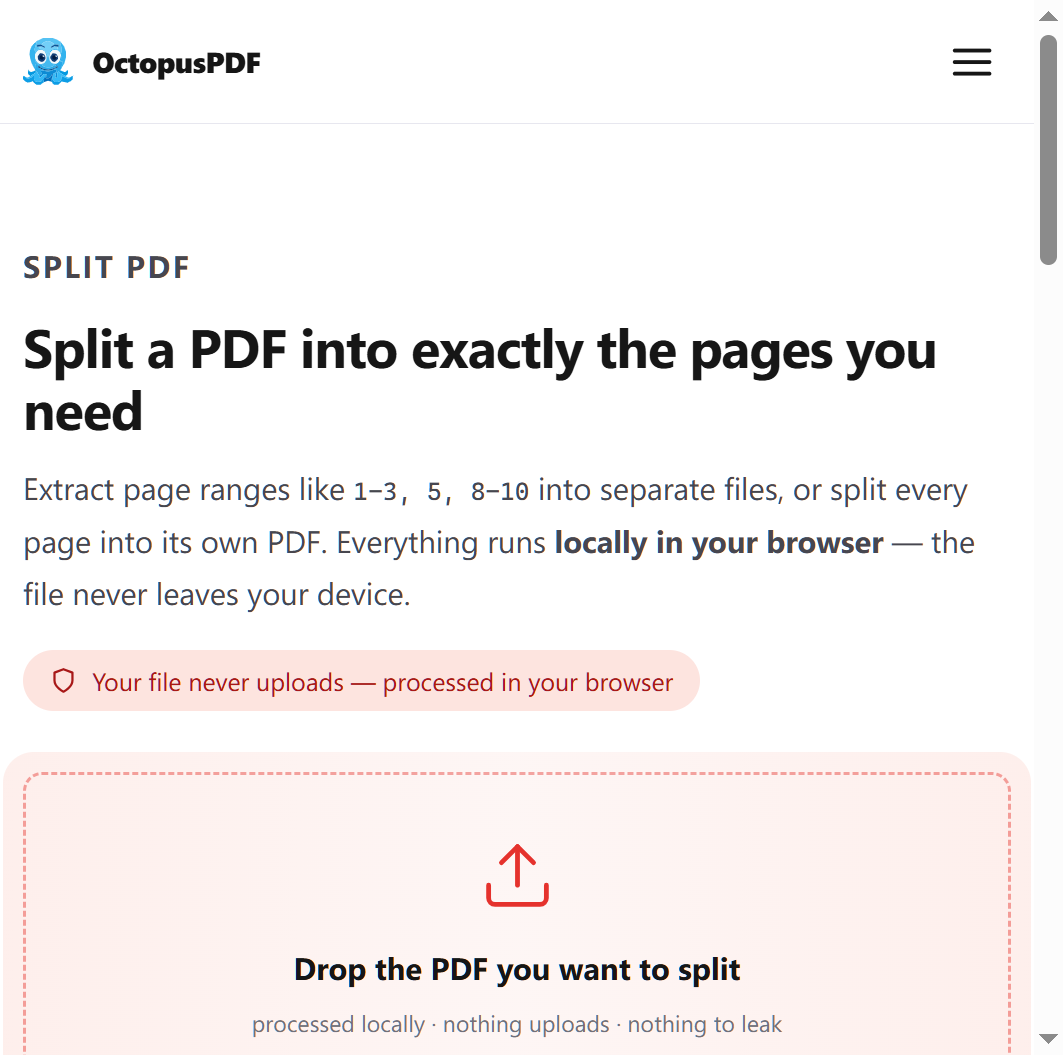
- OctopusPDF Split PDF — a browser-based tool that processes files locally without uploads and can extract page ranges or split every page into its own file.
- PDFsam Basic — a free, open-source desktop application with an Extract-pages mode.
- Adobe Acrobat Pro — a paid desktop tool with an Organize Pages workflow.
- Preview (macOS) — the built-in free viewer, using a print-to-PDF workflow.
- A note-taking app or scrap paper to record chapter page mappings.
- Optional: OCR software (Adobe Acrobat's Scan & OCR, ocrmypdf, or Tesseract) if the tutor needs to search, copy, or annotate text inside the scans.
- Optional: a PDF merge tool if you need to assemble a custom lesson pack from excerpts of several chapters.
Step-by-Step Instructions
Step 1. Open the PDF and Locate the Table of Contents
Open the scanned textbook PDF in your viewer and scroll to the table of contents, which is usually within the first 10 pages.
The table of contents lists the printed page number where each chapter begins. These printed numbers are the basis for your page ranges. If the book has no table of contents, flip through the PDF and note the page where each chapter title page appears.
[Insert screenshot: Table of contents page with the chapter start pages highlighted]
Step 2. Record Each Chapter's Printed Start Page
Write down the chapter number and its printed starting page in your notes.
Example record:
| Chapter | Printed start page |
|---|---|
| Chapter 1 | 1 |
| Chapter 2 | 27 |
| Chapter 3 | 60 |
If the table of contents does not list end pages, estimate each chapter's end as the next chapter's start page minus 1.
Step 3. Find the Offset Between Printed Page Numbers and PDF Pages
Scroll to printed page 1 in the PDF and read the PDF page number shown in the viewer's page counter.
Scanned textbooks often begin with a cover, a blank page, and a title page, so printed page 1 rarely sits at PDF page 1. The offset equals the PDF page position of printed page 1 minus 1. For example, if printed page 1 appears at PDF page 5, the offset is 4, and every chapter's PDF start = printed start + 4.
Watch out: Some viewers start counting at 0. If the counter shows 4 but the document has a page 5, add 1 to the counter value before calculating the offset.
[Insert screenshot: Printed page 1 visible while the viewer page counter shows PDF page 5]
Step 4. Build a Chapter Page-Range Table
For each chapter, add the offset to both the printed start page and the printed end page to get the PDF page range.
Keep the resulting table in your notes; you will enter these ranges into the split tool:
| Chapter | Printed range | PDF page range |
|---|---|---|
| Chapter 1 | 1–26 | 5–30 |
| Chapter 2 | 27–59 | 31–63 |
| Chapter 3 | 60–95 | 64–99 |
Spot-check each PDF start page by jumping to it in the viewer before you split anything.
Step 5. Run a Test Split on Chapter 1
Pick one splitting tool and extract only Chapter 1 as a test before processing the whole book.
A single test run confirms your offset is correct and is cheap to redo if it is wrong. Each tool approaches this slightly differently:
- Browser option: one option is OctopusPDF Split PDF. Open the Split PDF tool, add the PDF, enter the page range for Chapter 1, and download the extracted PDF. The file is processed locally in your browser and never uploaded.
- PDFsam Basic: install the application, open it, use the Extract tool, add the PDF, type the page range, choose an output folder, and run the extraction.
- Adobe Acrobat Pro: open the PDF, click Organize Pages, select the chapter's page thumbnails, click Extract, then save the extracted pages as a new document.
- Preview (macOS): open the PDF, choose View > Thumbnails, select the chapter's pages, choose File > Print, select "Selected Pages in Sidebar" in the Print dialog, and click Save as PDF.
Watch out: If the tool offers both "extract page ranges" and "split every page," choose the extract-ranges mode. The "split every page" mode creates one file per page, not one file per chapter.
[Insert screenshot: Split tool dialog with a single chapter range entered]
Step 6. Split the Remaining Chapters
Repeat Step 5 for every row in your chapter page-range table.
Process the remaining chapters one range at a time. If your tool accepts multiple ranges in a single run, enter all ranges at once and generate every chapter in one operation. Keep the original file open so you can spot-check page numbers as you go.
Watch out: Do not delete the original PDF yet. You will need it if any chapter requires re-splitting.
Step 7. Name Each Chapter File Consistently
Save each output file with a naming convention such as Chapter_01_Pages_005-030.pdf.
Clear filenames let the tutor identify the lesson pack contents at a glance and prevent chapters from being mixed up. Include the chapter number, the original printed page range, or both.
Step 8. Verify Boundary Pages in Every Chapter
Open each split file and confirm that its first page is the correct chapter opening page and its final page is exactly the chapter's last page.
Boundary errors are the most common splitting failure. Check that the last page of Chapter N is not duplicated as the first page of Chapter N+1, unless the original book itself contained that overlap.

Watch out: A chapter that starts on a blank page or a half-title page is not necessarily wrong—compare it with the original PDF before re-splitting.
[Insert screenshot: Chapter 1 file open at its first page next to the original PDF]
Step 9. Optional: OCR the Chapters for Search and Annotation
Run OCR on each chapter file if the tutor needs to search, copy, or annotate the text.
A scanned PDF is effectively a set of images; the text cannot be searched or selected until OCR creates a text layer. Practical options include Adobe Acrobat's Scan & OCR, ocrmypdf (free, command-line), and Tesseract. An OCR text layer also makes the chapters machine-readable for AI summarization workflows.
Step 10. Optional: Assemble a Custom Lesson Pack
Use a PDF merge tool to combine selected chapters, or selected page ranges from several chapters, into a single custom lesson pack.
Merging pulls only the material the tutor actually plans to teach. If the pack must include scanned worksheets or photos, convert the relevant pages to images, or use an images-to-PDF tool to combine JPG/PNG scans into one PDF, one image per page, in the order you choose.
Common Mistakes / Troubleshooting
| Problem | Likely Cause | Fix |
|---|---|---|
| Every chapter starts on the wrong page | Printed page numbers were used directly without applying the offset | Recalculate the offset from the position of printed page 1 and re-split. Run a single-chapter test first (Step 5). |
| The tool created hundreds of one-page files | The "split every page" mode was selected instead of "extract page ranges" | Re-run the split using the extract-ranges mode and enter one range per chapter. If you already exported the one-page files, merge them back with a PDF merge tool. |
| The tool rejects a large scanned textbook | The file exceeds the tool's size limit; some paid plans support files up to 100 MB, while free tiers may cap lower | Use a desktop tool such as PDFsam Basic, reduce the scan resolution, or split the PDF into two halves first and process each half separately. |
| The tutor cannot search or select text in a chapter | Scanned PDFs have no text layer, and OCR was not run | Run OCR on the split chapter files using Acrobat Scan & OCR, ocrmypdf, or Tesseract before delivering them. |
| The original textbook file was overwritten | Output files were saved with the same name and location as the source | Save all chapter outputs in a new folder and keep the original file untouched. Re-obtain the source scan if it was lost. |
How to Verify Success
- Each chapter file is named with a clear convention (for example,
Chapter_01_Pages_005-030.pdf). - Opening Chapter 1 shows the chapter title or opening page, not the textbook cover.
- The page count of each chapter equals the expected range length from Step 4.
- The first page of each chapter matches the corresponding spot-check in the original PDF.
- The last page of Chapter N and the first page of Chapter N+1 do not overlap (unless the original book had that overlap).
- The original textbook PDF is unchanged and still opens.
- If OCR was applied, searching for a distinctive term inside a chapter returns a match.
FAQ
Q1. Can I split a scanned textbook PDF without OCR first?
Yes. Splitting operates on whole pages and does not require a text layer. OCR is only needed afterward if the tutor wants to search, copy, or annotate the text inside the chapter files.
Q2. What if the tutor needs only part of a chapter, such as pages 10–18 of Chapter 3?
Use the same workflow with a narrower range. Apply the offset to the printed start and end pages, extract only that range, and keep it as a standalone PDF or merge it with other excerpts to build a custom lesson pack.
Q3. How do I confirm my page offset is correct?
Extract only the first chapter as a test. Open the output and confirm that the chapter's opening page is the first page of the file. If it is off, adjust the offset and re-run the test before splitting the rest of the book.
Key Facts
- Splitting a scanned textbook into chapters requires mapping printed page numbers to physical PDF page positions, because cover, title, and table-of-contents pages add a constant offset to every chapter.
- Use the "extract page ranges" mode rather than the "split every page" mode to produce one file per chapter; the split-every-page mode yields one file per page.
- Scanned PDFs are image-based: splitting works without OCR, but OCR (Acrobat Scan & OCR, ocrmypdf, Tesseract) is required for searchable, selectable text.
- Browser-based split tools that process files locally without uploads can extract custom ranges and keep sensitive textbook scans off remote servers.
- Once chapters exist as separate PDFs, a merge tool can combine chapter excerpts into a custom lesson pack, and an images-to-PDF workflow can assemble JPG/PNG scans into a single PDF, one image per page, in the chosen order.