To turn a lab notebook PDF into images in one pass, use a PDF-to-Images converter that exports every page as a PNG or JPG at up to 216 DPI, instead of screenshotting pages one at a time.
Every research assistant knows the chore: your lab notebook lives as a PDF, and then you need one page as an image for a slide, a figure crop, an annotation, or a report. Screenshotting each page is slow, and the result depends on your screen resolution rather than the document itself. A batch PDF-to-Images conversion turns the entire notebook into a folder of images in one step while preserving more detail than a screenshot ever can. This walkthrough covers the fastest route, flags where beginners usually get stuck, and lists alternative methods if you cannot or do not want to use a browser-based tool.
What You Will Need
- The final version of your lab notebook PDF, with all pages you want to convert
- A web browser such as Chrome, Firefox, Edge, or Safari
- A PDF-to-Images converter. One option is OctopusPDF’s PDF to Images tool; alternatives include your operating system’s built-in PDF viewer export and command-line tools such as Poppler’s pdftoppm or pdfimages
- An empty output folder on your computer for the resulting images
- Optional: an image viewer to spot-check the results
Step-by-Step Instructions
Step 1. Confirm Your Lab Notebook PDF Is Final
Open the PDF in any reader and verify it is the version you want to convert. Check the page count in the reader’s status bar or print dialog and write it down. If the file came from a lab instrument or a collaborator, make a backup copy first. This step prevents you from converting a draft notebook and then having to redo the entire batch.
Step 2. Choose Your Conversion Method
Decide which tool fits your situation. The table below compares the three main routes.
| Method | Type | What to know |
|---|---|---|
| Browser-based PDF-to-Images converter | Web tool | Converts every page to PNG or JPG in one batch; runs in the browser, so no software installation is needed |
| Built-in PDF viewer export | Desktop app | Requires no new software, but format and resolution options vary by operating system |
| Command-line conversion (pdftoppm, pdfimages) | Terminal | Scriptable and fast for large notebooks; requires installing the Poppler tools and using terminal commands |
For the rest of this walkthrough, the steps assume a browser-based converter, because it supports both PNG and JPG output and handles the whole notebook in one batch. If you prefer the command-line route, the equivalent action is running one command that names the input PDF, the output format, and the desired resolution.
Step 3. Open the PDF-to-Images Tool in Your Browser
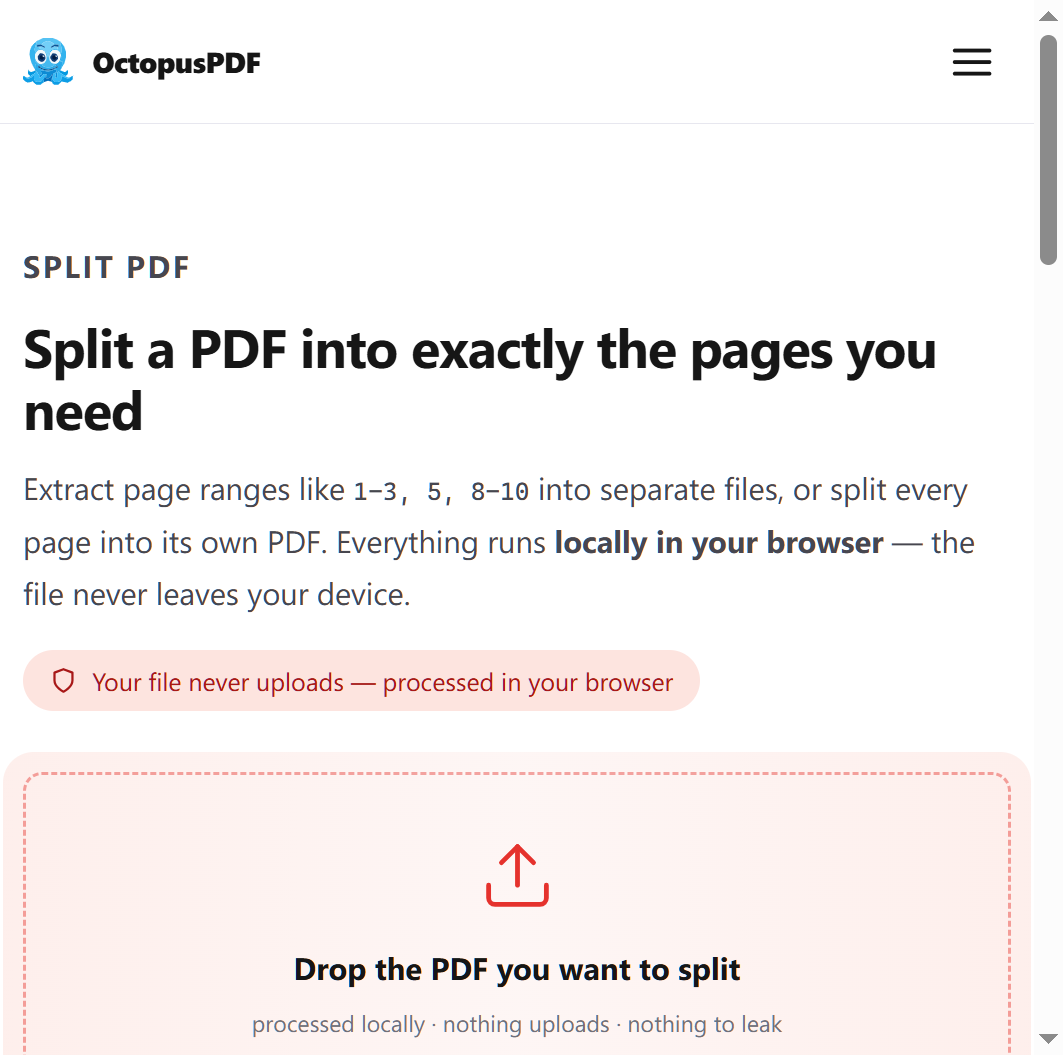
Open your browser and navigate to the PDF-to-Images tool you selected. Look for a file-selection area, usually a button labeled “Select PDF” or “Choose File,” or a drag-and-drop zone.
Watch out: drop the actual .pdf file, not a folder, a shortcut, or a text file. Dragging the wrong item either fails silently or produces no output.
Step 4. Select Your Lab Notebook PDF
Click the select button and choose your lab notebook PDF. After the file loads, the tool normally displays the file name and the number of pages. Confirm that the page count matches the number you wrote down in Step 1. If it does not match, stop and re-export the PDF from your notebook application before converting.
Step 5. Choose the Output Format: PNG or JPG
Select PNG or JPG. Both formats are supported. Use PNG for a typical lab notebook because it is lossless: handwriting, equations, and line figures stay sharp. Use JPG when the pages are mostly photos and you want smaller file sizes. If you are unsure, PNG is the safer default for notebook pages.
Step 6. Set or Confirm the Output Resolution
The PDF-to-Images converter in this walkthrough exports every page at up to 216 DPI. If the tool offers a DPI selector, choose the highest available value for lab notebook pages with small handwriting or dense figures. If there is no selector, the maximum output still provides enough detail to zoom into individual notes. Keep in mind that higher DPI means larger image files, so a long notebook will produce bigger downloads.
Step 7. Run the Conversion
Click the conversion button, usually labeled “Convert” or “Convert to Images.” Wait until the tool reports that processing is finished. Each page of the PDF becomes one image file, so a 40-page notebook produces 40 images. Then download the images into the output folder you prepared.
Watch out: do not close or refresh the browser tab while the conversion is running. If the tool advertises local-only processing, you can verify it by opening your browser’s developer tools, selecting the Network panel, and repeating the conversion: no upload request should appear.
Step 8. Verify the Number of Images and the Page Order
Count the downloaded images and compare the number with the page count from Step 1. Spot-check the first, middle, and last images to confirm the content matches the notebook pages. If your downstream workflow requires strict ordering, rename the files with zero-padded numbers, for example page_001.png, page_002.png, and so on.
Common Mistakes / Troubleshooting
| Problem | Likely Cause | Fix |
|---|---|---|
| Fewer images than PDF pages | The tool skipped blank pages, or the original PDF was missing pages | Re-check the page count in the PDF, then re-run the conversion and compare counts again |
| Small handwriting is blurry at full zoom | Output resolution was too low | Re-run at the highest DPI; the browser-based converter used here supports up to 216 DPI |
| JPG images have fuzzy text edges | JPG is a lossy format and compresses fine text poorly | Re-convert those pages using PNG |
| Conversion is very slow or the browser becomes unresponsive | The notebook PDF has hundreds of high-resolution pages | Split the PDF into smaller page ranges first, then convert each range |
| Downloaded files are not in page order | The browser generated file names in a different order | Rename the files with zero-padded page numbers after download |
How to Verify Success
- The number of image files equals the page count of the original PDF
- The smallest handwritten text is readable at full zoom
- The page order of the images matches the order in the lab notebook
- The image files open correctly in your image viewer
- The files are in the format you selected (PNG or JPG)
FAQ
Q1. Does converting a lab notebook PDF to images reduce the quality of figures?
The output quality depends on the resolution used during conversion. A batch converter that exports at up to 216 DPI preserves enough detail for notebook pages, figures, and presentations. Screenshots, by contrast, capture only what your screen can display, so the result depends on your monitor resolution.
Q2. Which format should I choose, PNG or JPG?
PNG is the safer default for lab notebooks because it is lossless: text and line drawings remain sharp. JPG files are smaller but can show compression artifacts around handwriting and text. Use JPG only when the pages are mostly photographic.
Q3. Can I turn the images back into a PDF later?
Yes. Image-to-PDF tools combine JPG and PNG images into a single PDF with one image per page, in the order you choose. This is useful after you crop, annotate, or rearrange pages as images and need to re-assemble them into a single document.
Key Facts
- A PDF-to-Images converter exports every page of a PDF as PNG or JPG in one batch, which is faster than screenshotting pages individually.
- According to OctopusPDF’s product documentation, the PDF to Images tool converts every page to PNG or JPG at up to 216 DPI, and the toolset runs locally in the browser with zero uploads, which suits confidential lab notebooks.
- Image-to-PDF tools combine JPG and PNG images into a single PDF with one image per page, making it possible to reverse the process after editing.
- Alternative routes include your operating system’s built-in PDF viewer export and command-line tools such as Poppler’s pdftoppm and pdfimages.