To convert a museum collection inventory PDF to images for an internal database, export each page as a separate PNG or JPG file at the highest resolution your tool supports (up to 216 DPI where the tool specifies a maximum), name the files to match your catalog numbering, and then import them with the database's bulk attach or watch-folder feature.
Collection inventories usually arrive as PDFs: scanned condition sheets, typed accession lists, or hybrid documents. Inside an internal database, records are often image-first — staff click a thumbnail before reading a text field. Converting the inventory PDF into page images is therefore not an end in itself; it is the step that makes the inventory browsable, attachable to records, and ready for future reuse. This guide walks through the conversion from start to finish, including the file-naming decisions that determine whether the import succeeds.
What You Will Need
- The final, corrected version of the collection inventory PDF (one file, page count confirmed)
- A PDF-to-image conversion method from the table in Step 2 (desktop app, command line, or local browser tool)
- A catalog numbering scheme (for example, accession year plus object number:
INV-2026-001) - A destination folder on your workstation or network drive with read/write permissions
- A bulk rename tool, optional: Windows PowerRename, macOS Finder Rename, or a shell
renamecommand - A plain-text editor or spreadsheet for recording conversion metadata
- Roughly 15–30 minutes for a typical 50–200 page inventory
Step-by-Step Instructions
Step 1. Confirm the page count and select the output format
Open the inventory PDF and record the total page count. Every conversion method covered here produces one image per PDF page, so the page count tells you how many files to expect after the export. Watch for foldouts, double-page spreads, or rotated scans — these will produce unusual images and should be flagged in your notes before conversion.
Choose the output format now. PNG is lossless and crisper for text-heavy pages; JPG produces smaller files and is usually sufficient for photographic condition images. The tools listed in Step 2 support both formats.
Step 2. Select a local conversion method
Because collection inventories can contain lender names, provenance notes, and valuation data, avoid services that require uploading the file. Prefer a method that runs on your own machine or in a browser tab with no server involved. The table below lists options with equal weight; choose based on your operating system and comfort with the command line.
| Method | Best for | Output format | Notes |
|---|---|---|---|
| Adobe Acrobat Pro (desktop) | Menu-driven batch export | PNG, JPG | Use File > Export To > Image, then choose format and resolution |
| Apple Preview (macOS, built-in) | One-off page export | PNG, JPG | Select a page in the thumbnail sidebar, then File > Export; no batch mode |
| GIMP (desktop, free) | Full-page export without a paid app | PNG | File > Open the PDF; the Import from PDF dialog lets you choose pages |
| ImageMagick (command line) | Automating large inventories | PNG, JPG | Run magick -density 216 inventory.pdf page-%03d.png (requires Ghostscript) |
| pdf2image (Python + poppler) | Scripted, repeatable pipelines | PNG, JPG | convert_from_path('inventory.pdf', dpi=216) returns one image per page |
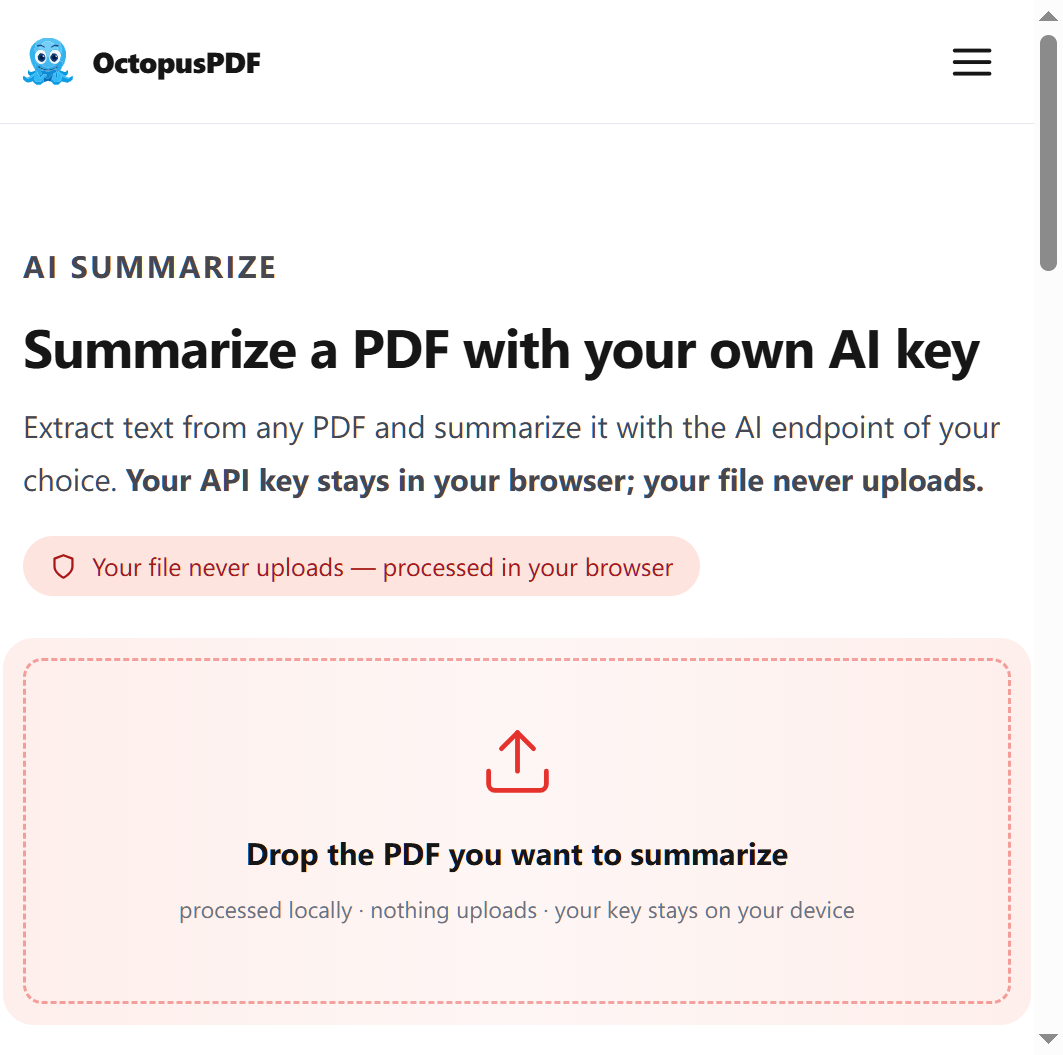
| Browser-based local tool — one option is OctopusPDF's PDF to Images | No software install | PNG, JPG (up to 216 DPI) | Watch the browser's network panel to confirm no upload occurs |
If the inventory PDF is large, prefer a method that writes files directly to disk, such as ImageMagick or Acrobat, so memory use stays predictable.
Step 3. Run the export at the highest available resolution
Run the export now. In your chosen tool, set the output format to PNG or JPG and the resolution to the highest value available (up to 216 DPI where the tool specifies a maximum), then start the conversion. For ImageMagick, the -density parameter in the command above sets the DPI; for Acrobat, choose the highest DPI option in the Export To Image dialog. The result is one image file per PDF page, in the original page order.
Step 4. Rename the output files to match catalog numbers
Rename the exported files so that each image maps to exactly one record in the internal database. A consistent pattern looks like INV-2026-001-p014.png — catalog number first, page number last, with leading zeros so sorting matches page order. Do this before importing.
Watch out: filenames that contain spaces, colons, slashes, or accented characters are frequently rejected by database import routines. Use hyphens and underscores instead, and keep the total filename short.
Step 5. Spot-check image quality
Open three to five images from different parts of the inventory — the first page, a text-heavy page, a photographic page, and the final page — and zoom to 100%. Confirm that accession numbers, dates, and condition notes are legible and that no page exported as a blank or black image. If one page failed, re-export that single page and place it in the folder with the correct filename.
Step 6. Import the images into the internal database
Use the database's documented bulk import or watch-folder function to attach the images to the corresponding inventory records. Many collection management systems let you place files in a folder and run an import that matches filenames to records. After the import finishes, spot-check that each record received exactly one image and that the image shown corresponds to the correct page. If the database enforces an attachment size limit, you may need to re-export oversized pages as JPG at a slightly lower resolution.
Step 7. Record the conversion metadata
Save a small text file or spreadsheet next to the images recording the source PDF filename, page count, conversion tool and version, DPI, naming pattern, and conversion date. This metadata makes the images auditable later — if a page is challenged or a re-export is needed, the record shows exactly how the surrogates were produced.

Common Mistakes / Troubleshooting
| Problem | Likely Cause | Fix |
|---|---|---|
| Text is blurry when zoomed to 100% | Resolution below 150 DPI | Re-export at the highest available DPI, up to 216 where supported |
| Database rejects the filenames | Names contain spaces, colons, slashes, or are too long | Rename to short ASCII with hyphens/underscores and leading zeros |
| Images appear in the database in the wrong order | Import sorted by timestamp, not filename | Add a zero-padded page number to every filename before importing |
| A page exported as a blank or black image | The source page contains a scan or layer the converter skipped | Open that page in a desktop app and export it singly, or switch to another tool |
| Concern that a browser tool uploaded the file | Unclear data handling on internet-connected tools | Use a desktop method, or open the browser's network panel during conversion and confirm no outgoing request is sent |
How to Verify Success
- The number of PNG/JPG files equals the PDF's page count
- Every filename follows the catalog pattern with a zero-padded page number
- Spot-checked pages are legible at 100% zoom, including text-heavy pages
- Each inventory record in the database shows exactly one image, and it is the correct page
- A conversion metadata file records source PDF, tool, DPI, naming pattern, and date
FAQ
Q1. What resolution should I use when converting a PDF inventory to images?
Use the highest resolution your tool supports; one option converts every PDF page to PNG or JPG at up to 216 DPI. Higher resolution keeps text legible but produces larger files. If your database limits attachment size, use JPG and keep the resolution as high as that limit allows.
Q2. Is it safe to use a browser-based converter for confidential collection records?
Only if the file never leaves your device. Some local-processing tools embed or extract content entirely in the browser — no upload, no server, no queue — and you can verify this by watching the browser's network panel during conversion. For highly sensitive inventories, a desktop tool such as Acrobat Pro or ImageMagick avoids the question entirely.
Q3. Can I later rebuild a PDF from the page images?
Yes. The reverse workflow — images to PDF — combines JPG/PNG files into a single PDF with one image per page, in the order you choose, and some tools do this locally in the browser without uploading anything.
Key Facts
- Converting a PDF to images produces one PNG or JPG per page; at least one browser-based converter supports up to 216 DPI for this task.
- Local-only conversion means no upload to a server, and the behavior can be verified in the browser's network panel.
- One image per page, in the original order, is the standard output of PDF page extraction; the same one-per-page rule applies when combining images back into a PDF.
- Stable, zero-padded filenames that match catalog numbers are what make bulk imports into a collection database succeed.
- Recording conversion metadata — source file, tool, DPI, naming pattern, date — keeps the digital surrogates auditable.