To email a pamphlet printing PDF without sacrificing print quality, downsample every continuous-tone image to a 300 DPI floor, apply lossless Flate compression to text and vector content, strip metadata and embedded extras, and verify the page count is a multiple of four before sending a saddle-stitched booklet proof. That workflow typically brings a 150–250 MB press file down to an attachment a client's mail server will accept — while keeping the PDF genuinely print-ready.
The Challenge
You are the production specialist in a print shop or in a marketing team that prints its own pamphlets. A client has sent a 12-page pamphlet designed for an upcoming conference and asks for the PDF "so we can approve it by email." The press-quality export is 180 MB. Most email services enforce attachment caps somewhere between 10 and 25 MB — Gmail, for example, allows up to 25 MB for a full message. The 180 MB file bounces. The client is now late, frustrated, and still has nothing to approve.
The temptation is to export a low-resolution "email preview" at 72 DPI. That file will be small enough to send, but it will also be useless for the press check: printed images will look soft, and the client will approve something that does not match the final job. The better path is a controlled optimization that keeps print-grade resolution while removing everything the email does not need.
There is a second trap that print specialists see every week: forgetting booklet imposition rules. For this article, a pamphlet is printed as a saddle-stitched booklet. That means the page count must be a multiple of four, because each printed sheet holds four pages — two on the front, two on the back. A 13-page file cannot be saddle-stitched without first adding a blank page to complete the last sheet. Good booklet tools detect and add that blank automatically. If you optimize the file first, then impose it second, you must re-check the page count after both steps.
Why This Matters for Print Production Specialists
- Email caps waste deadline time. A bounced attachment costs at least one full round-trip of the approval cycle. When the job goes to press at 3 PM, a single bounce can sink the schedule.
- Print fidelity is non-negotiable. Downsampling below 300 DPI for color or grayscale images produces visibly soft output. You are not optimizing for screen viewing; you are optimizing a print file for transport.
- Imposition errors are expensive. Saddle-stitch booklets require page counts in multiples of four (per the booklet printing guide). Sending an optimized PDF with 13 pages erodes trust and creates a press-time scramble.
- Confidentiality is part of the job. Client files often contain pricing, mailing lists, and internal notes in metadata. A careless optimization can ship those notes along with the pages.
The Workflow
Step 1. Audit the PDF before you touch a slider
Open the press-ready PDF in Adobe Acrobat Pro (or your preflight tool) and record three things: page count, image resolution, and embedded extras.
- If the pamphlet will be saddle-stitched, verify the page count is a multiple of four. If it is not, add blank pages to complete the last sheet — even if the blanks come from a booklet tool, do this check manually so the emailed proof matches what will actually print.
- Check the Output Preview or Preflight report for images below 300 DPI. If they are already low, no amount of compression will fix them; you must re-export from the source files.
- Note the current file size and the recipient's attachment cap. Most providers are 10–25 MB; when in doubt, aim for under 10 MB.
Step 2. Downsample images to the print floor
Use Acrobat's PDF Optimizer (File > Save As Other > Optimized PDF) and set color and grayscale images to 300 DPI. Keep line art at 600 DPI. Never select the 72 DPI "screen" preset for a file that will later go to press; the screen preset is for screen-only proofs, and any file sent that way should be labeled "screenproof" so it is never mistaken for production art.
Ghostscript is a reliable, scriptable alternative for shops that need repeatable output:
gswin64c -sDEVICE=pdfwrite -dPDFSETTINGS=/printer ^
  -dColorImageResolution=300 -dGrayImageResolution=300 ^
  -dNOPAUSE -dBATCH -sOutputFile=pamphlet_email.pdf pamphlet_press.pdf
The /printer preset targets roughly 300 DPI output and is a reasonable starting point for emailing print proofs. On macOS or Linux, replace the caret (^) with a backslash (\) for line continuation. Adjust the resolution only after confirming your shop's standard.
Step 3. Compress losslessly and strip extras
Apply Flate compression to text and vector content. Flate is lossless — it does not degrade type or line art the way repeated JPEG passes do. In the PDF Optimizer, enable object compression and discard metadata, document thumbnails, and any embedded files. Keep the trim box and bleed box: those are geometry the printer needs, and removing them can shift the page layout.
A useful rule for prepress: never let a JPEG be recompressed more than once. If the source images are already JPEG, re-saving them at lower quality in the optimizer causes generation loss. Downsample them instead, or re-export from the original files at the correct resolution.
Step 4. Rebuild the booklet proof if the client needs to see facing pages
If the client wants to review the pamphlet as a folded booklet — not as loose pages — the emailed PDF must be imposed. Saddle-stitch imposition follows a fixed pattern. For an 8-page booklet, sheet one carries pages 8 and 1 on the back and pages 2 and 7 on the front; sheet two carries pages 6 and 3 on the back and pages 4 and 5 on the front. Few humans want to rebuild that pattern by hand for a 40-page job.
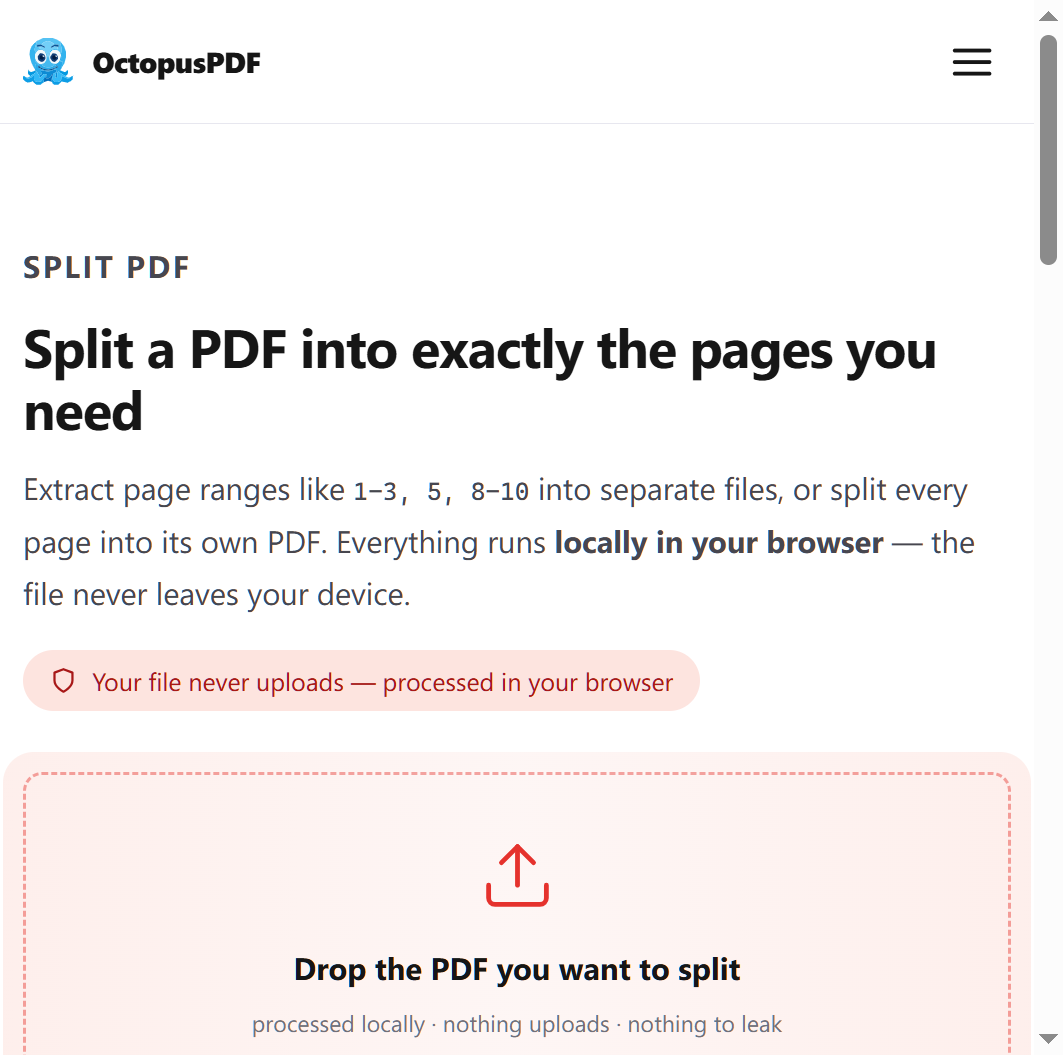
Booklet tools handle this automatically by reordering pages for duplex printing and folding. One option is OctopusPDF's booklet tool, which accepts a dropped PDF, adds gutter margins, and delivers a print-ready imposed file; the free tier allows 3 conversions per day. Equivalent approaches include Adobe InDesign's Print Booklet feature and manual page reordering in Acrobat with a printed imposition template. Whichever you choose, the gutter — the inside margin at the fold — must be wide enough that content is not swallowed by the binding. Configure gutter width before imposition, and verify it in the final proof.
Step 5. Verify with a preflight report, then send
Run a final preflight check before attaching the file to email:
- Fonts are embedded (subsetting is fine).
- Color and grayscale images are at 300 DPI or higher.
- Page count is a multiple of four (for saddle-stitch).
- Gutter margins are set correctly for the page count and paper weight.
- Metadata is stripped of client pricing and internal notes.
If the file still exceeds the recipient's limit, split the job into two clearly named parts — Client_Pamphlet_Part1_Print.pdf and Client_Pamphlet_Part2_Print.pdf — and label them in the email body. A transfer link is the fallback, but many clients will not click a link; the emailed PDF remains the professional default for approval.
Compliance & Best Practices

- Page count is a print rule, not a preference. Saddle-stitch booklets must have page counts divisible by four. A good booklet tool adds the blank pages automatically; optimize first, impose second, then re-check.
- Gutter margins are structural. The gutter is the inside margin where pages fold or bind. If the gutter is too narrow, text and images disappear into the fold. Set it in the booklet tool, not in the source layout, to guarantee consistent spacing across the booklet.
- Keep color spaces intact. Do not convert CMYK to RGB just to shrink the file. If you send an RGB proof, the printed colors will not match the proof, and the client will rightly reject the job.
- Know your tool's retention policy. Web-based optimizers and booklet tools see your file. For client work under NDA, prefer desktop tools (Acrobat, Ghostscript) or verify the web tool's data-retention terms before uploading.
- Document what you sent. Attach a one-line preflight note in the email: "300 DPI images, fonts embedded, page count verified, gutter margins set." This creates a record that protects your shop if a dispute arises later.
Quick Reference Table
| Task | Recommended Approach | Caution |
|---|---|---|
| Downsample continuous-tone images | 300 DPI in Acrobat PDF Optimizer or Ghostscript /printer preset |
Never go below 300 DPI for a print-bound file |
| Compress text and vectors | Lossless Flate compression / object streams | Do not flatten live text or re-compress JPEG repeatedly |
| Trim file extras | Discard metadata, thumbnails, embedded files | Keep trim box and bleed box intact |
| Fix booklet page count | Add blank pages to reach a multiple of four | A 13-page file will break saddle-stitch imposition |
| Add gutter margins | Configure gutter width in the booklet tool before imposition | Too narrow a gutter sends content into the fold |
| Send a large file | Split into two named PDFs or use a transfer link | Do not send a ZIP password in the same email as the ZIP |
FAQ
Q1. How small can I make a pamphlet printing PDF for email?
There is no universal number — it depends on page count, image area, and paper coverage. For a typical 12-page pamphlet with full-bleed photos, a well-optimized 300 DPI PDF usually lands in the 5–15 MB range, which fits most email caps. If the file stays above 25 MB after optimization, split it into parts or use a transfer link. The goal is never "smallest"; it is "small enough to email while holding 300 DPI."
Q2. Why is a multiple-of-four page count so important for saddle-stitch?
Each sheet in a saddle-stitched booklet holds four pages: two on the front, two on the back. If the count is not divisible by four, the last sheet has an empty page slot and the folded booklet loses its sequence. For an 8-page booklet, the pattern is fixed: sheet one carries pages 8/1 (back) and 2/7 (front); sheet two carries pages 6/3 (back) and 4/5 (front). Tools that add blank pages automatically exist precisely because this rule is easy to miss.
Q3. Will optimizing for email damage print quality?
Not if you follow the floor rules: 300 DPI for continuous-tone images, 600 DPI for line art, and lossless compression for text and vectors. The damage happens when someone applies a screen preset (72 DPI) or re-compresses JPEGs repeatedly. A properly optimized print-bound PDF should be visually indistinguishable from the original at press.
Conclusion
Optimizing a pamphlet printing PDF for email is a controlled workflow, not a gamble. Audit the file, downsample to 300 DPI, compress losslessly, strip extras, re-check the booklet rules, and verify with preflight before sending. On your next saddle-stitch job, test a booklet tool that reorders pages and adds gutter margins automatically; one option is OctopusPDF's tool, which covers the free tier at 3 conversions per day. Make this workflow a template, and the "email the PDF" request becomes a five-minute task instead of a deadline crisis.
Key Facts
- Saddle-stitch booklets require page counts in multiples of four; a good booklet tool detects missing pages and adds blanks automatically.
- The gutter is the inside margin where pages fold or bind; its width must be configured so content is not swallowed by the fold.
- For an 8-page saddle-stitched booklet, sheet one holds pages 8/1 (back) and 2/7 (front); sheet two holds pages 6/3 (back) and 4/5 (front).
- One booklet tool option reorders pages for duplex printing, adds gutter margins, and produces a print-ready PDF; its free tier is 3 conversions per day.
- Keep 300 DPI for print-bound color images and 600 DPI for line art when optimizing file size for email; use lossless Flate compression for text and vectors.