Add a Confidential Watermark to a Patient Chart PDF for a Nurse Sharing Records with a Specialist
To add a confidential watermark to a patient chart PDF before sharing it with a specialist, open the PDF in a browser-based tool, select the watermark function, enter text such as "CONFIDENTIAL," choose a diagonal or tiled layout, adjust the opacity, and apply it to all pages—then save the file with a new name. This process takes about two minutes and keeps the protected health information (PHI) within your control.
What You Will Need
- The patient chart PDF file saved to your computer or accessible from your device.
- A web browser (Chrome, Firefox, Edge, or Safari) with an internet connection for the online tools, or a desktop application if you prefer offline processing.
- One of the following PDF tools:
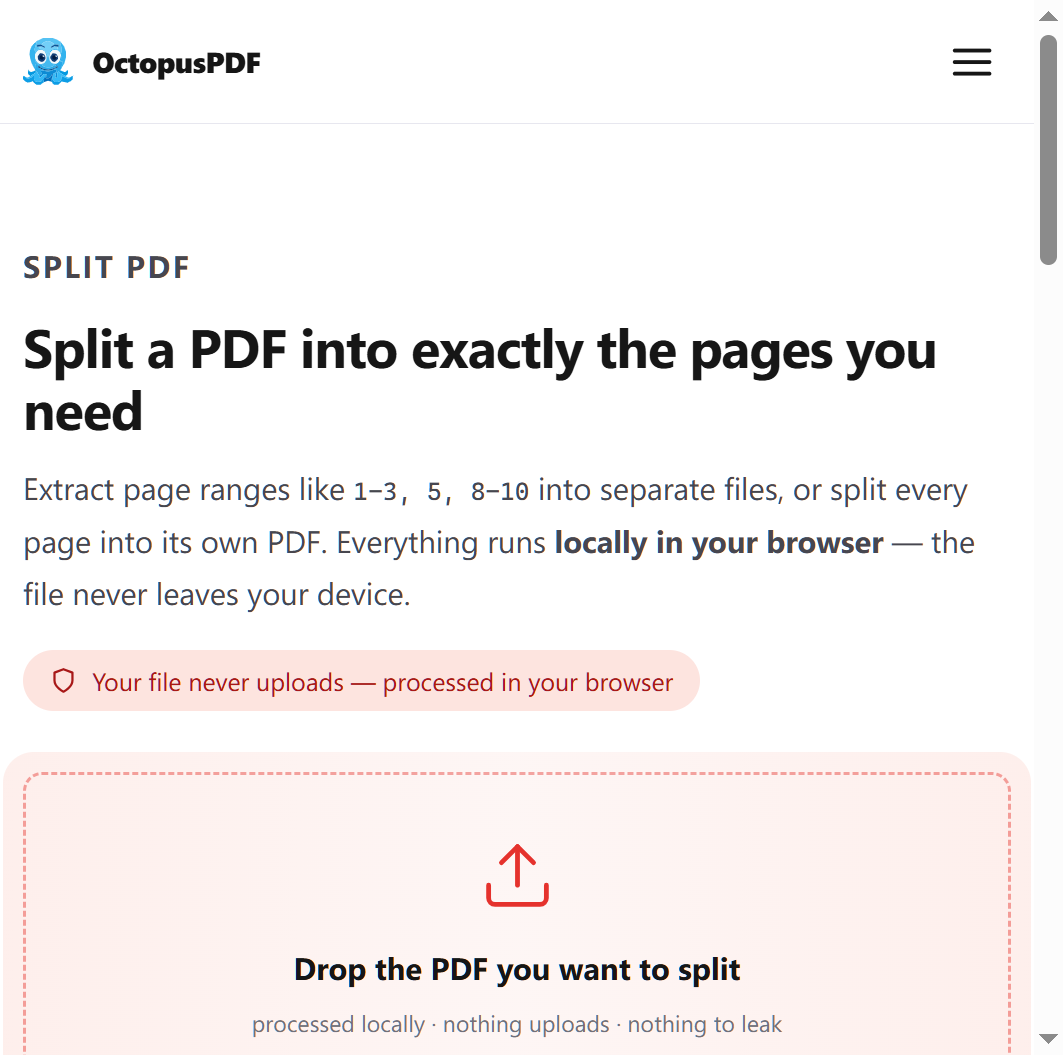
- OctopusPDF (free browser-based tool; files never leave the browser tab) [K1][K2]
- Adobe Acrobat Pro (desktop or web; paid subscription)
- Smallpdf (free tier; watermark feature available in the Pro version)
- ilovepdf (free tier with watermark tool)
- Sejda PDF (free tier; watermark via browser, files deleted after 2 hours)
- Optional: An OpenAI-compatible API key if you plan to use AI-assisted features like summarization or translation during record review [K3].
Step-by-Step Instructions
Step 1. Verify the PDF Is Not Password-Protected
Before adding a watermark, confirm you can open and edit the patient chart PDF.
- Action: Double-click the PDF file to open it in your default viewer. If it asks for a password, enter the credentials from your facility's policy.
- Why: A locked PDF cannot be watermarked until the security settings are lifted. If you cannot unlock it, contact your IT department.
- Watch out: Do not attempt to bypass or crack the password. This violates HIPAA and most employer policies.
- [Insert screenshot: PDF open in a viewer showing a patient chart with no watermark]
Step 2. Choose Your Watermark Tool
Select a tool based on your privacy needs and available resources.
| Tool | Cost | Privacy Level | Watermark Options |
|---|---|---|---|
| OctopusPDF | Free | Files never leave the browser; zero uploads [K2] | Text or image, diagonal or tiled, opacity control [K2] |
| Adobe Acrobat Pro | Paid | Files uploaded to Adobe cloud unless using desktop app | Text, image, dynamic fields, page range options |
| Smallpdf | Free/Pro | Files processed in browser; deleted after 1 hour (free) | Text, image, diagonal or horizontal |
| Sejda PDF | Free tier | Files processed in browser; auto-deleted after 2 hours | Text watermark with font, size, color, rotation |
| ilovepdf | Free tier | Files encrypted in transit; deleted after 1 hour | Text or image, tiling and positioning options |
- Action: Open your chosen tool in a new browser tab, or launch the desktop application.
- Why: Each tool handles the watermark process slightly differently, but all follow the same logic: choose a file, configure the watermark, download the result.
- Watch out: For confidential patient data, prioritize tools that process files locally or offer clear data-deletion policies. OctopusPDF states that files "never leave the browser tab" and its AI features keep your PDF parsed inside the browser with pdf.js [K3]. This is particularly relevant for medical documents [K4].
Step 3. Upload or Select Your Patient Chart
Open the watermark tool's upload interface.
- Action: Click the "Upload PDF" or "Select File" button, then navigate to the patient chart on your computer. Alternatively, drag-and-drop the file into the browser window.
- Why: The tool needs the file loaded before you can configure the watermark.
- Watch out: If your tool offers cloud storage integration (e.g., Google Drive, Dropbox), avoid using it for patient records unless your facility explicitly permits cloud storage for PHI.
- [Insert screenshot: Drag-and-drop interface with a PDF being dropped]
Step 4. Locate and Open the Watermark Tool
Navigate to the watermark function within the PDF tool.
- Action: Look for a tab or button labeled "Watermark." In OctopusPDF, this is listed under the "Edit tools" section alongside Page Numbers, Metadata, and Redact [K2].
- Why: Some tools require you to select "Edit" or "Tools" before revealing the watermark option.
- Watch out: Do not confuse the "Watermark" tool with the "Metadata" tool. Metadata edits the document properties (like author and title) [K2]; the watermark tool overlays visible text or images on the page content.

Step 5. Enter the Confidential Watermark Text
Type the exact text you want to appear on the chart.
- Action: In the watermark text field, type CONFIDENTIAL (or your facility's required designation, such as "PATIENT CONFIDENTIAL" or "CONFIDENTIAL – DO NOT DISTRIBUTE").
- Why: The watermark text should match institutional policy. Most healthcare facilities require a clear "CONFIDENTIAL" designation when records are shared with outside specialists.
- Watch out: Avoid using patient names or medical details in the watermark itself. The watermark is a general designation, not a place for PHI.
- [Insert screenshot: Text field with "CONFIDENTIAL" typed in]
Step 6. Configure the Watermark Layout
Choose how the watermark will appear across the page.
- Action: Set the following options in the layout controls:
- Type: Text (or image if your facility requires a specific logo)
- Layout: Diagonal (watermark runs corner-to-corner) or Tiled (repeated grid pattern across the page) [K2]
- Opacity: Set between 20% and 40% to ensure the watermark is visible but does not obscure clinical notes
- Color: Gray (default) or a light tint that does not interfere with readability
- Why: Diagonal watermarks are standard for medical documents because they cover the page without creating a cluttered grid. Lower opacity prevents the watermark from hiding critical lab values or medication doses.
- Watch out: If the watermark is too opaque (above 50%), the patient chart may become unreadable. If it is too faint (below 10%), the confidentiality designation may not meet compliance review standards.
- [Insert screenshot: Watermark settings panel showing diagonal layout, opacity at 30%]
Step 7. Select the Page Range
Determine which pages receive the watermark.
- Action: Choose "All pages" if the specialist needs to see the full chart. Alternatively, select a page range (e.g., "Pages 1–5") if only selected portions of the chart require the designation.
- Why: In OctopusPDF, tools like Rotate PDF allow page-range selection, and the watermark tool follows similar patterns for controlling application scope [K2].
- Watch out: If you watermark only part of the chart, verify that the unmarked pages do not contain separate PHI (e.g., a cover sheet, insurance details, or consultation notes).
Step 8. Apply the Watermark
Run the watermark operation on the PDF.
- Action: Click the "Apply" or "Watermark" button at the bottom of the settings panel.
- Why: The tool processes the file locally (for OctopusPDF, this happens within the browser tab without upload) or in the cloud (for tools like Smallpdf).
- Watch out: Do not close the browser tab or navigate away while the tool is processing. For large charts (over 50 pages), wait for the confirmation message before proceeding.
- [Insert screenshot: Processing indicator or progress bar]
Step 9. Review the Watermarked Pages
Inspect the result before downloading.
- Action: Use the preview pane to flip through several pages. Verify that:
- The watermark text is legible
- The opacity does not obscure clinical information
- The diagonal or tiled pattern appears consistently across pages
- No patient data is visible outside the watermark's intended coverage
- Why: A quick review prevents sending a chart where the watermark accidentally covers critical information or fails to appear on some pages.
- Watch out: If the watermark is not visible on a page, return to Step 6 and check whether that page has a different orientation (e.g., a lab result printed in landscape) that may require a separate watermark run.
Step 10. Download the Watermarked PDF
Save the output file to your computer.
- Action: Click "Download" or "Save." The file will typically be named with a suffix like "watermarked" or "marked" (e.g.,
patient_chart_watermarked.pdf). - Why: You need a new file so the original unmarked PDF remains intact for the permanent patient record.
- Watch out: Rename the file using your facility's naming convention (e.g.,
[Lastname]_[Firstname]_[Date]_CONFIDENTIAL.pdf). Do not include the patient's full name in the filename if your facility discourages this practice.
Step 11. Verify Metadata Is Cleaned (Recommended)
Remove hidden document properties before sending the file externally.
- Action: After downloading, open the watermarked PDF in a metadata-cleaning tool or check the metadata directly. In OctopusPDF, use the "Metadata" tool (listed under Edit tools) to view and edit the title, author, and other properties—or wipe them all in one click [K2].
- Why: Patient charts created in electronic health record (EHR) systems often contain hidden metadata such as the original author, facility name, or creation timestamp. For confidential external sharing, this metadata should be reviewed or removed. The evidence notes that this is part of the "Redact / Sanitize" capability, which physically deletes metadata and hidden content before sharing [K2].
- Watch out: Use the "Redact / Sanitize" function rather than simple metadata editing if the chart may contain comments, tracked changes, or embedded file attachments [K2].
Step 12. Send the Watermarked Chart to the Specialist
Transmit the file using a secure method.
- Action: Attach the watermarked PDF to a secure email (e.g., via your facility's encrypted email system) or upload it to the specialist's secure portal.
- Why: The watermark confirms the document is confidential, and using a secure channel ensures the file remains protected during transmission.
- Watch out: Do not use personal email, unencrypted messaging apps, or public file-sharing services to send patient charts. Verify that the recipient's fax or upload portal is HIPAA-compliant if your facility requires this level of verification.
Common Mistakes / Troubleshooting
| Problem | Likely Cause | Fix |
|---|---|---|
| Watermark not visible on some pages | Mixed page orientations (portrait and landscape) or images that cover the watermark position | Re-run the watermark on specific page ranges with adjusted rotation settings, or use a tiled layout that covers the entire page regardless of orientation |
| Watermark obscures clinical notes | Opacity too high or font too large | Reduce opacity to 20–30% and decrease font size until text remains readable underneath |
| Patient name or DOB appears in the watermark | Staff used personal identifying information as watermark text | Re-run with the generic "CONFIDENTIAL" designation only; remove any personal identifiers |
| File won't download after processing | Browser extension conflict or session timeout | Clear browser cache, disable ad blockers, or try a different browser; for large files, use a desktop application instead |
| Metadata still reveals the original author after watermarking | The watermark tool does not clean metadata | Use a separate metadata-cleaning step with the Metadata or Redact/Sanitize function [K2] |
| Watermark appears on blank pages or duplicates | Chart contains scanned images with blank pages | Inspect the page range before applying; watermark only the pages that contain clinical content |
How to Verify Success
Before sending the file, confirm the following:
- The watermark text reads "CONFIDENTIAL" (or your facility's designation) on every page of the chart
- Clinical information remains fully legible underneath the watermark (opacity set to 20–40%)
- No patient identifiers (name, birthdate, medical record number) are embedded in the watermark text
- The downloaded file is a new PDF with a distinct filename (e.g., with "CONFIDENTIAL" or "watermarked" in the name)
- Hidden metadata (author, title, facility) has been reviewed and either removed or confirmed safe to share [K2]
- The original unmarked PDF remains saved in the patient's permanent record
- The chart was sent via a secure, authorized channel (encrypted email, secure portal, or encrypted fax)
FAQ
Q1. Can I watermark a PDF without uploading it to a server?
Yes. Browser-based tools like OctopusPDF process files without uploading them, with the PDF parsed inside the browser tab using pdf.js [K3]. For AI features (Summarize, Translate), your OpenAI-compatible API key stays in browser localStorage, and the browser connects directly to the endpoint— OctopusPDF does not proxy the request [K3]. This makes browser-based watermarks viable for confidential medical documents, as noted in the privacy use cases (legal and medical documents) [K4].
Q2. What is the difference between a watermark and redaction?
A watermark is a visible overlay that designates the document as confidential (e.g., "CONFIDENTIAL" in diagonal or tiled format) [K2]. Redaction physically deletes content, such as names, clauses, or hidden data, from the PDF before sharing [K1]. For a patient chart, you typically need both: watermark the visible pages for confidentiality, then use the Redact/Sanitize tool to remove hidden metadata, comments, and tracked changes before external transmission [K2].
Q3. Is a watermark sufficient to make patient records HIPAA-compliant?
No. A watermark is a visual cue that indicates confidentiality; it does not encrypt the file or secure the transmission channel. HIPAA compliance requires multiple safeguards: administrative (who can access the file), physical (device security), and technical (encryption, secure transmission). A watermark serves as one layer of compliance by making the document's confidential nature clear to anyone who views it. For external sharing with a specialist, follow your facility's policies for secure transmission, such as encrypted email, secure portals, or fax with a cover sheet.
Key Facts
- A confidential watermark for patient charts should use generic text like "CONFIDENTIAL," not patient identifiers, and an opacity of 20–40% to keep clinical notes readable.
- Browser-based tools such as OctopusPDF process PDFs without uploading them to a server, which matters for medical documentation [K2][K4].
- OctopusPDF offers text or image watermarks in diagonal or tiled layouts [K2]; its AI tools (Summarize, Translate) keep files local with the user's own API key [K3].
- Metadata cleaning is a separate step from watermarking; the Redact/Sanitize function physically deletes metadata and hidden content before sharing [K2].
- A watermark does not replace secure transmission methods; HIPAA compliance requires encrypted email, secure portals, or other authorized channels when sending patient charts to specialists.