Organize Warranty Certificate PDFs into a Folder Structure for a Contractor Closing Out a Construction Job
To organize warranty certificate PDFs for a construction closeout, collect every certificate into a single staging folder, rename the files with a consistent convention, split or merge PDFs so each file contains exactly one warranty, sort them into a system-and-equipment folder hierarchy, and finish with a manifest that maps each file to its equipment and coverage dates.
What You Will Need
- A computer with Windows 10/11, macOS, or Linux
- All warranty certificate PDFs from subcontractors, suppliers, and manufacturers, gathered in one place (email attachments, downloads, shared drives)
- A PDF tool that can merge, split, rotate, reorder pages, add page numbers, and wipe metadata. One option is OctopusPDF, a browser-based toolset with 14 free PDF tools; alternatives include Adobe Acrobat (paid), PDFsam (free desktop utility), and the print-to-PDF and rotation features built into Google Chrome or your operating system
- File Explorer (Windows) or Finder (macOS) for creating folders and renaming files
- Optional: a spreadsheet program (Excel, Google Sheets, or LibreOffice Calc) for the closeout warranty manifest
Step-by-Step Instructions
Step 1. Collect every warranty certificate PDF into one staging folder
Create a folder named 0_Incoming — for example, C:\Closeout\Warranties\0_Incoming on Windows or ~/Closeout/Warranties/0_Incoming on macOS. Copy every warranty PDF from email threads, project portals, and subcontractor handoffs into this folder so you work from a single source.
Watch out: copy the files, do not move the only copies. Keep the originals untouched until the closeout package is accepted.
Step 2. Verify each PDF opens and contains the required warranty data
Open each file and confirm it shows the manufacturer or subcontractor name, equipment model and serial number, warranty start and end dates, and coverage scope (parts, labor, or both). If a page is rotated sideways or upside down, fix it with a Rotate PDF tool that turns pages 90, 180, or 270 degrees. Set aside any file that is unreadable instead of forcing it into the final structure.
Watch out: scanned certificates frequently arrive rotated. Check every page, not just the first one, before proceeding.
Step 3. Define the file naming convention and the folder hierarchy before renaming
Decide both structures before touching any file, so names and folders line up.
Use a file name format that sorts predictably:
ProjectCode_System_Equipment_Manufacturer_WarrantyStartDate.pdf
| Example File Name | System | Equipment | Manufacturer |
|---|---|---|---|
HarborView_HVAC_Chiller-1_Trane_2026-01-15.pdf |
HVAC | Chiller 1 | Trane |
HarborView_Electrical_Panel-3_Eaton_2026-02-01.pdf |
Electrical | Panel 3 | Eaton |
HarborView_Roofing_TPO-Membrane_Carlisle_2026-03-10.pdf |
Roofing | TPO Membrane | Carlisle |
Plan the final hierarchy around building systems, then equipment:
Closeout/
└── Warranties/
    ├── 0_Incoming/
    ├── 1_Processed/
    └── 2_Final/
        ├── HVAC/
        │   ├── Chillers/
        │   └── Rooftop Units/
        ├── Electrical/
        │   ├── Panels/
        │   └── Generators/
        ├── Plumbing/
        ├── Fire Protection/
        └── Roofing/
Step 4. Rename each PDF using the convention
In File Explorer or Finder, select a file and press F2 (Windows) or Return (macOS) to rename it. Apply the same format to every file. For large batches, use a bulk rename utility or generate names in a spreadsheet and paste them in.
Watch out: never use slashes, colons, question marks, or asterisks in file names — the operating system will reject them. Keep the full path (folder path + file name) under 180 characters to stay clear of Windows path-length limits.
Step 5. Split any PDF that contains more than one warranty certificate
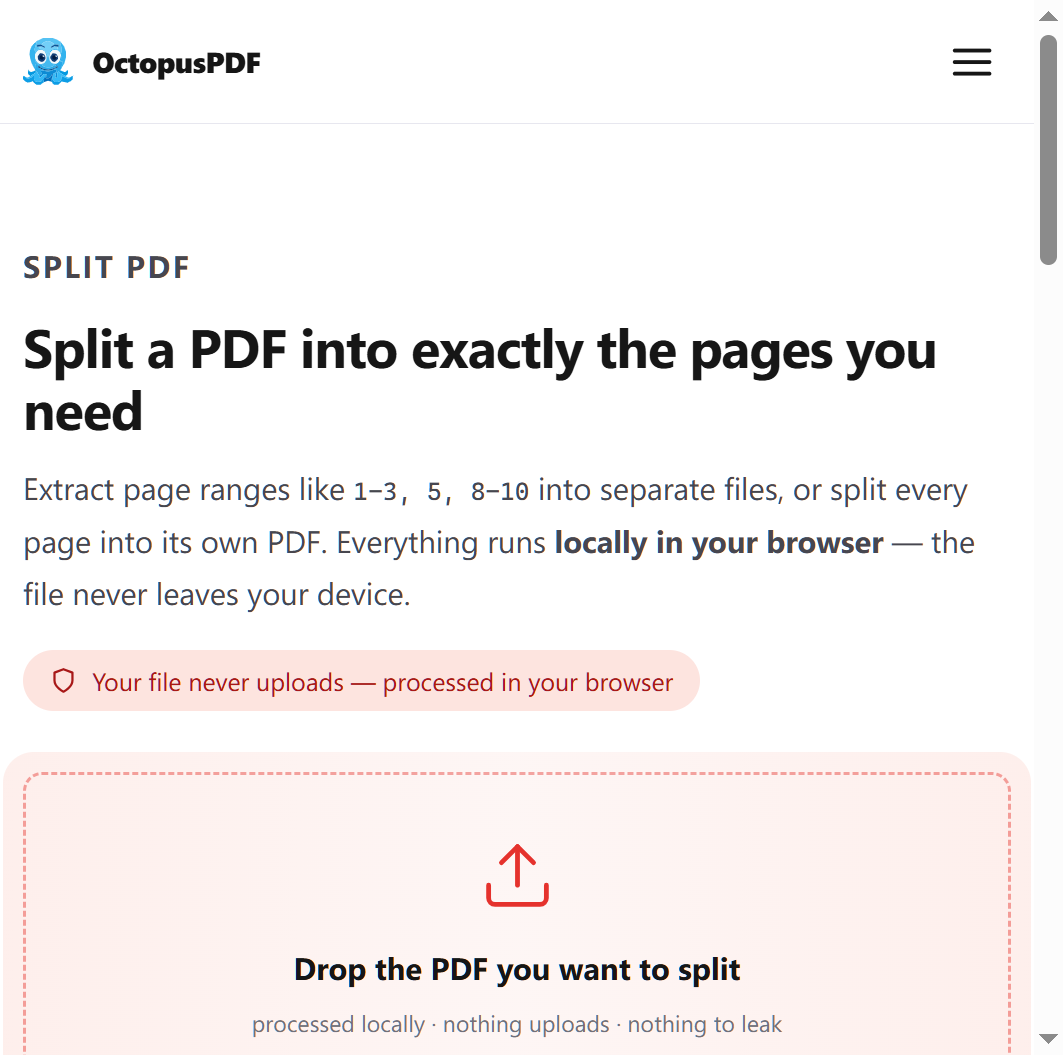
Subcontractors often send one multi-page PDF covering several pieces of equipment. Use a Split PDF tool to extract each page range into its own file. OctopusPDF, for example, extracts page ranges or splits every page into its own PDF. After splitting, rename each output file according to the Step 3 convention.
Watch out: verify the page range before you split. A certificate that starts on page 2 and ends on page 4 must be extracted as pages 2–4, not 1–3.
Step 6. Merge separate PDFs that belong to the same certificate
If a single warranty is spread across multiple PDFs (cover page, terms and conditions, signed acceptance form), merge them into one file in page order. Use a Merge PDF tool and select the files in the order they should appear in the combined document.
Watch out: check the merged page order before saving. The cover page must come first, then terms, then the signed acceptance.
Step 7. Add page numbers to multi-page certificates
For any certificate longer than one page, stamp "Page 1 of N" or "1 / N" in a corner so the owner can confirm no pages are missing. Use a Page Numbers tool that lets you choose the corner and skip the cover page if needed.
Watch out: do not page-number single-page certificates. One page with "Page 1 of 1" adds noise without adding value.
Step 8. Clean the PDF metadata before the file leaves your device
Warranty PDFs often carry hidden metadata: author names, company file paths, and previous save locations. Use a Metadata or Sanitize tool to wipe hidden data before delivering the files, especially when the package contains client or tenant information. This matters on shared or company devices, where confidential documents should not retain internal paths or editing history.
Watch out: run metadata cleanup last, after merging and page numbering, because re-saving a file can reintroduce metadata.
Step 9. Create the final system-based folder structure and move each PDF into place
Build the 2_Final hierarchy from Step 3. Create one folder per building system, then one subfolder per equipment type. Move each renamed and processed PDF from 1_Processed into the matching folder. Keep folder names identical to the system names in the file naming convention so the manifest can be generated reliably.
Step 10. Build and save the closeout warranty manifest
Create a spreadsheet with one row per certificate:
| Column | Example Value |
|---|---|
| File name | HarborView_HVAC_Chiller-1_Trane_2026-01-15.pdf |
| System | HVAC |
| Equipment | Chiller 1 |
| Manufacturer | Trane |
| Serial number | TRN-88213 |
| Warranty start | 2026-01-15 |
| Warranty end | 2031-01-15 |
| Coverage type | Parts and labor |
| Folder location | 2_Final/HVAC/Chillers |
Fill the rows from the renamed files, then save it as Warranty_Manifest.xlsx in 2_Final and export a PDF copy for the closeout package. The owner, general contractor, and commissioning agent will use this manifest to audit the handover.
Common Mistakes / Troubleshooting
| Problem | Likely Cause | Fix |
|---|---|---|
| Duplicate certificates for the same equipment | Subcontractor sent revisions, or two vendors supplied overlapping scopes | Compare warranty start dates and serial numbers in the manifest; keep the latest issued certificate, archive the superseded one in 0_Incoming |
| File name too long | Path plus file name exceeds the 255-character limit | Shorten the project code (for example, HV instead of HarborView) or reduce folder depth |
| Merged PDF has pages in the wrong order | Files were selected in the wrong sequence | Re-open the merged file and confirm page order; re-run the merge selecting files in correct numbered order |
| Scanned certificate is rotated | Scan orientation was not checked | Use a Rotate PDF tool to turn pages 90, 180, or 270 degrees before splitting or merging |
| Hidden metadata remains in delivered files | Metadata tool was not run on the final merged version | Run Metadata/Sanitize as the last step, after all merges and page numbering |
How to Verify Success
- Every folder in
2_Finalcontains only PDFs that match the folder's system and equipment names - Every PDF follows the naming convention with no spaces, slashes, or duplicate names
- Each multi-page certificate has sequential page numbers, with the cover page first
- No PDF contains more than one product's certificate — all multi-certificate files were split
- Metadata is cleared on every file in
2_Final - The manifest lists every PDF, and the file count in the folders equals the row count in the manifest
- The closeout package opens correctly in a standard PDF viewer
FAQ
Q1. Do I need expensive document management software for this?
No. A PDF tool that can merge, split, rotate, reorder pages, and add page numbers is sufficient. Browser-based tools that process files locally avoid uploading sensitive construction documents to a server, and desktop utilities cover the same operations offline.
Q2. What is the best naming convention for warranty certificate PDFs?
Use a format that sorts predictably: ProjectCode_System_Equipment_Manufacturer_WarrantyStartDate.pdf. Leading with the project code and system keeps files grouped by location and trade when sorted alphabetically.
Q3. What should I do if the warranty only exists as a paper scan?
Keep the scan as a PDF and treat it like any other certificate. If searchable text is needed, run OCR in a tool that supports it before adding page numbers and moving the file into the final structure.
Key Facts
- A closeout warranty folder set typically uses three stages — incoming, processed, and final — with a system-and-equipment hierarchy in the final stage.
- Splitting multi-certificate PDFs and merging fragmented certificates are the operations that most affect whether the closeout package is audit-ready.
- Page-numbering every multi-page certificate lets the owner verify the full document is present.
- Cleaning metadata is a recommended final step before delivering warranty PDFs to the owner or client.
- Browser-based PDF tools such as OctopusPDF run entirely on the local device, so confidential construction files are not uploaded to a server.