You can create a print-ready saddle-stitch booklet from a poetry manuscript PDF on a Mac using only free tools: first, convert and check your PDF in Preview (built into macOS), then use the OctopusPDF booklet tool (free tier: 3 conversions per day) or an open-source alternative like PDFjam (via TeX Live) to impose pages for duplex printing, and finally set the correct duplex/fold options in the print dialog.
What You Will Need
- A Mac running macOS Ventura or later (any recent version works)
- Your poetry manuscript saved as a single PDF file
- Preview (built into macOS, no install required)
- A booklet imposition tool — choose one:
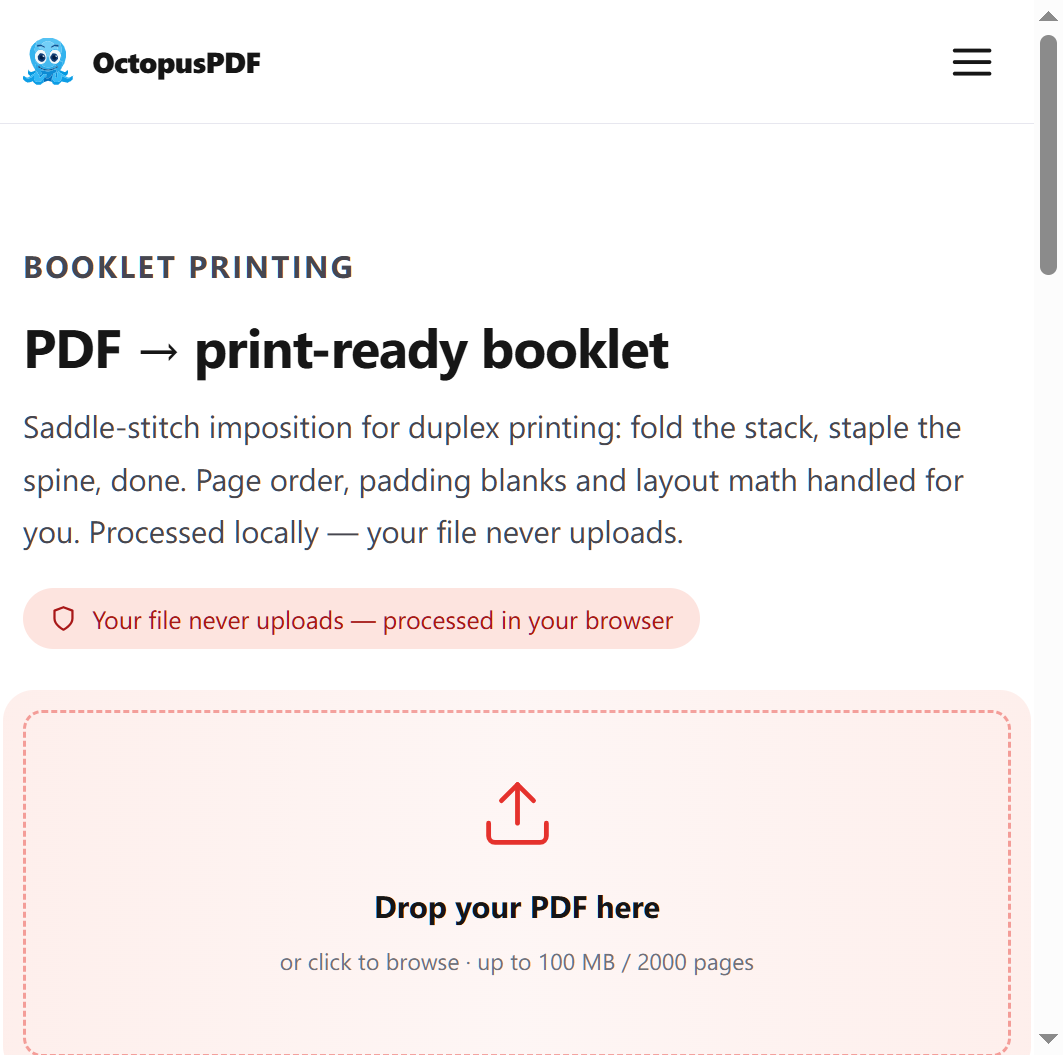
- OctopusPDF Booklet Tool — browser-based, free tier allows 3 conversions per day; reorders pages for duplex printing and folding, adds gutter margins [K2]
- PDFjam — free, open-source command-line tool (
pdfjamandpdfnup) installed via Homebrew (brew install pdfjam) or MacTeX - Adobe Acrobat Reader (free) — print-to-booklet feature available in the Print dialog on some versions
- A duplex (double-sided) printer, or access to a print shop that accepts PDFs
- Optional: paper size decision (US Letter or A5 are common for poetry chapbooks)
Step-by-Step Instructions
Step 1. Confirm Your Manuscript PDF Page Count Is a Multiple of 4
- Open your manuscript PDF in Preview.
- Go to View > Thumbnails and note the total number of pages.
- Divide the page count by 4. If it does not divide evenly, you need to add blank pages.
Why this matters: A saddle-stitched booklet (folded sheets nested inside each other) requires that every printed sheet holds 4 pages (2 front, 2 back). If your page count is not a multiple of 4, the booklet will have blank or misordered pages.
Watch out: If your page count is not a multiple of 4, you will need to add blank pages. You can do this by creating a blank PDF page in Preview: File > New from Clipboard (with an empty clipboard), or use any free PDF editor.
[Insert screenshot: Preview thumbnails pane showing page count]
Step 2. Add Blank Pages If Needed (Using Preview)
- In Preview, go to File > New from Clipboard — this creates a blank 1-page PDF.
- Drag the blank page thumbnail into your manuscript's thumbnail sidebar at the end.
- Repeat until the total page count is a multiple of 4.
- Save the file as manuscript-for-booklet.pdf.
Watch out: The blank page must be the same size as your other pages. If Preview creates a different page size, set the page size in File > Page Setup (choose the same paper size as your manuscript) before copying to clipboard.
Step 3. Choose Your Booklet Imposition Method
You have two free routes. Pick the one that fits your comfort level:
| Method | Tool | Skill Level | Internet Needed | Notes |
|---|---|---|---|---|
| Browser-based | OctopusPDF Booklet Tool | Beginner | Yes | Free tier: 3 conversions/day; adds gutter margins [K2] |
| Command-line | PDFjam (pdfnup) | Intermediate | No (after install) | More control; requires terminal comfort |
Why this matters: Imposition is the process of reordering pages so that after printing duplex and folding, the pages appear in correct reading order. A 16-page manuscript becomes 4 sheets; imposed correctly, sheet 1 prints pages 16,1,2,15 (front) and 14,3,4,13 (back), and so on.
Step 4. Method A — Using OctopusPDF Booklet Tool (Browser-Based)
- Open Safari or Chrome and go to octopuspdf.com/booklet.
- Click the drop zone and select manuscript-for-booklet.pdf from your Mac.
- In the options, choose your paper size (e.g., US Letter if you print on Letter; choose A5 if you will trim to half-letter).
- If the tool offers a gutter margin setting, set it to 0.5 inch (or 12 mm) — this shifts page content away from the fold so text does not disappear into the spine [K2].
- Click Create Booklet. The tool reorders pages for duplex printing and folding.
- Download the output file — name it booklet-ready.pdf.
- Because the free tier allows only 3 conversions per day, verify the page count before converting (Step 1 already confirmed this) [K2].
Watch out: The free tier limit of 3 conversions per day means you cannot repeatedly upload and retry. If you make a mistake, you must wait until the next day or use Method B.
[Insert screenshot: OctopusPDF booklet tool with options visible]
Step 5. Method B — Using PDFjam (Command-Line, Open Source)
- Open Terminal (Applications > Utilities > Terminal).
- If you have Homebrew installed, run:
brew install pdfjam - Navigate to your manuscript folder:
cd ~/Documents/poetry-book - Run the imposition command:
pdfjam --booklet true --paper letter --suffix booklet manuscript-for-booklet.pdf - Wait for the run to finish — you will see a new file named manuscript-for-booklet-booklet.pdf.
Explanation of flags:
--booklet true— enables 2-up imposition in reading order for saddle-stitch.--paper letter— sets output paper size (usea4paperora5paperas needed).--suffix booklet— names the output file.
Watch out: PDFjam does not add gutter margins by default. If you need gutter margins, you must add them via LaTeX options or a separate tool. For a poetry chapbook with short lines, this is often acceptable; for prose, set the gutter margin in your original typesetting before exporting to PDF.
[Insert screenshot: Terminal window showing pdfjam command and output]
Step 6. Open the Imposed PDF and Verify Page Order
- Open booklet-ready.pdf (or the PDFjam output) in Preview.
- Go to View > Thumbnails and examine the first sheet.
- The first thumbnail shows the last page of your manuscript (e.g., page 16 of 16). The second thumbnail shows page 1.
- The next two thumbnails are pages 2 and 15, and so on.
Why this matters: Saddle-stitch imposition always starts with the outer sheet (last page and first page together). If the first thumbnail shows something else, the imposition incorrect.
Step 7. Print Your Booklet with Duplex Settings
- In Preview, open booklet-ready.pdf.
- Press Cmd+P to open the Print dialog.
- In the Copies & Pages section, confirm Layout is set to Booklet (macOS automatically detects booklet-imposed PDFs).
- In Printer, select your duplex printer.
- In the Two-Sided dropdown, select Long-Edge binding (this flips pages along the long edge, correct for portrait booklets).
- If your printer manual recommends it, enable Print on Both Sides.
- Click Print.
Watch out: Do not choose "Short-Edge binding" — that is for landscape documents. For portrait poetry booklets, long-edge binding is mandatory.
[Insert screenshot: macOS Print dialog with Two-Sided set to Long-Edge binding]
Step 8. Fold and Assemble (Physical Steps)
- Take the printed sheets. Each sheet has 2 pages printed on each side (4 pages per sheet).
- Stack the sheets in the order they came out of the printer.
- Fold the entire stack in half along the center (the spine).
- Use a bone folder or the edge of a ruler to crease sharply.
- If you have a long-arm stapler, staple along the crease. If not, take the folded stack to a print shop and ask for saddle-stitch binding.
Why this matters: The fold order must match the imposition. Folding a saddle-stitch booklet requires all sheets nested, not stacked separately.
Common Mistakes / Troubleshooting
| Problem | Likely Cause | Fix |
|---|---|---|
| Page count not a multiple of 4 | Manuscript ends on an odd page | Add blank pages as described in Step 2 |
| Pages appear in wrong order after printing | Used short-edge binding | Re-print with Long-Edge binding selected |
| Text disappears into the spine | No gutter margin set | Re-run the booklet tool with gutter margin set to 0.5 in; for PDFjam, manually add margin in source document |
| OctopusPDF says "conversion limit reached" | Free tier limited to 3 conversions/day | Wait until the next day, or use PDFjam instead [K2] |
| Blank page inserted with wrong size | Clipboard had a different page size | Set page size in Page Setup before copying to clipboard |
| PDFjam not found after install | Terminal PATH not refreshed | Run hash -r or open a new Terminal window |
How to Verify Success
- The final imposed PDF has the first thumbnail showing the last page of the manuscript.
- The second thumbnail shows page 1.
- The total page count is a multiple of 4.
- Printing a test sheet on plain paper and folding it produces pages in the correct reading order (spot-check pages 1, 2, 3 on one fold).
- Text near the spine remains readable (gutter margin is sufficient).
- The stack of folded sheets, when nested, has page 1 on the right-hand side of the cover sheet.
FAQ
Q1. Is the OctopusPDF booklet tool truly free?
The booklet tool has a free tier that allows up to 3 conversions per day. Beyond that, a Pro plan is required. For a single poetry manuscript (usually one conversion), the free tier is sufficient [K2].
Q2. Can I use the macOS built-in Preview to impose a booklet?
No. Preview does not perform imposition. You must use a dedicated tool like OctopusPDF, PDFjam, or a print dialog that offers booklet printing. The built-in Print dialog has a Layout > Booklet option on some macOS versions, but it does not allow gutter margin control.
Q3. What paper size should I choose for a poetry chapbook?
For a standard US poetry chapbook, US Letter paper folded in half creates a 5.5 × 8.5-inch page — a common size. If you intend to trim the edges, choose A4 for a final A5 page. Confirm with your print shop before running the imposition.
Key Facts
- A saddle-stitch booklet requires the source PDF page count to be a multiple of 4; add blank pages if it is not.
- The OctopusPDF booklet tool reorders pages for duplex printing and folding and adds gutter margins; free tier allows 3 conversions per day [K2].
- PDFjam (free, open-source) performs the same imposition via the command line with
pdfjam --booklet truebut does not add gutter margins by default. - Long-edge binding (flip on long edge) is the correct duplex setting for portrait booklets.
- Fold all sheets together (nested), not stacked, for correct page order after saddle-stitch binding.